Table of Contents
Ever stared at a tattoo and wondered how they achieve that smooth gradient or deep shadow? It's all about the shading, and like any skill, it takes practice. If you're itching to become a tattoo artist or just want to refine your technique, you've come to the right place. This article is your guide to mastering shading, focusing on "tattoo designs to practice shading." We'll start with easy designs perfect for beginners, then move onto more advanced methods, and finally, explore how to make your shading stand out. Forget those complex, intimidating designs for now; we're going to break it down into manageable steps. Think of it as leveling up in a game, each design you practice will get you closer to your goal. Get ready to grab your tools, because we are about to start the journey from simple shapes to stunning shaded tattoos. Let's get started!
Simple Tattoo Designs for Shading Practice
Simple Tattoo Designs for Shading Practice
so you’re ready to tackle shading, but where do you even begin? Forget those super intricate designs you see online, we are going simple. Think basic shapes: circles, squares, triangles, even simple lines. These are your best friends right now. They might not be the most exciting things to look at, but they are perfect for building your skill. Why? Because these shapes give you a clear area to practice different shading techniques without worrying about complex details. You can focus solely on how the ink flows, how dark or light you want it, and how to create smooth transitions. It’s like learning to dribble before you try to score a goal. Trust me, mastering these basics will make the fancy stuff much easier later on.
Shape | Why it's good for shading | Things to focus on |
|---|---|---|
Circle | Easy to practice circular motions | Consistent pressure, even shading |
Square | Straight lines, sharp edges | Keeping lines straight, filling corners |
Triangle | Different angles and corners | Varying pressure for different shades |
Mastering Shading Techniques on Practice Tattoo Designs
Mastering Shading Techniques on Practice Tattoo Designs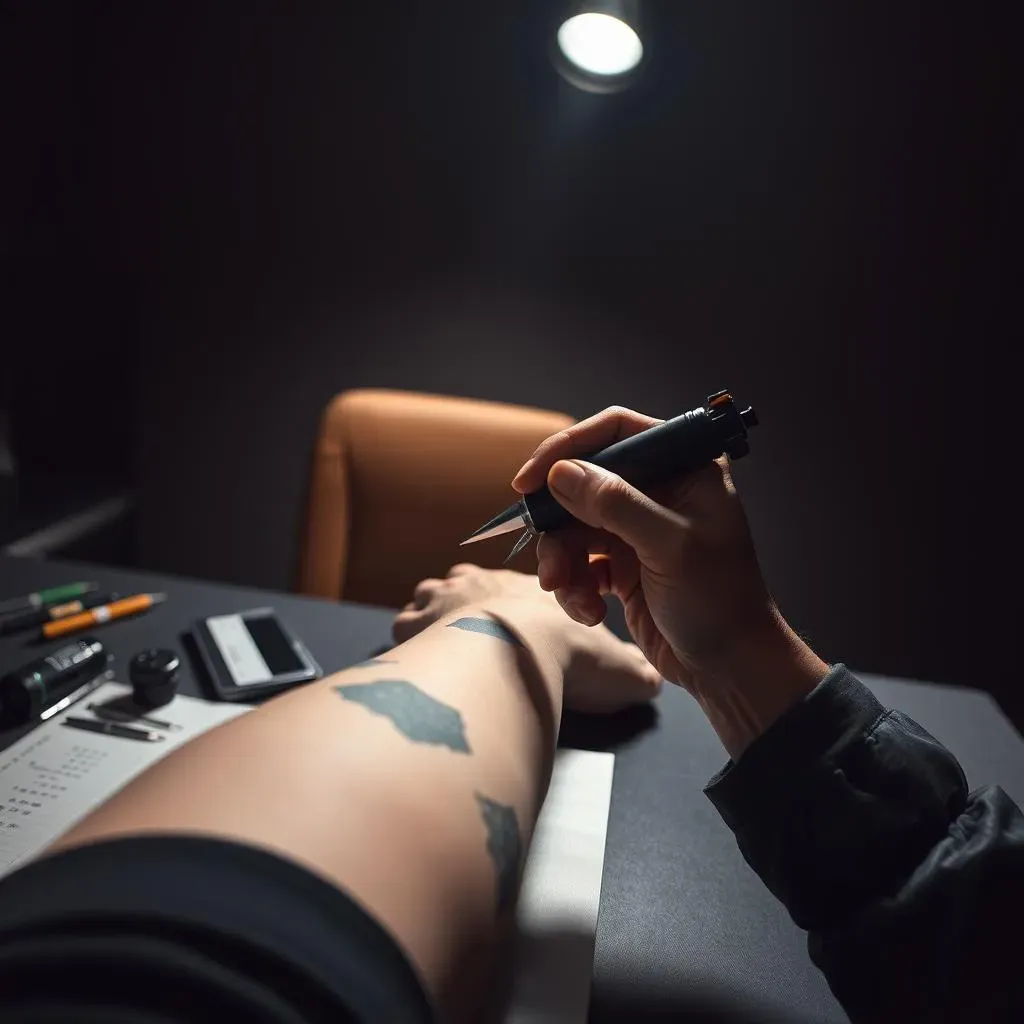
Alright, so you've got your simple shapes down. Now, let's talk about the magic – the actual shading. It's not just about filling in color; it's about creating depth and dimension. Think of it like painting with shadows. One of the first techniques you'll want to nail is the pendulum shading. It's when you move your tattoo machine back and forth like a pendulum, creating light and dark areas depending on how close or far your needle is to the skin. Another very important technique is the whip shading, which produces a more textured or gradient effect. You flick the needle at the end of your stroke, creating a lighter, softer edge. This is great for smooth transitions. These methods might feel awkward at first, but with enough practice on those simple shapes, you'll get the hang of it. Remember, slow and steady wins the race when shading.
Before you start, it’s important to think about your tools. Are you using the right needle grouping? What about the power on your machine? These things change the way the ink lays. For example, a larger needle grouping will cover more area, faster, but it will also create a much bolder shade. On the other hand, a smaller needle will give you more control, and softer shades. The power on your machine will also change how the ink flows into the skin. Too high and you will overwork the skin, and too low and you will not get a good ink deposit. It’s important to find the sweet spot for your machine, and your hand.
Technique | Description | Best for |
|---|---|---|
Pendulum Shading | Back-and-forth motion, varying distance | Smooth, consistent gradients |
Whip Shading | Flicking motion at the end of stroke | Textured, soft edges |
Circular Shading | Small, overlapping circular motions | Filling small areas with even shading |
Taking Your Tattoo Shading Designs to the Next Level
Taking Your Tattoo Shading Designs to the Next Level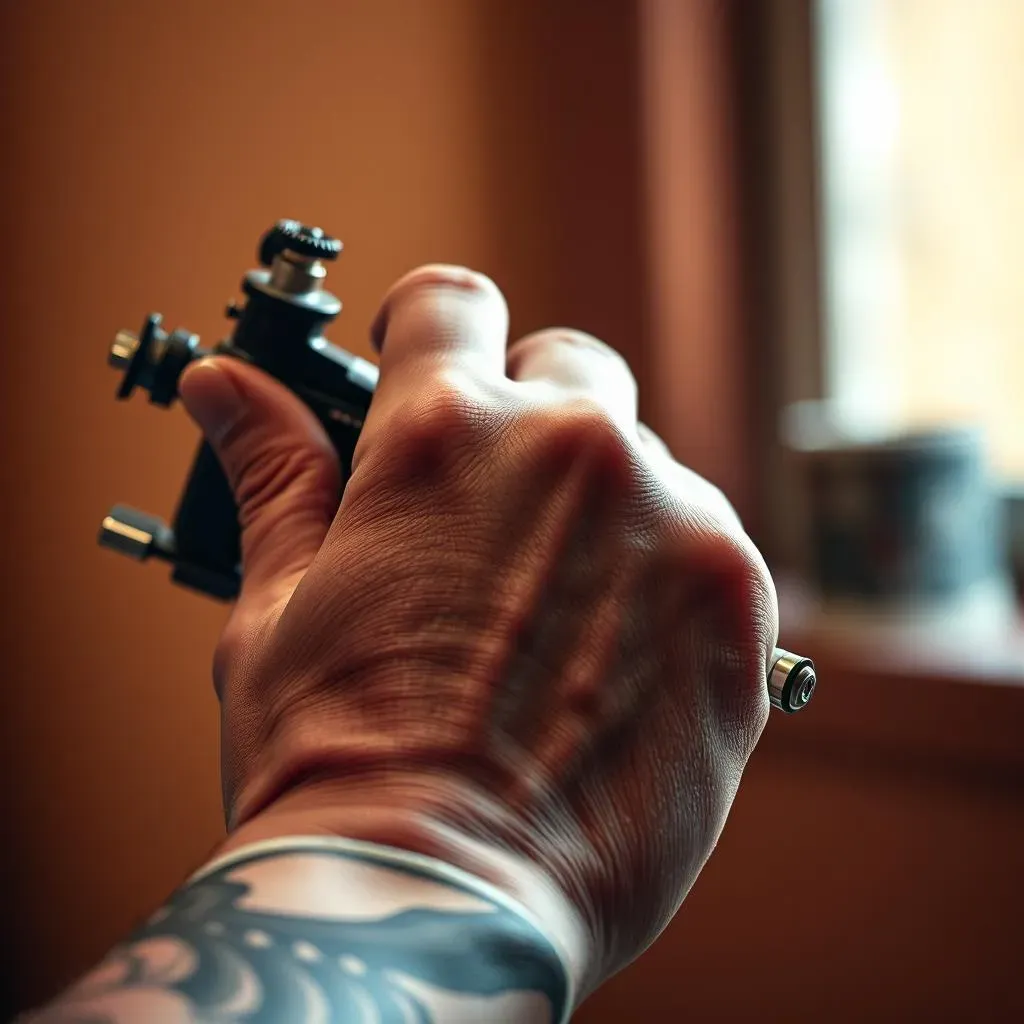
Combining Techniques and Adding Depth
so you're not a newbie anymore. You've got the basics down, the simple shapes are a breeze, and you're getting comfortable with pendulum and whip shading. Now it’s time to mix things up and get creative. Don’t think of these techniques as separate tools, instead, think of them as colors you can mix to create your unique shades. Try using pendulum shading for the core of a shadow and then use whip shading to soften the edges. This can really make your tattoo pop and look more realistic. Remember, the goal is to make the tattoo look like it has depth, like it's not just a flat image on the skin. You are the artist, and the skin is your canvas. Don't be afraid to experiment and find what works for your style.
Consider adding some stippling, which is using dots to create shading, to your arsenal. It's fantastic for creating textured looks or subtle gradients. The key here is to be patient and consistent with your dot placement. This will create a unique shade, that can't be done with other methods.
Exploring Different Design Elements
Now that you're playing with different shading methods, let's talk design. Instead of just shading shapes, why not try shading some more complex designs? Think about how light would naturally hit the object and where the shadows would fall. This is where your understanding of three-dimensional forms comes in. Use shading to create the illusion of curves, edges, and depth. For instance, if you're shading a rose, think about how the petals overlap and how the light would catch each curve. This is how you can take a flat tattoo and make it look like it's jumping off the skin. It’s not just about the shading technique; it’s about how you use it to bring your designs to life.
Also, don't underestimate the power of negative space. Sometimes what you don't shade is just as important as what you do shade. Leaving certain areas untouched can create highlights and enhance the contrast in your designs. It's like sculpting with light and shadow.
Element | How Shading Enhances It | Tips |
|---|---|---|
Curves | Creates the illusion of roundness | Use lighter shades on the outer edges, darker towards the center |
Edges | Defines the shape and adds sharpness | Use darker shades along the edges to make them pop |
Depth | Gives the design a three-dimensional feel | Vary the shading intensity to create depth and dimension |
Practice, Patience, and Persistence
Look, I'm not going to lie; mastering tattoo shading takes time. There will be moments when you mess up, when the ink doesn't flow the way you want, or when your shadows look more like blobs. That’s part of the learning process. The key is to not get discouraged and keep practicing. Every tattoo artist, no matter how experienced, started somewhere. It’s all about the hours you put in and the lessons you learn along the way. So, don't be afraid to experiment, to try new things, and most importantly, to learn from your mistakes. And don’t compare yourself to other artists, everyone has their own style and process. Focus on your journey and you will see improvements in no time.
Remember that the most important thing to being a great tattoo artist, is to always be learning, and always be pushing your limits. There are no mistakes in art, just learning opportunities.
Wrapping Up Your Shading Journey
So, you've explored simple designs, tackled various shading techniques, and hopefully, feel more confident in your abilities. Remember, mastering "tattoo designs to practice shading" isn't a sprint, it's a marathon. There will be times when your lines aren't perfect, or your shading looks patchy, and that's totally normal. The key is to keep practicing, keep experimenting, and most importantly, keep learning. The world of tattoo art is constantly changing. Don't be afraid to try new things and develop your own unique style. This is just the starting point, your shading journey is far from over. Now it’s time to go out there and create some amazing tattoos!