Table of Contents
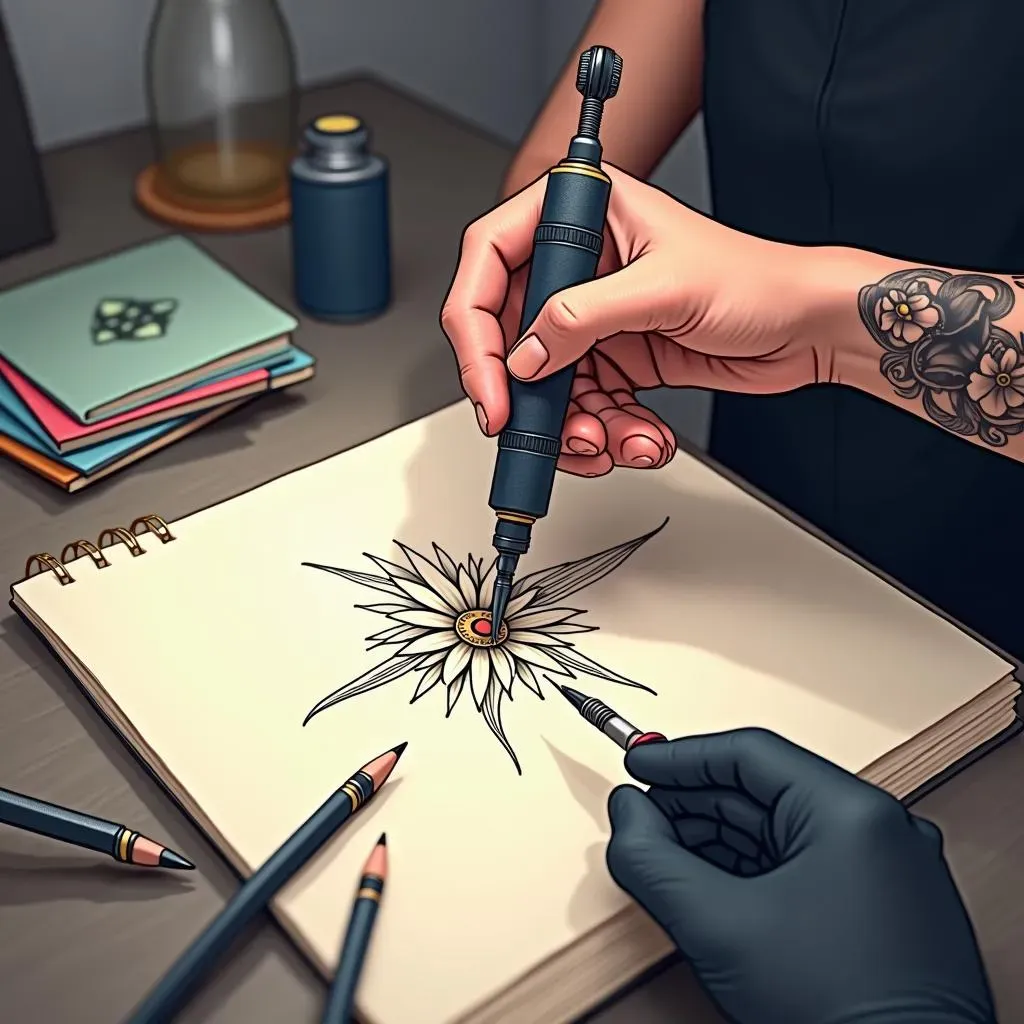
Ever looked at a tattoo and thought, "I could do that!"? Well, maybe not right away, but with the right practice, you totally can. This article isn't about becoming a tattoo artist overnight, but about taking those first crucial steps. We're going to break down the world of "tattoo designs to practice," starting from the absolute basics and slowly working our way up. Think of it like learning to draw, but with a slightly more permanent twist. We'll explore simple designs that are perfect for beginners, then move on to more complex patterns that will challenge your skills. You'll learn how to handle angles, lines, and shading, all while building your confidence. Whether you're dreaming of inking yourself or just want to explore a new creative outlet, this guide will provide the foundation you need. We're not just giving you designs; we're giving you a path to skill development. So grab your practice skin, some pencils, and let's begin!
Simple Tattoo Designs to Begin Your Practice
Simple Tattoo Designs to Begin Your Practice
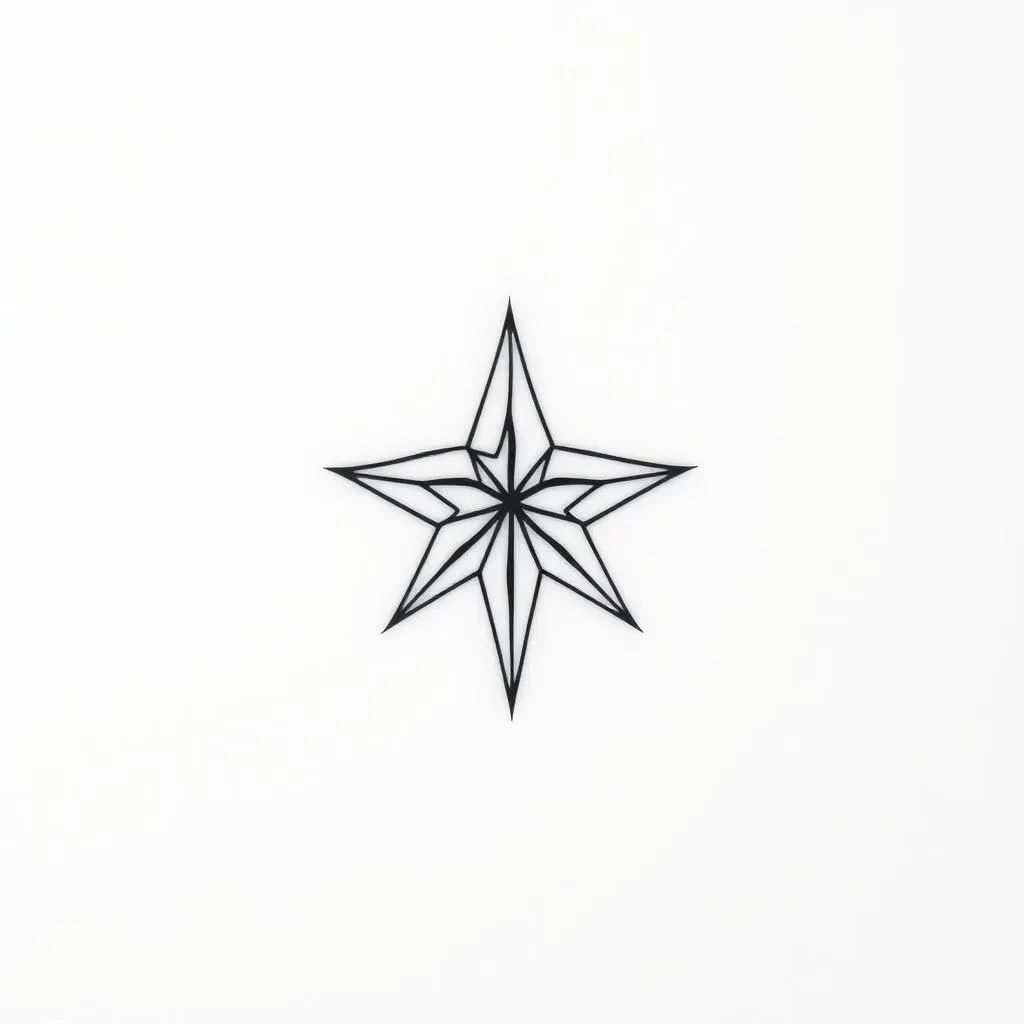
Alright, so you're itching to start inking, but you're not about to jump straight into a full back piece, right? Good. Let's talk about the baby steps, the "simple tattoo designs to begin your practice." Think of these as your artistic alphabet. We're talking basic shapes, clean lines, and designs that won't leave you weeping in frustration. Forget about trying to replicate a Renaissance painting just yet. Start with things like stars, hearts, simple geometric shapes, and maybe some basic lettering. These aren't just random doodles; they're the building blocks for everything else. They teach you how to control your lines, how much pressure to apply, and how to make a design that's clear and consistent. Trust me, mastering a perfect circle is way harder than it looks, but it's a skill that will serve you well later on. It's like learning scales before playing a symphony; you gotta crawl before you can run.
Now, I know what you might be thinking: "Stars and hearts? That's so basic!" But here's the thing, it's about mastering the fundamentals, not winning a design competition. You’re not aiming for a masterpiece; you're aiming for control and consistency. Think of it like learning to ride a bike; you start with training wheels, and eventually, you're cruising down the street. So, let's break down some specific ideas. Start with solid lines, then move to dashed lines, and then try to make curved lines. After that, you can try to make simple geometric shapes like triangles, circles, and squares. Then, you can start with simple designs like small flowers or very simple animals. The main goal is to get your hand used to the motion and get comfortable with the tools. Be patient, don’t get discouraged, and most importantly, have fun with it.
Design Idea | Why It's Good for Beginners |
|---|---|
Simple Stars | Straight lines, easy to repeat. |
Basic Hearts | Curves, helps with line control. |
Geometric Shapes | Teaches precision and symmetry. |
Simple Flowers | Practice with curved lines, simple shapes. |
Basic Lettering | Helps with spacing and line consistency. |
Stepping Up: Intermediate Tattoo Designs for Practice
Stepping Up: Intermediate Tattoo Designs for Practice
Adding Depth with Shading and Line Variation
So, you've conquered the basics, huh? Stars and hearts are old news? Alright, let's crank things up a notch. "Stepping Up: Intermediate Tattoo Designs for Practice" is where we start playing with shading and line variation. This is where your designs start to look more like actual tattoos, not just doodles. Think about adding some depth to those simple shapes you mastered. Instead of just outlining a heart, try adding some light shading to give it dimension. Or vary the thickness of your lines to create a sense of movement and visual interest. This isn't just about making pretty pictures; it’s about learning how to use your tools to create different effects. It's like moving from simple block letters to fancy calligraphy; it’s the same alphabet, but a different level of skill.
Now, before you freak out about shading, let's keep it simple. We're not talking about photorealism here. Start with basic techniques like stippling or hatching. Stippling is just making a bunch of tiny dots to create a shaded effect, and hatching is a bunch of parallel lines. These are great ways to add depth without needing to be a master artist. Also, try to practice line weight. This means changing how thick or thin your lines are. A thicker line can make something look closer, and a thinner line can make something look farther away. These small details can take your designs from flat to fabulous. Remember, practice makes perfect, so don't be afraid to experiment and see what works.
Technique | How to Practice | Effect |
|---|---|---|
Stippling | Make tiny dots close together for darker areas, further apart for lighter areas. | Creates a shaded texture. |
Hatching | Draw parallel lines close together for darker areas, further apart for lighter areas. | Adds depth and dimension. |
Line Weight | Vary the thickness of your lines to give emphasis and depth to your design. | Creates depth and visual interest. |
Exploring Simple Patterns and Textures
Alright, you've dabbled in shading, and your lines are looking sharper. Now, let's move to patterns and textures. This is where things get really fun, because you can start to add more detail to your work. Think about simple repeating patterns, like scales on a snake, or the petals on a flower. Don't feel like you need to create super intricate designs; even simple repetitive shapes can look amazing when they are well-executed. Also, don't be afraid to try different textures, like wood grain or brick. It's all about creating a visual experience for the eye. This is where your designs start to look more intentional and personalized.
When you're practicing patterns, you can start with simple geometric shapes to create them. Try to make patterns with dots, or small lines. You can also use simple shapes to create textures. Imagine making a brick texture; it's just a bunch of rectangles next to each other, but when you combine them, it looks like a brick wall. The goal is to get comfortable with repeating shapes and creating different effects with them. Try to explore and play with different ways to combine shapes and textures. And remember, this is still practice, so don't worry about making mistakes. Just keep going, and you'll be amazed at how quickly you improve.
"The details are not the details. They make the design." - Charles Eames
Advanced Tattoo Designs: Mastering Complex Techniques
Advanced Tattoo Designs: Mastering Complex Techniques
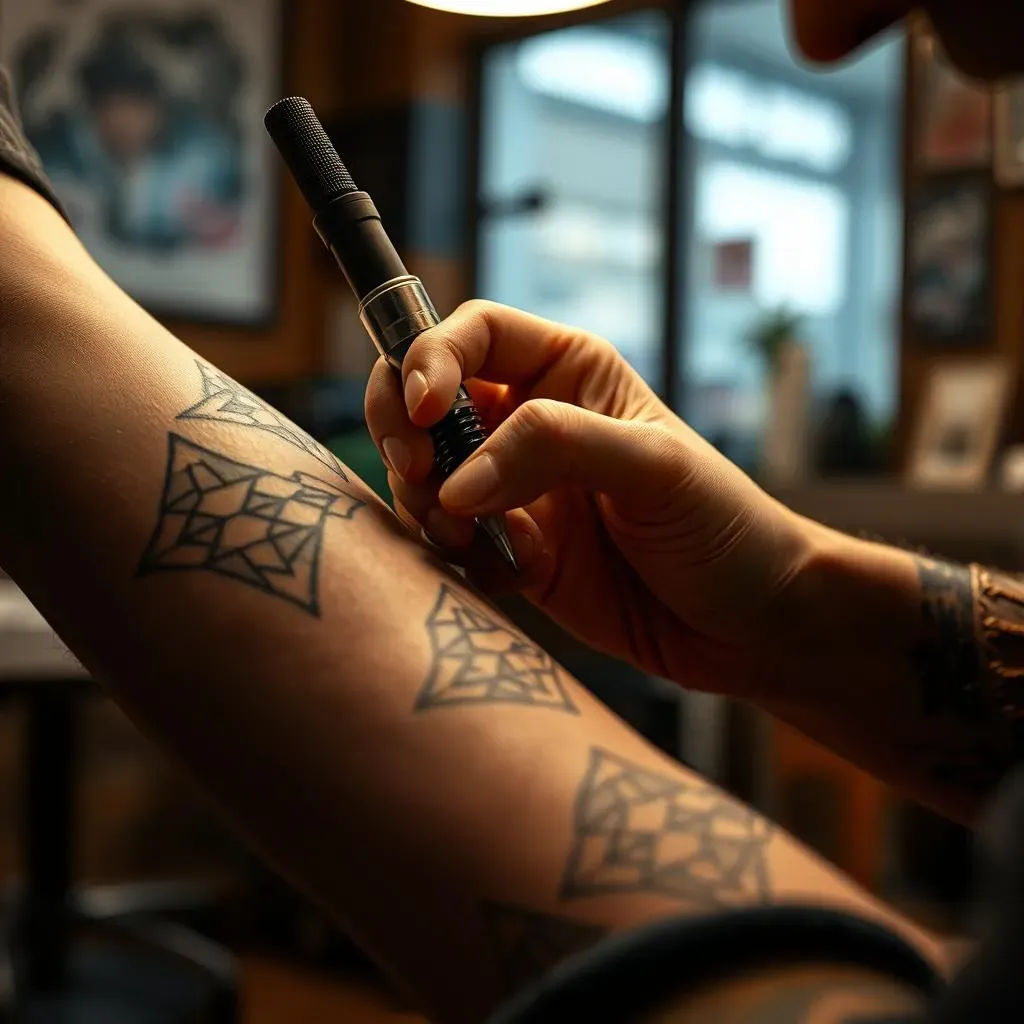
so you've played around with shading and patterns, and now you're looking for a real challenge? Let's talk "Advanced Tattoo Designs: Mastering Complex Techniques." This is where we move beyond simple shapes and start working with intricate details, complex compositions, and advanced shading methods. Think of it like going from finger painting to creating a detailed portrait. We're talking about designs that require patience, precision, and a good understanding of how light and shadow work. This isn't for the faint of heart, but if you're up for the challenge, it's incredibly rewarding. This is where you'll start to see your skills really come together.
Now, what exactly does "complex" mean in tattoo design? It could be anything from intricate geometric patterns to realistic portraiture. It might involve complicated line work, multiple layers of shading, or even color blending. The key here is to break down these complex designs into smaller, more manageable parts. Don't just look at the whole picture; focus on one element at a time. Start by outlining the main shapes, then add the details, and finally, tackle the shading. Remember, it's not a race; it’s a journey. Take your time, be patient with yourself, and don't be afraid to make mistakes. Every mistake is a lesson in disguise.
Technique | Description | Why It's Advanced |
|---|---|---|
Intricate Geometric Patterns | Complex designs with precise lines and shapes. | Requires a high level of accuracy and planning. |
Realistic Portraiture | Creating lifelike images of people or animals. | Demands a deep understanding of anatomy and shading. |
Color Blending | Smoothly transitioning between different colors. | Requires skill in applying and blending inks. |
Layered Shading | Applying multiple layers of shading to add depth. | Demands patience and a good eye for detail. |
One of the biggest hurdles at this stage is learning how to handle complex shading. We're not talking about simple stippling anymore. Here, you might be using techniques like smooth gradients, where you gradually transition from dark to light, or cross-hatching, where you layer lines in different directions to create a shaded effect. These methods require a steady hand and a good understanding of how light interacts with the surface. Also, color blending can be tricky. It's about knowing how to mix colors, how to apply them, and how to blend them together seamlessly. Don't get discouraged if you don't nail it on the first try; this takes time and a lot of practice. The important thing is to keep experimenting and pushing your boundaries.
Finally, let's talk about composition. This is how you arrange all the elements of your design. A complex tattoo isn't just a bunch of random details thrown together; it's a carefully constructed piece of art. You need to think about balance, symmetry, and how all the different parts relate to each other. This is where you start to see how your designs can tell a story, how they can evoke emotion, and how they can truly become something special. It's like writing a novel instead of a short story; you're creating a whole world with your art. It’s a lot to learn, but it's also where the real magic happens.
"The greater the artist, the greater the doubt. Perfect confidence is granted to the less talented as a consolation prize." - Robert Hughes
Your Tattoo Journey: Keep Practicing!
So, you've explored a range of tattoo designs to practice, from simple lines to intricate patterns. Remember, the key to improvement isn't just about drawing, it's about consistency and patience. Don't get discouraged if your first attempts aren't perfect; even the most skilled tattoo artists started somewhere. Keep experimenting with different styles, challenge yourself with new techniques, and most importantly, enjoy the process. Every line you draw, every shading you attempt, is a step forward on your journey. The world of tattoo art is vast and exciting, and with dedication, you can absolutely make your mark. Now go grab your practice tools and create something amazing!