Table of Contents
Ever wondered how tattoo artists create those incredibly detailed designs? Well, a lot of them are turning to their iPads and the magic of Procreate! It's not just for pretty pictures anymore; Procreate has become a powerhouse for creating awesome tattoo designs on Procreate. Forget messy paper and endless erasing; this app lets you sketch, refine, and perfect your art all in one place. In this article, we're gonna explore how Procreate is changing the tattoo game. We'll look at its key features that are perfect for tattoo art, learn how to cook up designs from scratch, and figure out how to turn photos into stencils. Plus, we will check out some other cool tricks Procreate can do for tattoo artists. So, if you're curious about digital tattoo art or just want to see what all the fuss is about, stick around, and let's get creative!
Key Procreate Features for Tattoo Design
Key Procreate Features for Tattoo Design
Layers: Your Digital Canvas
so you're thinking about making tattoo designs on Procreate, right? First things first, let's talk layers. Imagine you're working on a drawing, but instead of one sheet of paper, you have a stack of transparent sheets. That's basically what layers are in Procreate. You can draw your main design on one layer, add shading on another, and maybe put some cool lettering on a third. This is super useful because if you mess something up on one layer, it doesn't ruin everything else. It’s like having an undo button for each part of your design! This means you can experiment without fear, which is a game-changer for tattoo artists.
Each layer can be adjusted independently, allowing you to tweak the opacity, blend modes, and even the order of elements in your design. It’s like having total control over every aspect of your artwork. No more redrawing the entire thing if you just want to move one tiny detail. Seriously, it's like the app is reading your mind, giving you the freedom to play around with ideas until you nail that perfect tattoo design. This is why so many artists are hooked on Procreate for their work, it makes the design process so much more flexible and forgiving.
Feature | Why it's great for Tattoo Design |
|---|---|
Layers | Allows for non-destructive editing, easy adjustments. |
Custom Brushes | Create unique line work and textures. |
Symmetry Tools | Ensures precise, balanced designs. |
Brushes and Textures: The Heart of the Design
Now, let’s get to the fun part—brushes! Procreate has a huge library of brushes, each with different textures and styles. You've got everything from smooth, inking brushes to rough, textured ones, and all of them can be customized. You can tweak the size, shape, opacity, and even how much pressure you apply with your Apple Pencil. It’s like having a whole art supply store in your iPad, but without the messy paint spills. And if you're feeling extra creative, you can make your own brushes, tailoring them exactly to your style. This is where you can really make your designs unique and give them that personal touch.
The ability to handle different textures is also a big deal. You can create the look of smooth skin, rough fabric, or even metallic effects in your designs. This adds a level of depth and realism, making your tattoo designs pop. Plus, if you've got a favorite brush from another program, you can even import it into Procreate, making your workflow seamless. It's all about making it easy to create exactly what you imagine, and Procreate definitely delivers on that front. For a tattoo artist, this kind of control is priceless, it's all about having the right tools for the job.
- Customizable Brushes: Tailor your tools for unique styles.
- Texture Variety: Add depth and realism to your designs.
- Import Options: Seamlessly bring in your favorite brushes.
Creating Unique Tattoo Designs on Procreate From Scratch
Creating Unique Tattoo Designs on Procreate From Scratch
Brainstorming and Initial Sketches
so you're ready to make something totally new? Awesome! Starting from scratch in Procreate is like having a blank canvas, but way less messy. The first step is always the hardest, but also the most fun – brainstorming. Think about what kind of tattoo design you want to create. Is it a bold geometric pattern? A delicate floral piece? Or something totally out there? Don't be afraid to let your mind wander. Jot down ideas, doodle in a sketchbook, or just stare at a wall until something clicks. It's all part of the process. Once you have a general idea, start sketching in Procreate. Use a light brush and don't worry about perfection at this stage. It’s about getting your ideas down, not creating a masterpiece right away. Think of it as a rough draft, a place to play around and see what works.
Procreate's tools make this initial sketching phase super easy. You can quickly change brush sizes, switch colors, and add layers to experiment with different elements. It’s like having a digital sketchbook that never runs out of pages. When I start a new design, I often create a few different sketches. I might try one idea in a bold style and another in a more delicate style, just to see which direction feels right. Don't be afraid to try different things, even if they seem silly at first, you never know what will work. The magic of Procreate is how easy it is to adjust and evolve your design as you go.
Refining Your Design: Details and Line Work
Alright, you've got your basic sketch, now it's time to get into the nitty-gritty. This is where you start refining your lines and adding all those cool details that make a tattoo design pop. Zoom in and smooth out any wobbly lines, adjust the thickness, and play around with different brush strokes. Use Procreate's layers to your advantage, keeping your sketch separate from your refined linework. This way, you can easily tweak things without messing up your base. If you're going for a bold look, try using a hard-edged brush for clean lines, but if you prefer a softer style, a brush with a bit of texture can add a nice touch. Remember, the devil is in the details. The more time you spend here, the more polished your design will look.
Another thing I love about Procreate is the ability to use the symmetry tool. If you're working on a design that needs to be perfectly balanced, this tool is a lifesaver. It creates a mirror image of your strokes, ensuring that both sides are identical. It’s super helpful for things like mandalas or geometric patterns. Don't be afraid to try different line weights and styles. Sometimes, a thicker line can make a design more bold, while thinner lines can add elegance. Experimentation is key. The beauty of Procreate is how easy it is to go back and make small changes, so don't be afraid to try different approaches until you land on something you love.
Step | Description |
|---|---|
Brainstorming | Generate ideas, sketch loosely. |
Initial Sketch | Get your basic idea on the canvas. |
Refining Lines | Clean up and adjust your strokes. |
Adding Details | Incorporate textures and details to enhance your design. |
Using Photos to Create Stencils for Tattoo Designs on Procreate
Using Photos to Create Stencils for Tattoo Designs on Procreate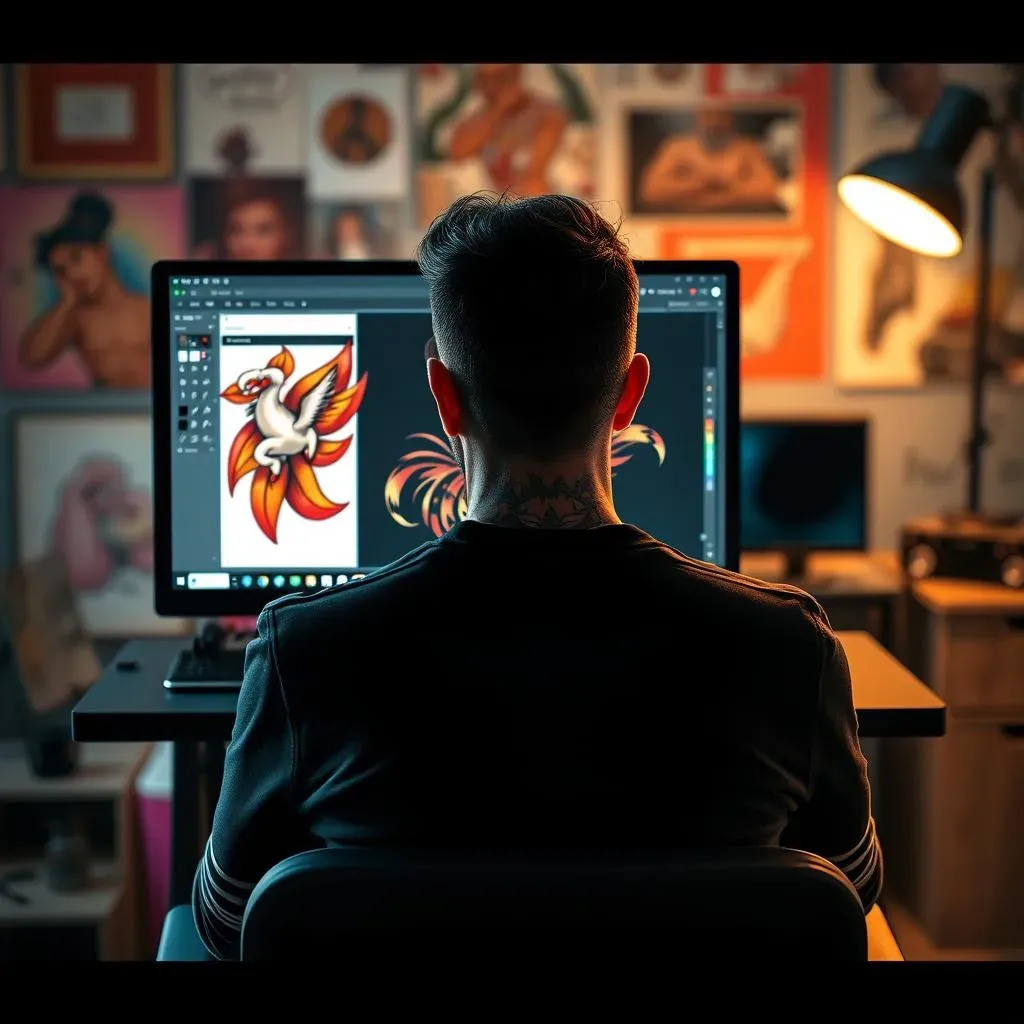
Importing and Preparing Your Photo
so you've got this awesome photo that you want to turn into a tattoo stencil, right? Procreate makes it super easy. First, you'll need to import your photo into a new Procreate canvas. You can do this by tapping the wrench icon, selecting 'Add,' and then choosing 'Insert a photo.' Once the photo is in, you'll want to adjust its size and position to fit your canvas. Now, here’s the important part: make sure the photo is clear and has good contrast. If it’s blurry or the details are hard to see, it will be tough to create a good stencil. You might need to adjust the brightness and contrast using Procreate’s adjustment tools. This step is crucial because the stencil will only be as good as the photo you start with. Think of it like preparing your ingredients before you start cooking; if you have bad ingredients, the final dish won’t be great.
Once your photo is prepped, you'll want to create a new layer on top of it. This is where you'll start tracing. Lower the opacity of your photo layer so it’s easier to see your tracing lines, it’s like using a light box, but digital. This way, you won't get confused between your original image and your new lines. It’s also a good idea to lock the photo layer, so you don’t accidentally move it while you’re working. This process is all about setting yourself up for success, making sure you have a solid foundation before you start tracing. A little prep goes a long way when you're creating stencils for tattoo designs on Procreate.
Tracing and Refining the Stencil
Now for the fun part: tracing! Grab your favorite brush and start outlining the main shapes and lines of your photo. You don’t need to trace every single detail, just the key elements that will make up your tattoo design. Think of it as creating a simplified version of your photo. Use smooth, confident strokes, and don’t be afraid to make adjustments as you go. Remember, this is a stencil, so it needs to be clear and easy to follow. You can use different line weights to emphasize certain parts of the design. Thicker lines can be used for the main outlines, while thinner lines can be used for smaller details. This is where you can start to add your own artistic flair to the stencil, making it more than just a copy of the original photo.
Once you’ve finished tracing, take a step back and look at your stencil. Are the lines clean and easy to see? Do you need to make any adjustments? Procreate’s editing tools make it easy to tweak your lines, erase mistakes, and refine your design until it’s perfect. You can also use the eraser tool to clean up any stray marks or extra lines. It's like you're a sculptor, chiseling away at the stone until you reveal the final form. The goal is to create a stencil that’s both accurate and visually appealing. Remember, the better the stencil, the better the tattoo. It's a key step in the process of creating tattoo designs on Procreate that are ready for the skin.
Step | Description |
|---|---|
Import Photo | Add your photo to a Procreate canvas. |
Adjust Photo | Adjust size, position, and contrast. |
Create Layer | Add a new layer for tracing. |
Trace | Outline key elements of the photo. |
Refine | Adjust lines, erase mistakes. |
Finalizing Your Stencil for Tattooing
you’ve got your stencil traced and refined, now it's time to get it ready for tattooing. You’ll want to make sure that your stencil is clear and easy to transfer onto the skin. This means making sure all your lines are solid and there are no broken or incomplete areas. One trick is to use the fill tool to fill in any enclosed areas of your stencil. This will make it easier to see where the lines are and create a solid outline when you transfer it. If you're planning on using a stencil machine, you'll want to make sure that your lines are thick enough to be picked up by the machine. You can do this by using a thicker brush or by duplicating your line layer and slightly offsetting it. This will create a bolder look that will be easier to transfer.
Before you finalize your stencil, it’s a good idea to test it out. You can do this by printing it out on a piece of paper or by using a transfer paper on a piece of practice skin. This will give you a chance to see how the stencil looks and make any final adjustments before you use it on a client. Remember, a good stencil is the foundation of a good tattoo, so it’s worth taking the time to make sure it’s perfect. Once you’re happy with your stencil, you’re ready to start tattooing. Procreate has made the process of creating tattoo designs on Procreate from photos so much easier, giving you the freedom to focus on bringing your art to life on the skin.
Beyond Design: Other Ways to Use Procreate for Tattoo Artists
Beyond Design: Other Ways to Use Procreate for Tattoo Artists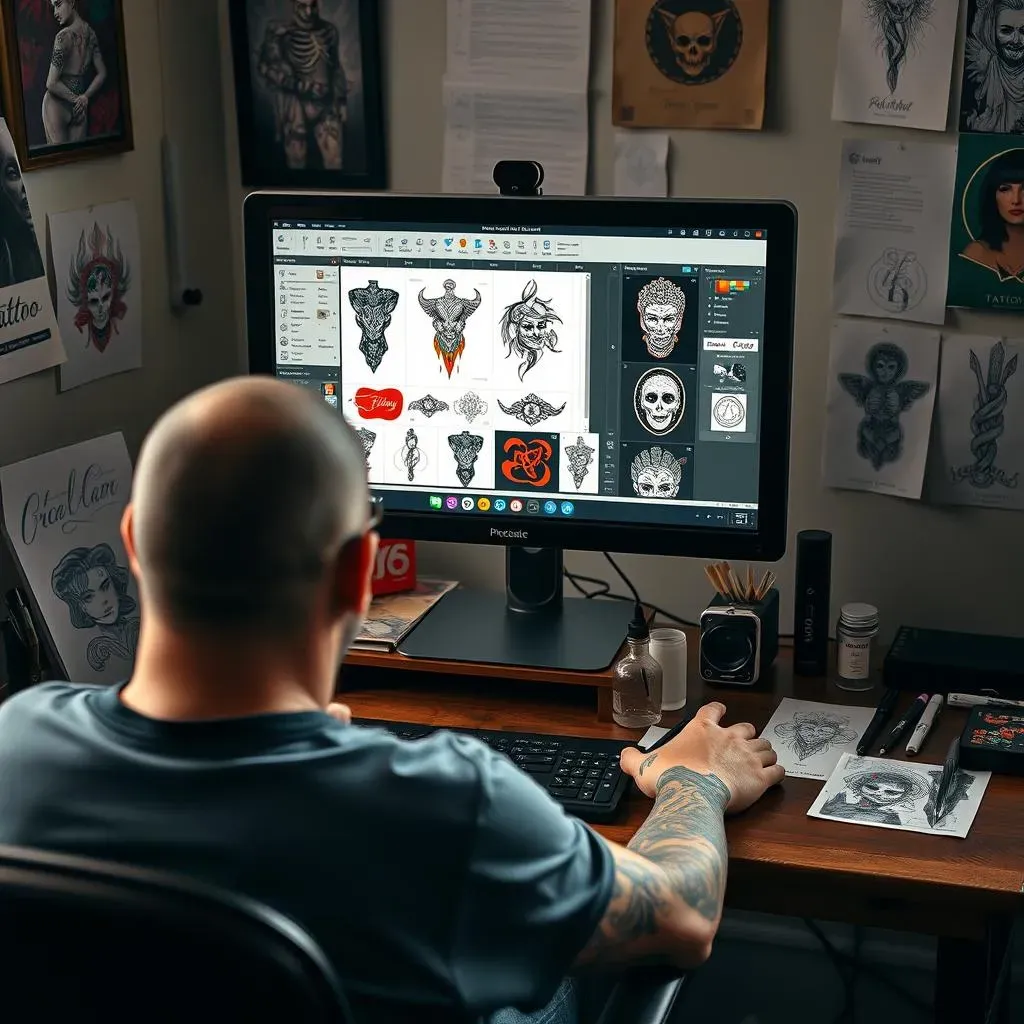
Client Mockups: See Before You Ink
So, you've nailed the design, but how do you show your client what it'll actually look like on their skin? That's where Procreate's mockup magic comes in. You can import a photo of your client’s body part where they want the tattoo. Then, using layers, you can superimpose your design onto the photo. It's like a digital try-on session! You can adjust the size, position, and even the perspective of the design to make it look as realistic as possible. This is way better than just showing them a drawing on paper; it lets them see exactly how the tattoo will look on their body. This helps them make a decision and also gets them excited about the process.
I remember one time, a client was unsure about the size of a tattoo. I created a few mockups on Procreate, showing the design in different sizes. Seeing the visual difference made her feel way more confident about choosing the right size. You can even play with color options to show your client how different colors would look on their skin tone. It's a great way to get their feedback before you even touch the tattoo machine. This is a game changer for client consultations, helping to make sure everyone is on the same page and leading to happier clients.
Procreate Use | Benefit |
|---|---|
Client Mockups | Realistic previews on client photos. |
Practice Sheets | Digital practice for linework and shading. |
Digital Portfolio | Showcase your work in a professional format. |
Practice and Experimentation
Procreate isn't just for client work; it's also an awesome tool for practicing and honing your skills. You can create digital practice sheets with different shapes, lines, and shading exercises. It's like having an endless supply of paper, without the waste. You can even import real tattoo flash sheets and trace over them to practice your linework. The best thing is you can do all of this without using any paper or ink. If you mess up, just tap undo. No more wasted paper or ink! This is a great way to warm up before a tattoo session, experiment with new techniques, or just keep your skills sharp.
The great thing about Procreate is its flexibility. You can try out different brushes, experiment with different shading techniques, and play around with different color palettes, all without any consequences. It's a safe space to make mistakes and learn from them. I often use Procreate to test out new ideas or try a different style that I'm not comfortable with. I can experiment as much as I want without the pressure of a real tattoo. It’s a fantastic way to push your creativity and grow as an artist, all from the comfort of your iPad, it's like a never ending art class in your hands.
Creating a Digital Portfolio
Finally, let's talk about building a killer digital portfolio. Instead of lugging around a heavy binder, you can showcase your work on your iPad using Procreate. You can organize your designs into different categories, create custom layouts, and even add descriptive text. It’s like having a mini website for your art. Plus, you can easily share your portfolio with clients or on social media. This makes it super easy to promote your work and attract new clients. It’s also much more professional than using a messy folder of paper and it also feels like a more modern approach to showcasing your art.
I often use Procreate to create mockups of my tattoo designs on different body parts and then add them to my portfolio. This gives potential clients a really clear idea of what my work looks like. It makes it much easier to show the quality of my art, it also gives me the opportunity to show my design skills. It’s a fantastic way to present your work in a visually appealing way and it’s also very easy to update. It’s a win-win for any tattoo artist looking to make a name for themselves in the digital age. Procreate has become an essential tool for tattoo artists, not just for designing but also for all the other things that come along with the profession.
Wrapping Up: The Future of Tattoo Art is Digital
So, we've seen how Procreate is not just a drawing app, but a complete digital studio for tattoo artists. From sketching out fresh ideas to crafting perfect stencils from photos, it's a game-changer. Sure, it might mean investing in an iPad and Apple Pencil, but think of all the paper you'll save! Plus, the ability to make instant changes and try out different styles is a huge win. Whether you're a seasoned tattoo pro or just dreaming of your first ink, exploring tattoo designs on Procreate could be the next big step in your creative journey. The digital ink revolution is here, and it's looking pretty awesome.