Table of Contents
Want to dive into the world of ink but not sure where to start? Creating tattoo designs drawing easy is totally achievable, even if you're just picking up a pencil for the first time. This isn't about becoming a pro overnight; it's about unlocking your creativity and learning the fundamentals to sketch simple, cool tattoos. We'll break down the process into bite-sized pieces, starting with basic shapes and lines. Forget complex shading and intricate details for now. We're focusing on building a solid foundation, so you can confidently create your own unique designs. Think minimalist art, bold outlines, and imagery that speaks to you. This guide will walk you through simple techniques, offer step-by-step instructions, and provide plenty of inspiration to get your creative juices flowing. By the end, you'll have the skills and confidence to start sketching your own tattoo designs drawing easy. So grab a pencil, some paper, and let's get started!
Simple Tattoo Designs Drawing Techniques for Beginners
Simple Tattoo Designs Drawing Techniques for Beginners
Start with the Fundamentals
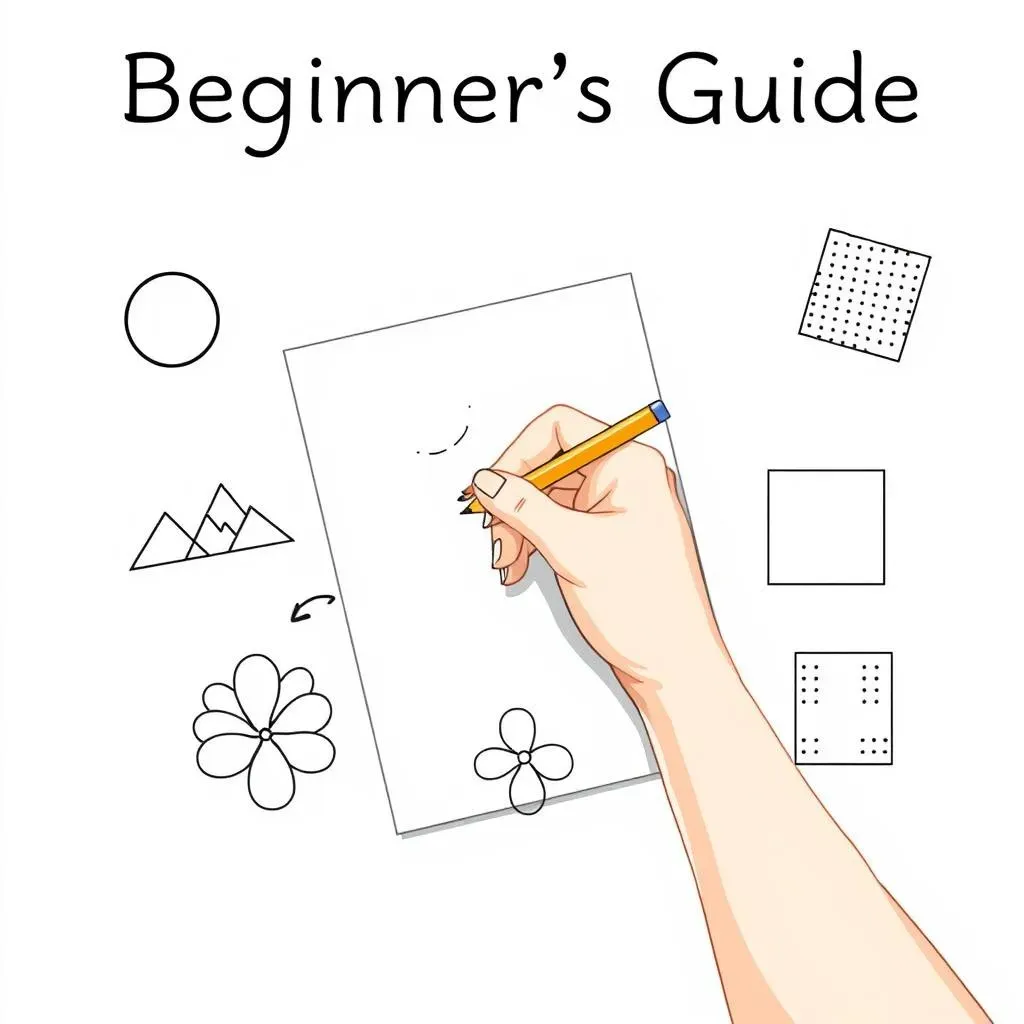
Before you even think about dragons or roses, nail down the basics. I mean, seriously, can you draw a straight line? A perfect circle? Sounds boring, right? But trust me, mastering these simple shapes is the secret sauce to creating killer designs. Think of it like learning chords on a guitar before shredding a solo. You need that foundation. Practice lines, circles, squares, triangles. Fill pages with them. Get a feel for your pencil, your pressure, and how the lines flow. It's all about building muscle memory.
Once you're comfortable with basic shapes, start combining them. A circle and a triangle can become a simple mountain range. A few circles and lines can turn into a flower. Play around, experiment, and don't be afraid to make mistakes. Every scribble is a learning opportunity. It's like sculpting; you start with a lump of clay and gradually shape it into something amazing. The same goes for drawing. Start simple, and build from there.
Essential Shading and Line Weight
now that you've got the shapes down, let's talk about adding some depth and dimension. Shading and line weight are your best friends here. Shading doesn't have to be super complex. Start with simple hatching (parallel lines) or stippling (dots) to create shadows. Think about where the light source is coming from, and darken the areas that are furthest away from it. It's like painting with light and shadow, creating a sense of realism and volume.
Line weight is all about varying the thickness of your lines to create emphasis and visual interest. Use thicker lines for outlines and areas you want to stand out, and thinner lines for details and inner lines. This creates a sense of depth and makes your design pop. It's like adding different instruments to a song; each one contributes to the overall richness and texture. Experiment with different line weights and see how they affect the look and feel of your design.
Technique | Description | Use |
|---|---|---|
Hatching | Parallel lines to create shadow | Simple shading, adding texture |
Stippling | Dots to create shadow | Detailed shading, creating subtle gradients |
Line Weight | Varying thickness of lines | Emphasis, visual interest, depth |
Mastering Basic Shapes for Easy Tattoo Designs
Mastering Basic Shapes for Easy Tattoo Designs
Circles: The Foundation of Flow
Alright, let's talk circles. Sounds simple, right? But mastering the circle is key to creating flowing, organic tattoo designs. Think about it: flowers, eyes, mandalas – they all rely heavily on circles. Don't just aim for a perfect circle every time (though that's a good goal!). Focus on creating smooth, continuous lines. Imagine you're drawing with a compass, even if you're doing it freehand. Practice different sizes, overlapping circles, and even imperfect circles. Those imperfections can add character and a hand-drawn feel to your designs.
I remember when I first started, my circles looked more like squashed potatoes. Frustrating! But I kept practicing, filling pages with circles of all shapes and sizes. Eventually, I started to get a feel for it, and my circles became smoother and more consistent. It’s all about repetition and building that muscle memory. And don’t be afraid to use tools like compasses or stencils to help you get started. There’s no shame in using aids, especially when you're learning.
Squares and Triangles: Adding Structure and Edge
circles are all about flow, but what about structure? That's where squares and triangles come in. These shapes bring a sense of stability, sharpness, and contrast to your tattoo designs. Think geometric patterns, minimalist designs, or even adding a sharp edge to a softer, more organic shape. Squares and triangles can create a powerful visual impact, adding a sense of balance and visual interest.
Don't be afraid to experiment with different angles and proportions. A long, thin triangle can create a sense of dynamism and movement, while a short, squat square can feel grounded and solid. Try combining squares and triangles to create more complex shapes, like diamonds or stars. It’s all about playing with different combinations and seeing what works best for your design. And remember, even imperfect squares and triangles can add character and a hand-drawn feel. Embrace the wobble!
Here's a quick guide to using squares and triangles effectively:
- Squares: Stability, balance, grounding. Use for borders, frames, or to create a sense of solidity.
- Triangles: Dynamism, movement, sharpness. Use for arrows, mountains, or to add a sense of direction.
- Experiment: Combine squares and triangles to create more complex shapes and patterns.
Combining Shapes: The Key to Unique Designs
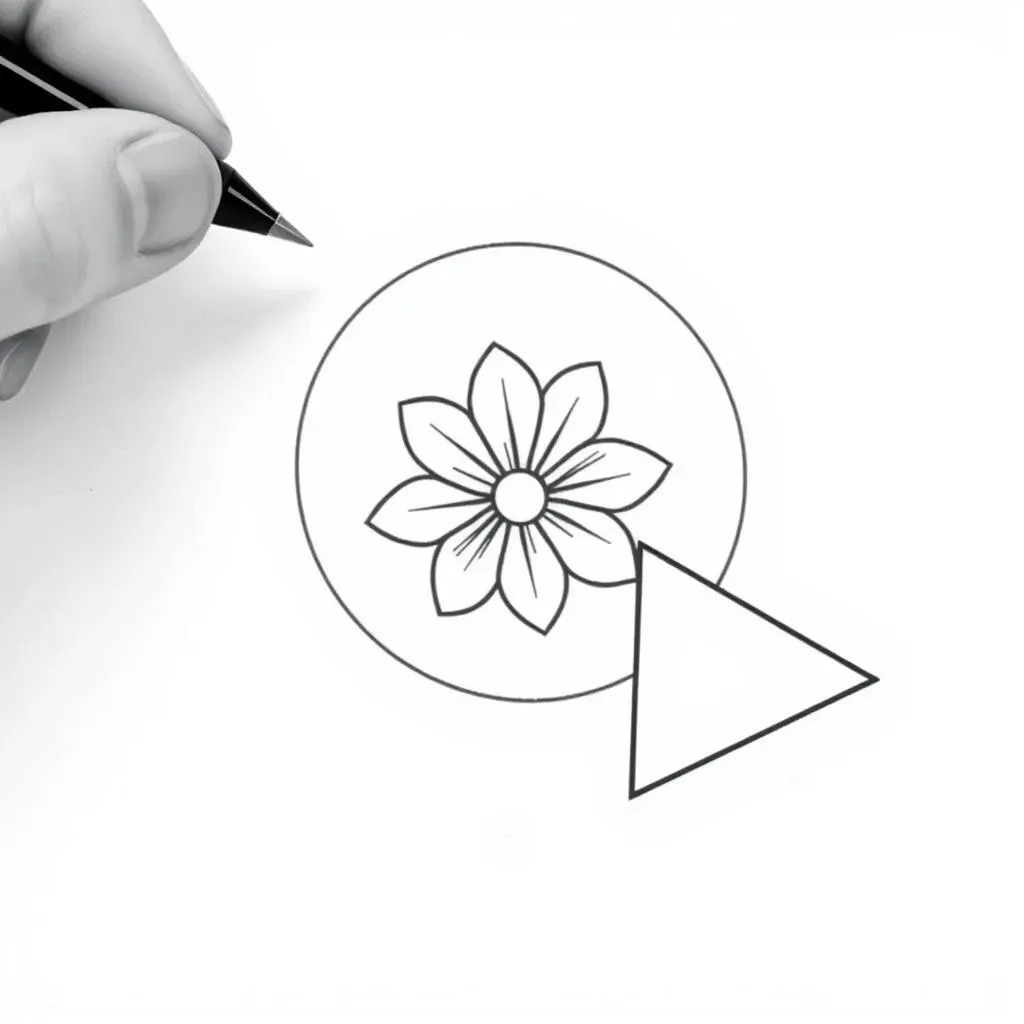
Now for the fun part: combining all these basic shapes to create something truly unique! This is where your creativity can really shine. Think about how you can use circles, squares, and triangles to build more complex images. A circle with triangles can become a sun. A square with circles can become a robot. The possibilities are endless! Don't be afraid to experiment, play around, and see what you can come up with.
One of my favorite exercises is to choose a simple object, like a flower or a bird, and try to break it down into basic shapes. This helps you understand the underlying structure of the object and makes it easier to draw. For example, a flower can be broken down into a circle for the center, petals made of elongated triangles, and a stem made of a rectangle. Once you've broken it down into basic shapes, you can start adding details and refining the design. It’s like building with LEGOs, starting with basic blocks and combining them to create something amazing.
StepbyStep Guide to Creating Your Own Tattoo Designs Drawing Easy
StepbyStep Guide to Creating Your Own Tattoo Designs Drawing Easy
Brainstorming and Sketching: The Idea Factory
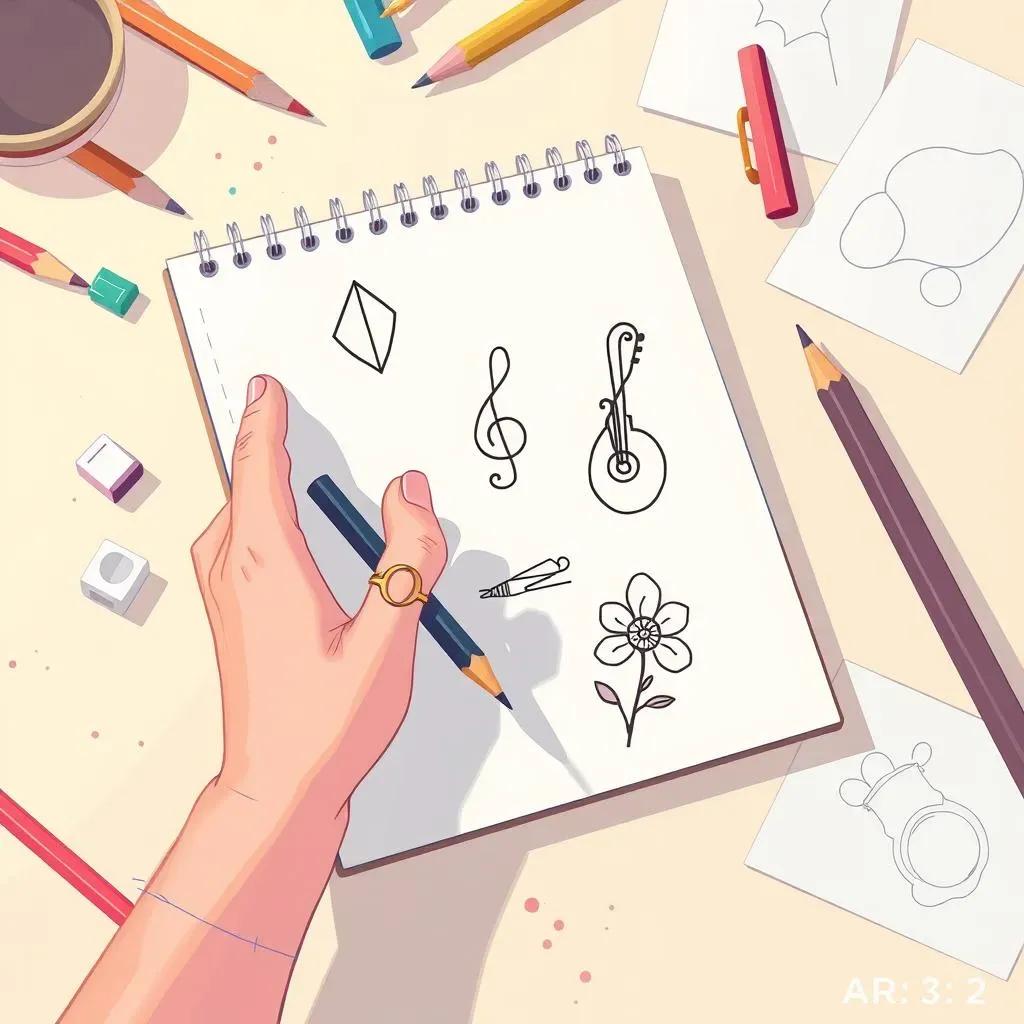
so you're ready to create your own tattoo designs drawing easy? Awesome! First, let's fire up that imagination. What kind of tattoo are you after? Think about your passions, your hobbies, your favorite things. Do you love nature? Maybe a simple flower or a geometric leaf design. Are you into music? A treble clef or a stylized guitar. The key is to choose something that resonates with you personally. Don't just copy something you saw online. Make it your own!
Once you've got a general idea, start sketching! Don't worry about making it perfect at this stage. Just get your ideas down on paper. Experiment with different shapes, sizes, and compositions. Try drawing the same idea in a few different ways. This is your chance to play around and see what works best. Think of it like brainstorming with your pencil. The more ideas you generate, the more likely you are to stumble upon something truly special.
Here are some brainstorming prompts to get you started:
- What are your favorite animals?
- What are your favorite quotes?
- What are your favorite symbols?
- What are your favorite colors?
- What are your favorite places?
Refining Your Design: From Sketch to Stencil
Alright, you've got a bunch of sketches. Now it's time to refine your favorite. This is where you'll start to clean up the lines, add details, and make sure the design is balanced and visually appealing. Start by tracing your sketch onto a new piece of paper. This will allow you to make changes without messing up your original drawing. Use a light pencil so you can easily erase any mistakes.
Pay attention to the flow of the lines. Do they create a sense of movement? Are there any awkward angles or areas that feel unbalanced? Adjust the lines until they feel smooth and natural. Add details like shading, texture, and line weight to give your design more depth and dimension. Think about how the tattoo will look on the skin. Will it be easy to read? Will the lines hold up over time? Consider simplifying the design if necessary. Remember, less is often more when it comes to tattoos.
Here's a checklist for refining your design:
- Trace your sketch onto a new piece of paper.
- Clean up the lines and add details.
- Adjust the lines until they feel smooth and natural.
- Add shading, texture, and line weight.
- Simplify the design if necessary.
Inspiration and Ideas for Unique Tattoo Designs Drawing Easy
Inspiration and Ideas for Unique Tattoo Designs Drawing Easy
so you've got the skills, now you need the spark! Finding inspiration and ideas for unique tattoo designs drawing easy can feel overwhelming, but it doesn't have to be. Start by looking inward. What makes you, *you*? What are your passions, your quirks, your inside jokes? Those are the things that will make your tattoo truly personal and meaningful. Don't be afraid to get weird, get specific, and get creative. The best tattoos tell a story, and that story should be uniquely yours. Think beyond the typical roses and skulls. What about a stylized version of your favorite coffee mug? Or a geometric representation of your hometown? The possibilities are endless!
Once you've explored your inner world, start looking outward. Browse art books, nature photography, vintage illustrations, anything that catches your eye. Pay attention to the shapes, colors, and compositions that resonate with you. Don't just copy what you see, but use it as a jumping-off point for your own ideas. Think about how you can combine different elements to create something new and original. A simple Google search for "tattoo inspiration" can also be a great starting point, but be sure to filter through the results and look for unique and interesting designs, not just the same old clichés.
Here are some unconventional sources of tattoo inspiration:
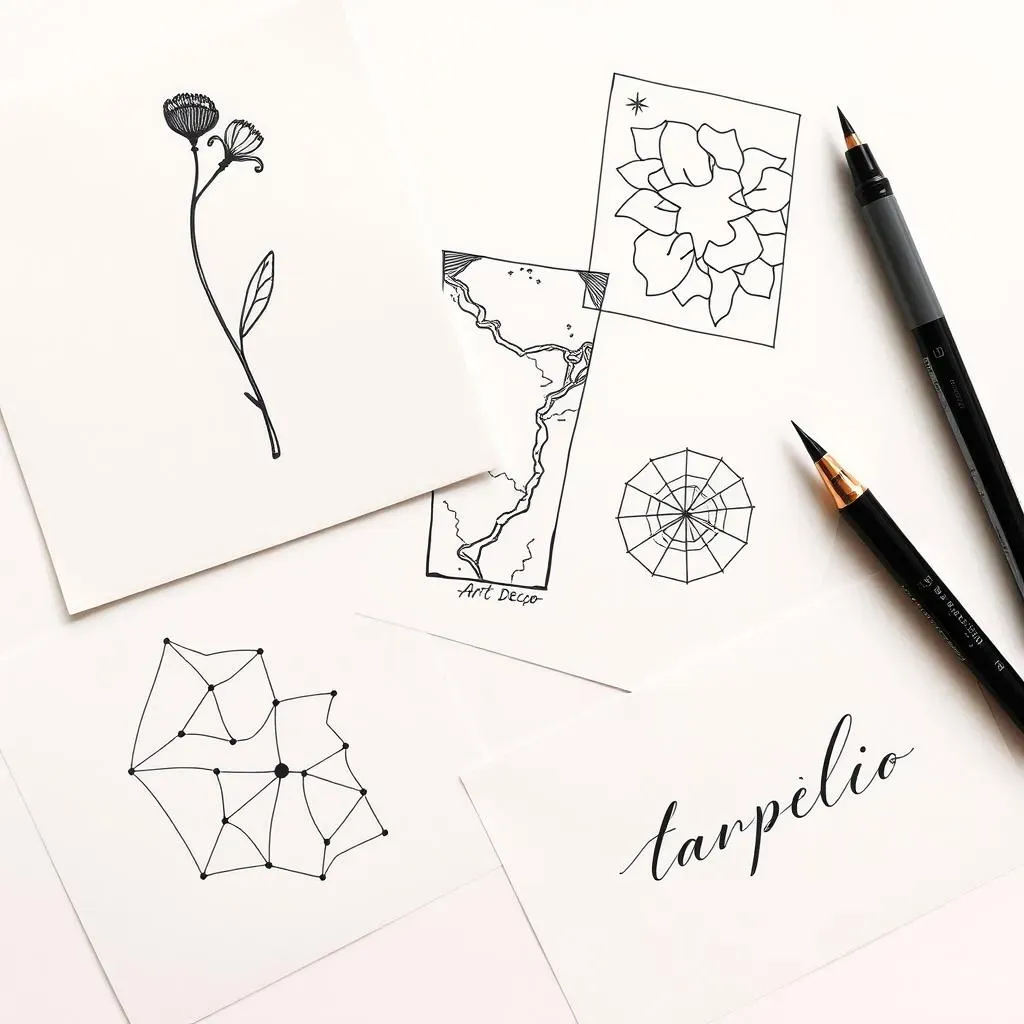
- Old maps and nautical charts: For a sense of adventure and wanderlust.
- Botanical illustrations: For intricate and delicate floral designs.
- Art Deco patterns: For geometric and stylized designs.
- Vintage scientific diagrams: For a nerdy and intellectual vibe.
- Your own handwriting: For a personal and intimate touch.
Conclusion: Your Tattoo Design Journey Starts Now
So, you've journeyed through the basics of creating easy tattoo designs! From mastering simple shapes to finding inspiration, you've gained the foundational skills to express yourself through ink-inspired art. Remember, the key is practice and experimentation. Don't be afraid to try new things, make mistakes, and learn from them. Whether you're sketching for fun or dreaming of your own unique tattoo, keep creating, keep exploring, and most importantly, keep enjoying the process. Your artistic adventure has just begun!