Table of Contents
Thinking about getting a leg tattoo but worried about the pain? You're not alone! Many people wonder about the level of discomfort involved before taking the plunge. This comprehensive guide is your roadmap to understanding leg tattoo pain. We'll explore the science behind the sensation, examining the various factors that influence how much it hurts. Get ready to discover which areas of your leg are more or less sensitive, and learn practical tips and tricks to minimize discomfort during your session. From understanding the different types of pain you might experience to discovering strategies for a smoother experience, this article will equip you with the knowledge you need to make an informed decision and confidently approach your leg tattoo journey. We’ll even share some insider secrets to help you navigate the world of leg tattoo pain so you can focus on the amazing artwork you're about to create, rather than the potential ouch! Let's dive into the world of leg tattoo pain together and demystify this often-feared aspect of the tattooing process.
Understanding Leg Tattoo Pain: Factors Influencing Discomfort
Understanding Leg Tattoo Pain: Factors Influencing Discomfort
Your Pain Tolerance: The Personal Equation
Let's be honest, pain is subjective. What one person considers a mild prick, another might find unbearable. Your own pain tolerance plays a huge role in how you experience a leg tattoo. Some people are naturally more sensitive than others, and that's perfectly okay! Think of it like spicy food – some folks love the fiery heat, while others prefer mild flavors. Your body’s natural response to pain is unique to you, and it influences the overall experience.
Factors like stress levels, sleep deprivation, and even your menstrual cycle can impact your pain threshold. If you're already feeling stressed or run-down, you might find the tattooing process more painful than usual. It's kind of like working out – if you're already tired, that extra rep feels a lot harder. Being well-rested and relaxed before your appointment can make a significant difference.
Factor | Impact on Pain Tolerance |
|---|---|
Stress Levels | Increased sensitivity |
Sleep Deprivation | Lowered pain threshold |
Menstrual Cycle | Potentially increased sensitivity |
The Anatomy of Your Leg: Nerve Endings and Bone Proximity
Your leg isn't a uniform surface; it's a complex landscape of skin, muscle, fat, and bone. The distribution of nerve endings varies across different areas, meaning some spots are naturally more sensitive than others. Areas with thinner skin and a higher concentration of nerve endings, like your inner thigh or ankle, tend to be more painful. Conversely, areas with thicker skin and more muscle or fat, like the calf, might feel less intense. It's like comparing a gentle tickle to a sharp poke – the density of nerve endings determines the sensation.
The proximity of bone to the skin also plays a role. Bones are essentially your body's scaffolding, and areas where they're close to the surface, such as the shinbone or ankle, are typically more sensitive. Think of it like tapping a hard surface versus a soft cushion – the harder surface transmits the sensation more directly. The tattoo needle is going through layers of skin and tissue, and the sensation will be amplified if there is less padding between the skin and bone.
- Inner thigh: Higher nerve density, thinner skin
- Ankle: Bone proximity, thinner skin
- Calf: Thicker skin, more muscle
- Thigh (outer): More muscle and fat
Leg Tattoo Pain: A Pain Chart and Location Guide
Leg Tattoo Pain: A Pain Chart and Location Guide
Visualizing the Pain: A Leg Tattoo Pain Chart
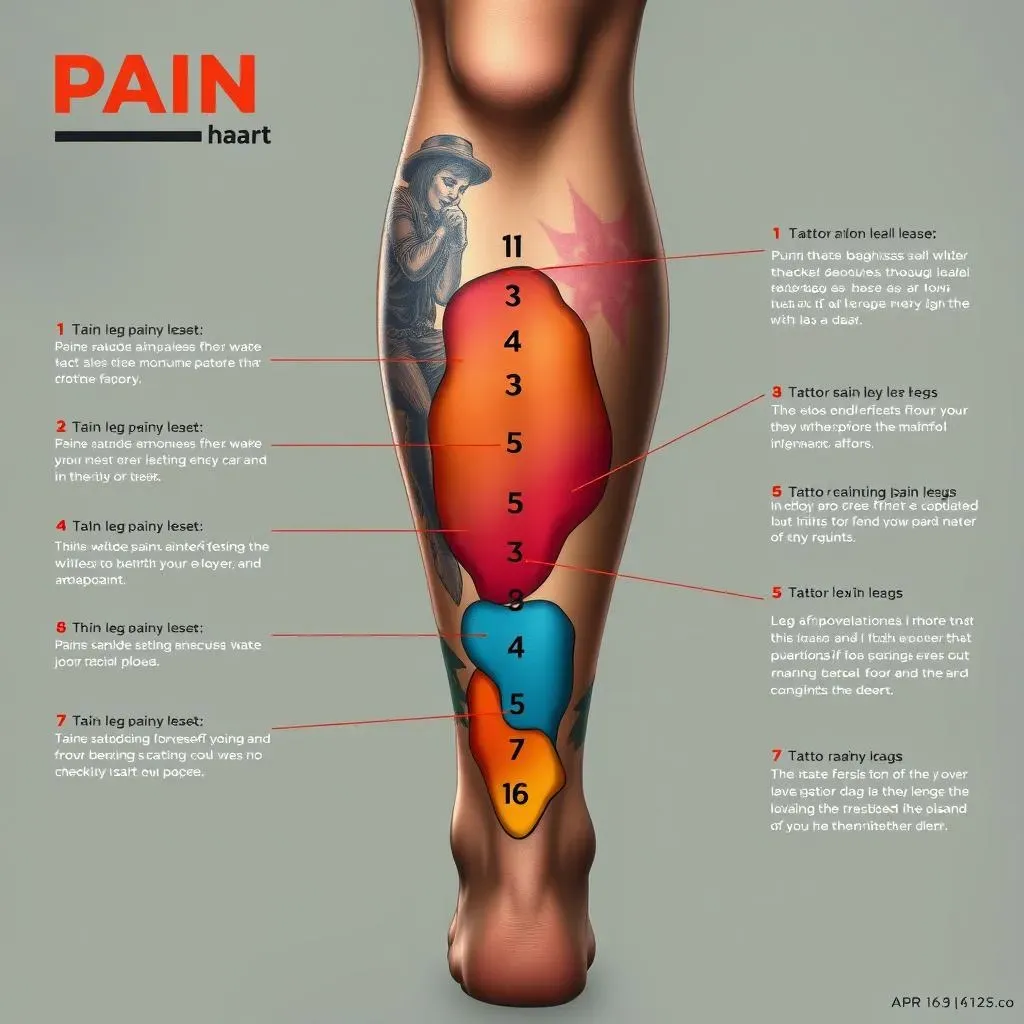
Okay, let's get visual. Think of your leg as a map, and each area has a different "pain terrain." Some areas are flat and easy to traverse (low pain), while others are mountainous and rocky (high pain). A pain chart helps you navigate this terrain. While individual experiences vary, a general guideline is helpful. Pain levels are often rated on a scale of 1 to 10, with 1 being barely noticeable and 10 being excruciating. Keep in mind this is subjective; your experience may differ!
Many resources online offer leg tattoo pain charts, but it's important to remember these are estimates. Your own pain tolerance, the artist's technique, and even the weather that day (yes, really!) can all influence the final experience. Don't be afraid to talk to your artist; they've seen it all and can offer personalized advice based on your chosen design and placement.
Leg Area | Pain Level (1-10) | Reasoning |
|---|---|---|
Outer Thigh | 3-4 | More muscle and fat |
Inner Thigh | 6-7 | Thinner skin, more nerve endings |
Calf | 4-5 | Fairly muscular, but some sensitive areas |
Ankle/Shin | 7-8 | Bone proximity, thinner skin |
Knee | 8-9 | Lots of nerve endings, joint sensitivity |
Location, Location, Location: Specific Leg Areas
Now let's break down specific areas in more detail. The outer thigh is often considered one of the less painful spots due to its thicker skin and ample muscle padding. Think of it as a well-cushioned seat – the tattoo needle doesn't encounter as much resistance. The inner thigh, however, is a different story. It's a sensitive area with thinner skin and a higher density of nerve endings, leading to a more intense experience. It’s like the difference between walking on soft sand versus sharp pebbles.
The calf muscle usually offers a middle-ground pain experience. While it has a good layer of muscle, certain areas can still be sensitive. The shinbone, however, is notoriously painful due to its proximity to the bone and thinner skin covering. It’s like hitting a hard surface directly – the sensation is amplified. The knee area, too, is highly sensitive, a combination of thin skin and a concentration of nerve endings around the joint. Remember, communication with your tattoo artist is key. They can advise on the best placement for your design and discuss ways to minimize discomfort.
- Outer Thigh: Generally less painful
- Inner Thigh: More painful, thinner skin
- Calf: Moderate pain, can vary by area
- Shin: High pain, bone proximity
- Knee: Very painful, joint sensitivity
Minimizing Leg Tattoo Pain: Tips and Tricks for a Smoother Experience
Minimizing Leg Tattoo Pain: Tips and Tricks for a Smoother Experience
Pre-Tattoo Prep: Setting the Stage for Success
Before you even step into the tattoo studio, you can take steps to minimize pain. Think of it like preparing for a marathon – you wouldn't run 26 miles without training, right? Proper preparation is key. Staying well-hydrated in the days leading up to your appointment is crucial. Dehydration can make you more sensitive to pain, so drink plenty of water. Avoid alcohol and excessive caffeine, as these can thin your blood and increase bleeding, potentially making the tattoo process more uncomfortable. A good night's sleep is also essential; being well-rested will significantly improve your pain tolerance.
Consider what you'll wear to your appointment. Loose, comfortable clothing will prevent irritation on your freshly tattooed skin. Eating a good meal beforehand will also help keep your blood sugar stable and your energy levels up. And don’t forget to communicate with your artist! Let them know if you're nervous or have any concerns about pain. A good artist will be happy to help you feel comfortable and prepared.
Preparation Tip | Benefit |
|---|---|
Hydration | Reduces sensitivity |
Good Sleep | Increases pain tolerance |
Nutritious Meal | Maintains energy levels |
Comfortable Clothing | Prevents irritation |
During the Tattoo: Managing Discomfort in Real-Time
Once the needles start rolling, there are still things you can do to manage the discomfort. Deep, controlled breathing can help relax your muscles and reduce pain perception. Think of it as a mini-meditation session – focusing on your breath helps distract you from the sensation. Communicating with your artist is also paramount. Don't hesitate to let them know if you need a break or if a particular area is causing more pain than expected. They're experts, and their goal is to make you as comfortable as possible. They can adjust their technique or take short pauses as needed.
Some people find that listening to music or watching a movie helps distract them from the pain. Others prefer to chat with their artist or bring a friend for support. Find what works best for you, and don't be afraid to experiment. Remember that the pain is temporary, and the end result will be a beautiful and lasting piece of art. The experience is part of the journey, and a good artist will guide you through it.
- Deep breathing exercises
- Open communication with your artist
- Distraction techniques (music, movies, conversation)
- Taking breaks as needed