Table of Contents
So, you've taken the plunge and got yourself a stunning new leg tattoo. Congratulations! But now comes the crucial next step: ensuring proper leg tattoo healing. This isn't just about letting the ink settle; it's about protecting your investment and ensuring your artwork looks its absolute best for years to come. This comprehensive guide will walk you through every stage of the leg tattoo healing process, from the initial oozing and soreness to the final stages of skin regeneration. We'll cover essential aftercare techniques, providing clear, actionable advice on what to do (and, equally importantly, what *not* to do) to optimize your healing journey. We'll also address common problems that can arise during leg tattoo healing, equipping you with the knowledge to tackle any unexpected bumps in the road. By the end of this article, you'll be a leg tattoo healing expert, confident in your ability to nurture your new ink into a vibrant, long-lasting masterpiece. Let's dive into the world of leg tattoo healing and get you on the path to a perfect result!
Understanding the Leg Tattoo Healing Process
Understanding the Leg Tattoo Healing Process
The Three Phases of Healing
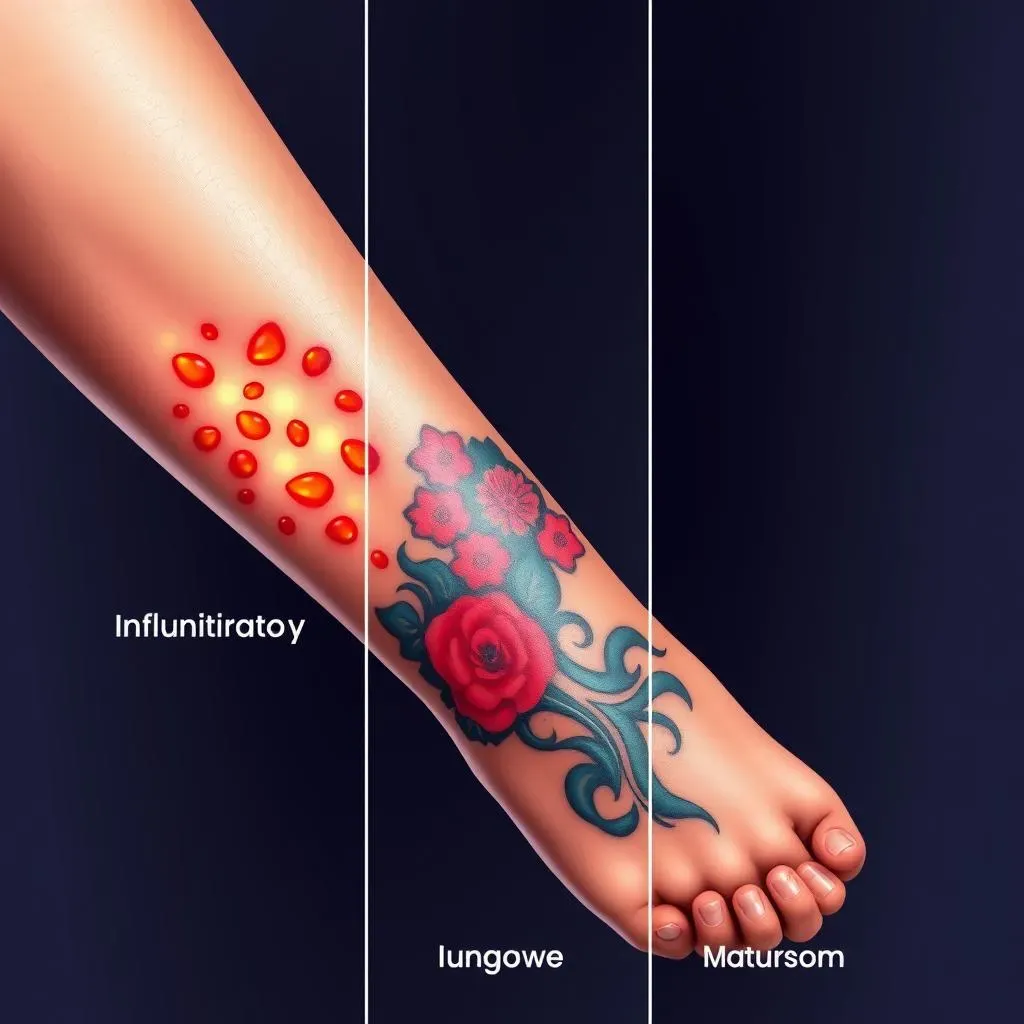
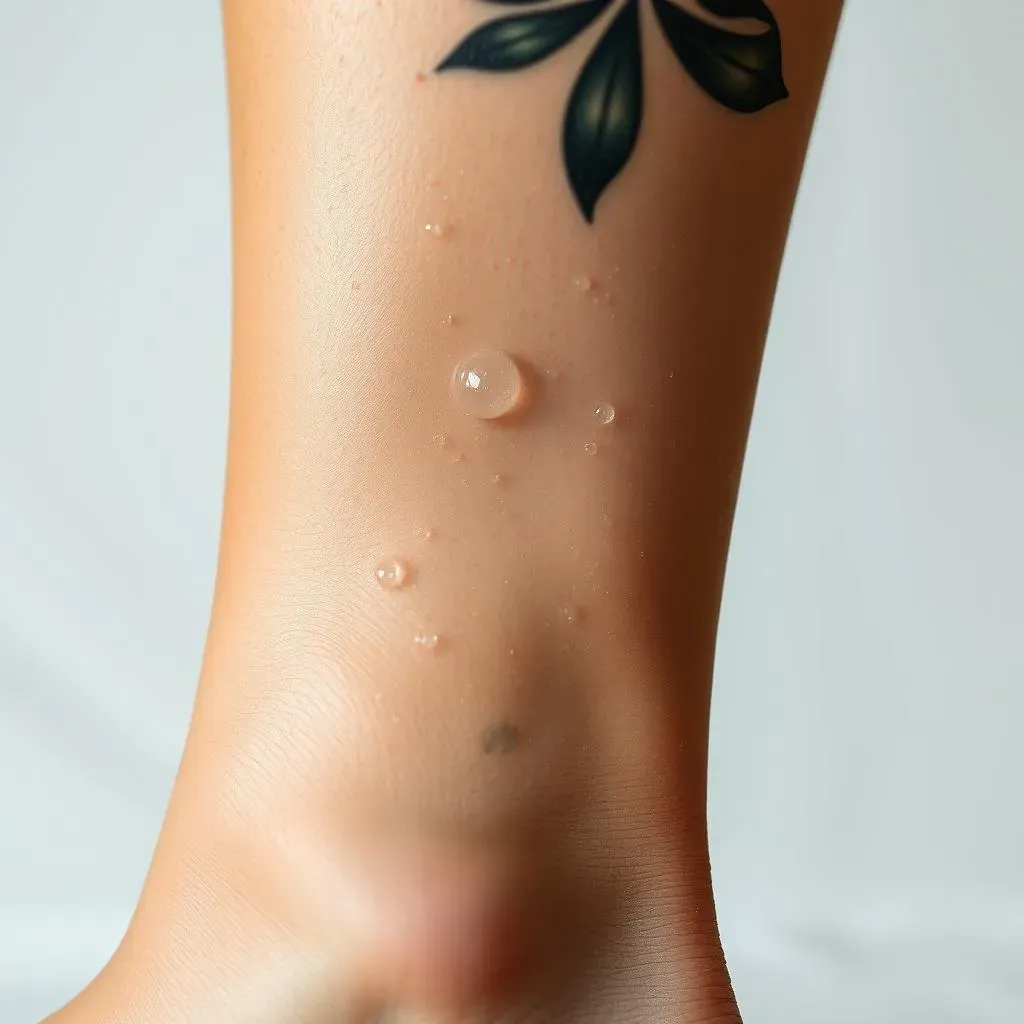
Leg tattoo healing isn't a sprint; it's a marathon! Think of it in three phases. First, you've got the initial inflammatory phase, usually lasting a week or so. This is where your skin is doing its best impression of a superhero, fighting off infection and starting the repair process. Expect some redness, swelling, and possibly some oozing – it's all part of the process! This phase is crucial, as it sets the stage for the rest of the healing. Proper aftercare during this time is key to preventing complications.
Next comes the proliferative phase, where the real magic happens. Your body is busy building new skin cells, essentially knitting together the damaged tissue. This phase can last several weeks, and you'll probably experience some itching and flaking as your skin sheds the old, damaged layers. Resist the urge to pick at any scabs; this can lead to scarring and fading of your tattoo. Keep moisturizing and protecting your skin during this time.
Phase | Timeline | What to Expect |
|---|---|---|
Inflammatory | 1-7 days | Redness, swelling, oozing, soreness |
Proliferative | 7-28 days | Itching, flaking, scab formation |
Maturation | 28+ days | Tattoo softens, color becomes more vibrant, skin fully heals |
The Importance of Aftercare
Finally, we have the maturation phase, which can extend for several months. This isn't just about the outer layer of skin healing. The deeper layers are still rebuilding, and the ink is settling into place. Your tattoo might still look a little dull or cloudy during this time, but it will gradually become more vibrant and sharper as the healing progresses. Patience is a virtue here! Continued proper aftercare, including keeping the tattoo moisturized and protected from the sun, is essential during this final phase.
Remember, every body heals differently. Factors like your skin type, overall health, and the size and complexity of your tattoo can influence the healing time. While the timeline above is a general guideline, don't be alarmed if your healing journey is a little different. If you have any concerns, always consult your tattoo artist or a medical professional.
- Keep your tattoo clean and dry.
- Use a fragrance-free moisturizer.
- Avoid sun exposure.
- Don't pick at scabs.
- Wear loose, comfortable clothing.
Leg Tattoo Aftercare: Do's and Don'ts for Faster Healing
Leg Tattoo Aftercare: Do's and Don'ts for Faster Healing
The Golden Rules of Aftercare
Alright, let's talk aftercare – the unsung hero of leg tattoo healing. Think of your tattoo as a fresh wound; it needs TLC to heal properly. Following your artist's specific instructions is paramount, but here are some general guidelines to keep in mind. Consistency is key! A few missed steps can significantly impact your healing time and the final look of your tattoo.
First things first: keep it clean! Gentle washing with a fragrance-free soap and lukewarm water is your best friend. Pat it dry (don't rub!), and apply a thin layer of the aftercare product your artist recommended. This usually involves a fragrance-free lotion or ointment. Avoid anything scented or containing alcohol, as these can irritate your skin and hinder healing. Remember, you're aiming for a clean and moisturized environment to encourage healthy skin regeneration.
Do | Don't |
|---|---|
Wash gently with fragrance-free soap | Scrub or pick at scabs |
Pat dry; don't rub | Use scented lotions or products with alcohol |
Apply a thin layer of recommended aftercare product | Expose to direct sunlight |
Wear loose, breathable clothing | Submerge in water (baths, pools, etc.) for at least 2 weeks |
Avoiding Common Pitfalls
Let's address some common mistakes people make that can sabotage leg tattoo healing. One big no-no is picking at scabs. I know, it itches like crazy, but resist the urge! Picking can cause scarring, infection, and even lead to parts of your tattoo fading. Think of it like this: those scabs are your skin's protective armor; let them fall off naturally. Another common mistake is over-moisturizing. While keeping your tattoo hydrated is important, applying too much lotion can trap moisture and create a breeding ground for bacteria. A thin layer is all you need, and always apply it after washing and patting your tattoo dry. Finally, remember that sun exposure is a major enemy of your healing tattoo. Keep it covered or use a high SPF sunscreen until it's fully healed. Sunburn can cause serious damage to your new tattoo and lead to long-term problems.
Remember, patience is key. Leg tattoos, especially larger ones, can take several weeks to heal completely. Don't get discouraged if you still see some redness or slight swelling after a week or two. This is often perfectly normal. Just keep following your aftercare routine, and you'll be amazed at how quickly your tattoo heals and how vibrant it looks once it's done.
- Avoid tight clothing that rubs against the tattoo.
- Don't engage in strenuous activities that could irritate the area.
- Keep the tattoo clean and dry, especially after sweating.
- If you experience excessive pain, swelling, or signs of infection, seek medical attention immediately.
Troubleshooting Common Leg Tattoo Healing Problems
Troubleshooting Common Leg Tattoo Healing Problems
Dealing with Infection
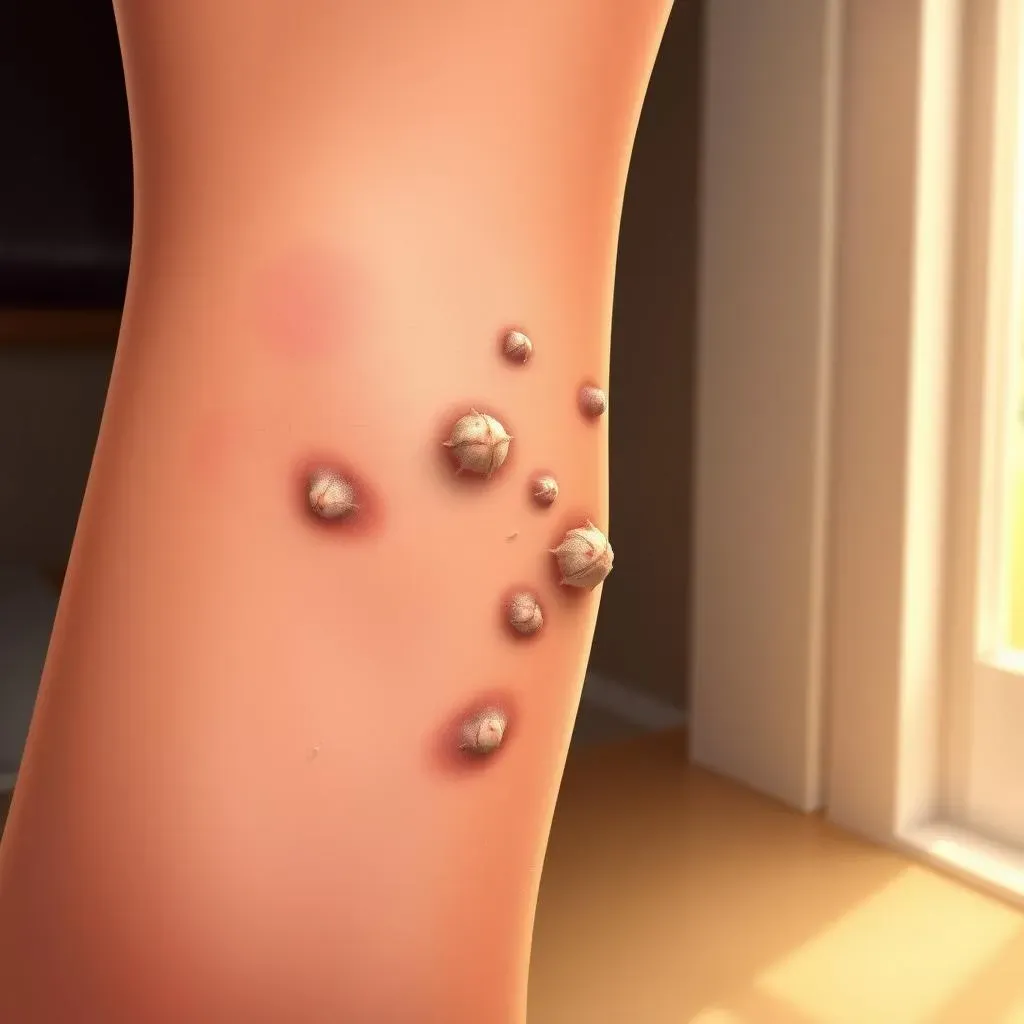
Let's face it: infections are the worst-case scenario when it comes to leg tattoo healing. Early signs can be subtle – increased redness, swelling, warmth to the touch, or even a yellowish discharge. Don't ignore these! If you suspect an infection, don't mess around. Seek medical attention immediately. Your doctor can diagnose the infection and prescribe the appropriate antibiotics to clear it up. Early intervention is key to preventing serious complications. Remember, a little redness and swelling are normal, but excessive redness, significant swelling, or pus are not. This is your body's way of screaming "Help!"
To avoid infections, maintain meticulous hygiene. Keep your tattoo clean and dry, using a gentle, fragrance-free soap. Avoid touching the tattoo unnecessarily, and always wash your hands thoroughly before doing so. If you're engaging in activities that cause sweating, make sure to clean your tattoo immediately afterward. This is especially important in the early stages of healing. Prevention is always better than cure when it comes to infections.
- Increased redness beyond the initial healing redness
- Excessive swelling and pain
- Yellowish or greenish discharge
- Fever or chills
- Red streaks extending from the tattoo
Addressing Excessive Itching and Dryness
That intense itching during the healing process? It's a common complaint, but it doesn't mean you have to suffer. The dry, flaky skin that accompanies the itching can be particularly uncomfortable, especially on the legs, which are prone to friction from clothing. Resist the urge to scratch! This is a recipe for disaster. Instead, try using a fragrance-free moisturizer specifically designed for sensitive skin. Apply it sparingly after washing and patting your tattoo dry. This will help soothe the itching and keep your skin hydrated, promoting healing. If the itching is unbearable, your doctor might recommend an antihistamine to help alleviate the discomfort.
Another strategy to combat itching is to keep your tattoo covered with loose, breathable clothing. This reduces friction, which can exacerbate the itching. Avoid tight-fitting clothing or anything that might irritate the area. If you find yourself constantly scratching despite your best efforts, consult your tattoo artist or a dermatologist. They may have additional suggestions or treatments to help manage the discomfort and prevent any damage to your new tattoo. Remember, patience is key, and the itching will eventually subside as your tattoo heals.
Problem | Solution |
|---|---|
Excessive Itching | Use fragrance-free moisturizer, avoid scratching, wear loose clothing, consider antihistamine |
Dry, Flaky Skin | Moisturize regularly, avoid harsh soaps, stay hydrated |
Sunburn | Protect tattoo from sun with high SPF sunscreen |