Table of Contents
So, you're itching to ink, huh? Becoming a tattoo artist is a rad journey, but let's be real: skin ain't paper. Before you even think about buzzing someone's arm with a permanent masterpiece (or a permanent mistake!), you need to clock in serious practice hours. That's where learning how to practice tattoo designs comes in. This isn't just about doodling; it's about building the skills, muscle memory, and confidence you'll need to create killer art that lasts a lifetime. Think of this guide as your tattoo apprenticeship crash course. We'll start with the fundamentals: leveling up your drawing game because, surprise, great tattooers are great artists first. Then, we'll dive into the wild world of tattoo machines, from coil to rotary, and how to find the perfect fit for your style. Next up is mastering your technique on fake skin (and some surprisingly useful alternatives!). Finally, we'll talk about the big leap: tattooing human skin, safely and ethically. Consider this your roadmap to tattooing success, so grab your pencil, fire up your imagination, and let's get started!
Level Up Your Drawing Skills to Create Great Tattoo Designs
Level Up Your Drawing Skills to Create Great Tattoo Designs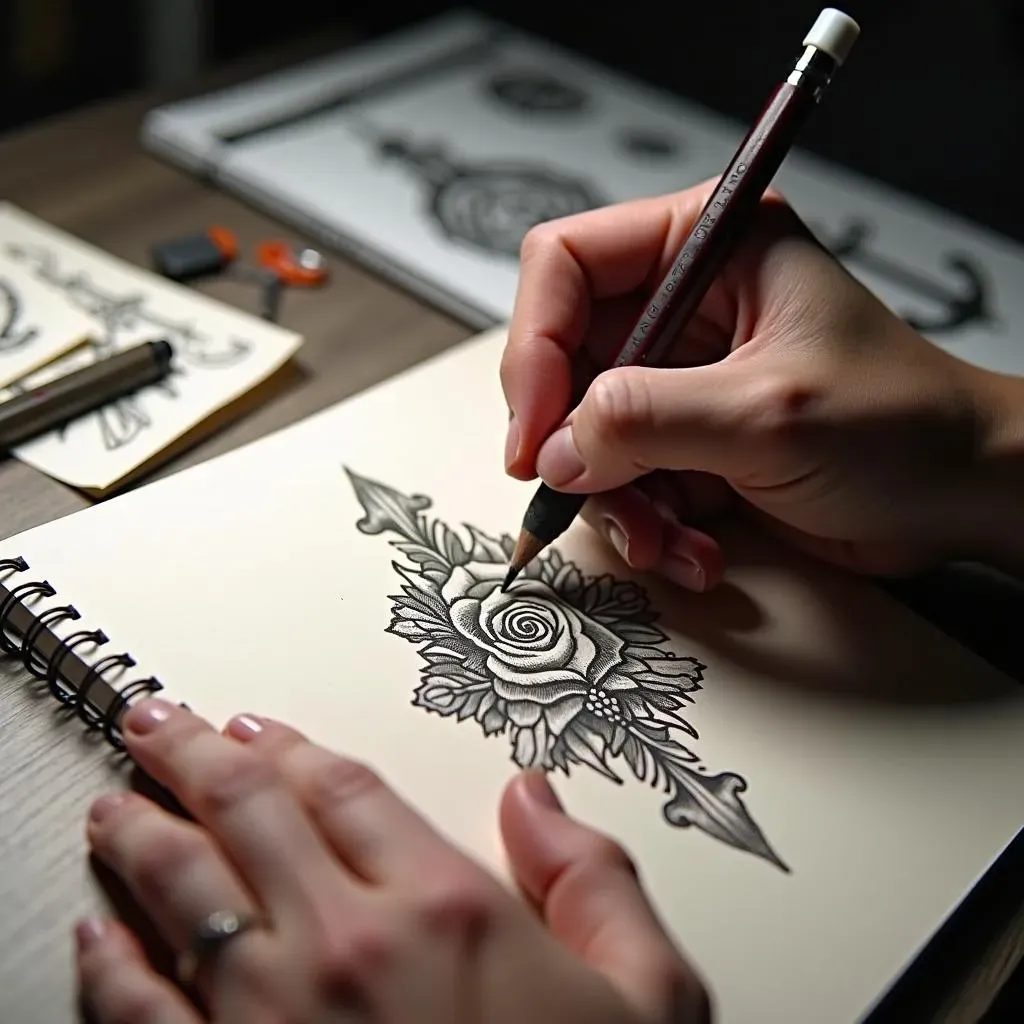
Why Drawing is Your Tattooing Foundation
Alright, future tattoo legends, let's get one thing straight: if you can't draw, you can't tattoo. Period. Think of drawing as your warm-up, your practice reps, and your design blueprint all rolled into one. It's how you translate the wild ideas in your head onto something tangible, something you can refine, tweak, and eventually, immortalize on skin. Don't skip this step, thinking you can just "wing it" with a machine. Trust me, your clients (and your reputation) will thank you.
Honing drawing skills is not just about replicating images; it's about understanding form, light, shadow, and composition. These elements are crucial for creating visually appealing and technically sound tattoo designs. A strong foundation in drawing allows you to adapt designs, create custom pieces, and troubleshoot issues that arise during the tattooing process.
Constant Practice Makes Permanent
So, how do you actually get better at drawing? Practice, practice, practice! I know, it sounds cliché, but there's no magic shortcut. Carry a sketchbook everywhere you go and fill it with everything you see. Draw people on the subway (discreetly, of course!), sketch your lunch, doodle during boring meetings. The more you draw, the better you'll become at observing the world around you and translating it onto paper.
Don't be afraid to experiment with different mediums, either. Try charcoal, pencils, pens, watercolors – whatever sparks your interest. Each medium will teach you something different about line weight, shading, and texture. And don't get discouraged if your early attempts look like a toddler's scribbles. Everyone starts somewhere. Just keep drawing, keep learning, and keep pushing yourself.
- Daily Sketching: Dedicate at least 30 minutes each day to drawing.
- Life Drawing: Attend life drawing sessions to improve your understanding of anatomy and form.
- Copying Masters: Study and replicate the work of artists you admire to learn their techniques.
Weighted Pencils and Temporary Tattoos: Training for the Real Deal
Now, let's get a little more specific about drawing for tattooing. Consider using a weighted pencil. It mimics the feel of a tattoo machine in your hand, helping you build strength and control. Also, start practicing drawing directly on the body with skin-safe markers. This will give you a feel for working with curves and contours, which is completely different than drawing on a flat surface.
Another fun exercise is creating temporary tattoos with stencils and henna or jagua. This allows you to see how your designs look on skin, how they move with the body, and how they hold up over time. It's also a great way to get feedback from friends and family before you start inking for real.
These steps help bridge the gap between traditional drawing and the unique challenges of tattooing. By incorporating these practices, you'll be better prepared for the transition to using a tattoo machine and working on real skin.
Practice Method | Benefits | Materials |
|---|---|---|
Weighted Pencil | Builds hand strength, mimics machine feel | Weighted pencil |
Body Drawing | Familiarizes with body contours | Skin-safe markers |
Temporary Tattoos | Visualizes designs on skin, gathers feedback | Stencils, henna/jagua |
Mastering Tattoo Machines and Finding the Right One
Mastering Tattoo Machines and Finding the Right One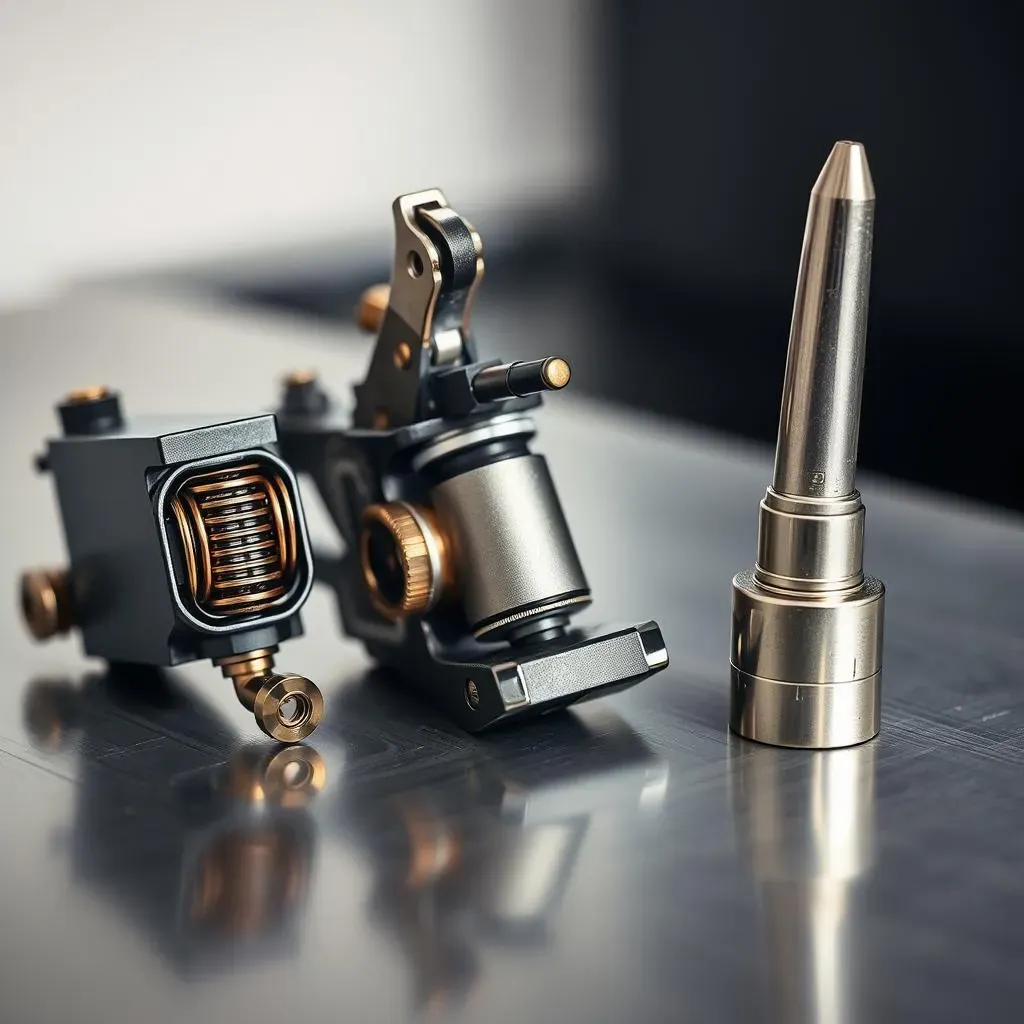
Coil, Rotary, or Pen: Understanding the Options
Alright, so you've got your drawing skills on point. Now it's time to meet your new best friend: the tattoo machine. Forget calling them "tattoo guns," okay? That's super outdated and makes you sound like you've been watching too many biker movies. We're talking about precision instruments here, and knowing the difference between them is key. The main types you'll encounter are coil machines, rotary machines, and pen-style machines, each with its own strengths and weaknesses.
Coil machines are the OGs, known for their power and distinct buzzing sound. They use electromagnetic coils to move the needle up and down, delivering a strong, consistent hit. Many artists swear by them for lining and traditional styles. Rotary machines, on the other hand, use a motor to create a smoother, quieter action. They're versatile and great for shading, blending, and smoother transitions. Pen-style machines are the new kids on the block, designed to mimic the feel of drawing with a pen. They're lightweight, easy to maneuver, and popular for a wide range of styles.
Finding Your Perfect Match: Experimentation is Key
So, which one should you choose? Honestly, it's all about personal preference. There's no "best" machine, just the best machine for you and your style. The best way to figure it out is to try them all! If you can, visit a tattoo supply shop and ask to test out different machines. See how they feel in your hand, how they handle, and how they perform on practice skin. Talk to other artists and get their opinions, but remember that what works for them might not work for you.
Don't be afraid to start with a cheaper machine while you're learning. You don't need to drop a ton of cash on a top-of-the-line model right away. As you gain experience and develop your style, you'll get a better sense of what you need in a machine. And remember, maintaining your machine is crucial. Clean it regularly, replace worn parts, and keep it properly lubricated. A well-maintained machine will last longer and perform better, saving you money in the long run.
Machine Type | Pros | Cons | Best For |
|---|---|---|---|
Coil | Powerful, consistent hit, good for lining | Can be heavy, requires more tuning | Traditional styles, bold lines |
Rotary | Smooth, versatile, quieter | Can lack power for some styles | Shading, blending, realism |
Pen-Style | Lightweight, easy to maneuver, ergonomic | Can be less powerful than coil machines | Versatile, good for all styles |
Fake It 'Til You Make It: Practicing Tattoo Designs on Alternative "Skins"
Fake It 'Til You Make It: Practicing Tattoo Designs on Alternative "Skins"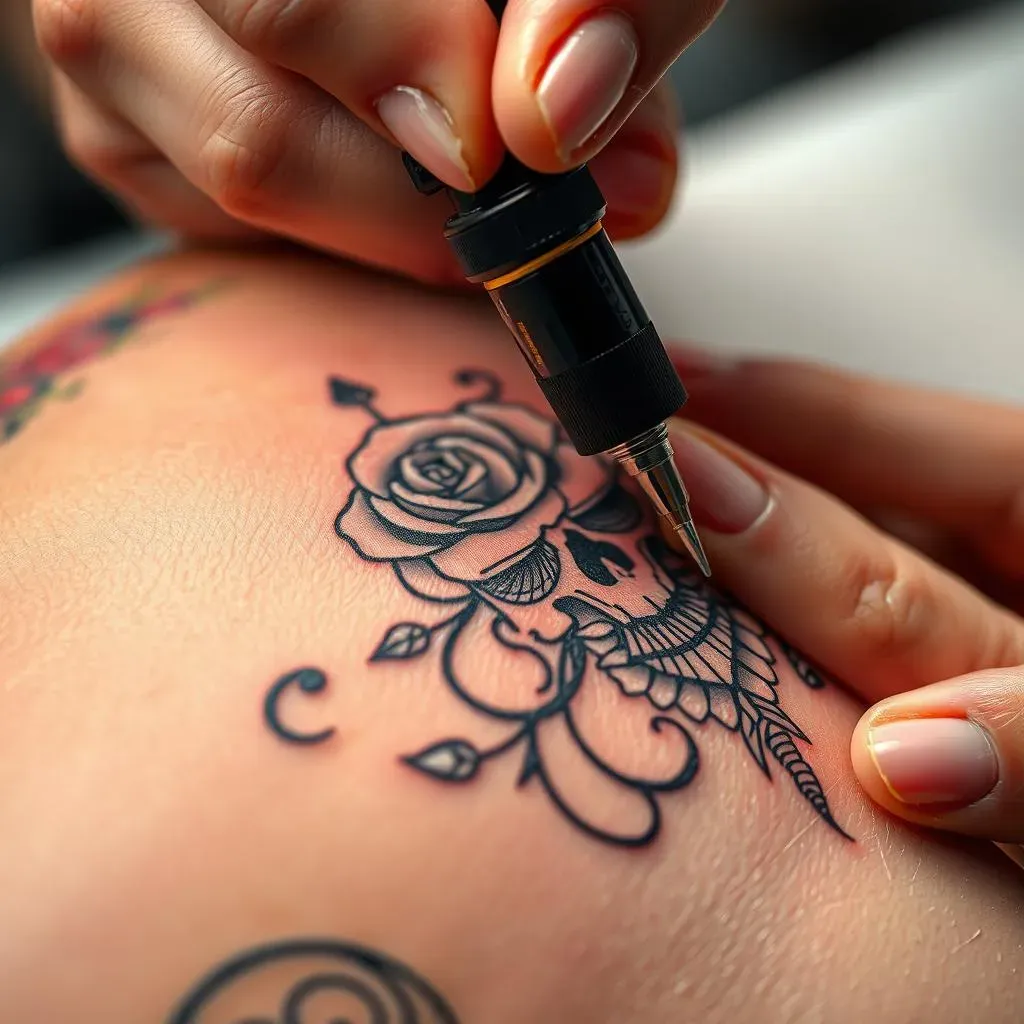
Why Fake Skin is Your New Best Friend
let's talk about fake skin. I know, I know, it sounds kinda lame, but trust me on this one. Before you go anywhere near real human skin, you need to spend some serious quality time with the synthetic stuff. Think of it as your tattoo training ground, where you can experiment, make mistakes, and learn the ropes without any permanent consequences. It's like a video game where you get unlimited lives – perfect for leveling up your skills without freaking out a real person.
The beauty of fake skin is that it allows you to focus solely on your technique. You don't have to worry about client pain, squirming, or any of the other distractions that come with tattooing a live human. You can practice your linework, shading, and color packing in a controlled environment, building muscle memory and confidence. Plus, it's a whole lot cheaper than messing up someone's tattoo and having to pay for removal!
Beyond Synthetic: Fruits, Veggies, and Pig Skin?!
Now, let's get a little creative. While synthetic skin is the gold standard for practice, it can get a little pricey. So, what are some other options? Well, some artists swear by practicing on fruit. Oranges, grapefruits, and even melons can provide a surprisingly realistic surface for practicing basic techniques. The texture is similar to skin, and you can even practice stretching the "skin" to mimic tattooing on different parts of the body.
Then there's pig skin. Yes, you read that right. Pig skin is about as close as you can get to human skin without actually tattooing a human. It has a similar thickness and elasticity, and it even has pores! However, it's important to source your pig skin ethically and to dispose of it properly. Also, be prepared for the smell – it's not exactly a bouquet of roses. But if you're serious about getting a realistic practice experience, pig skin is definitely worth considering.
Practice Medium | Pros | Cons |
|---|---|---|
Synthetic Skin | Consistent texture, easy to work with | Can be expensive |
Fruit Skin | Cost-effective, readily available | Not as realistic as skin |
Pig Skin | Most realistic alternative, similar to human skin | Ethical concerns, odor |
Taking the Plunge: Tattooing Human Skin and Honing Your Craft
Taking the Plunge: Tattooing Human Skin and Honing Your Craft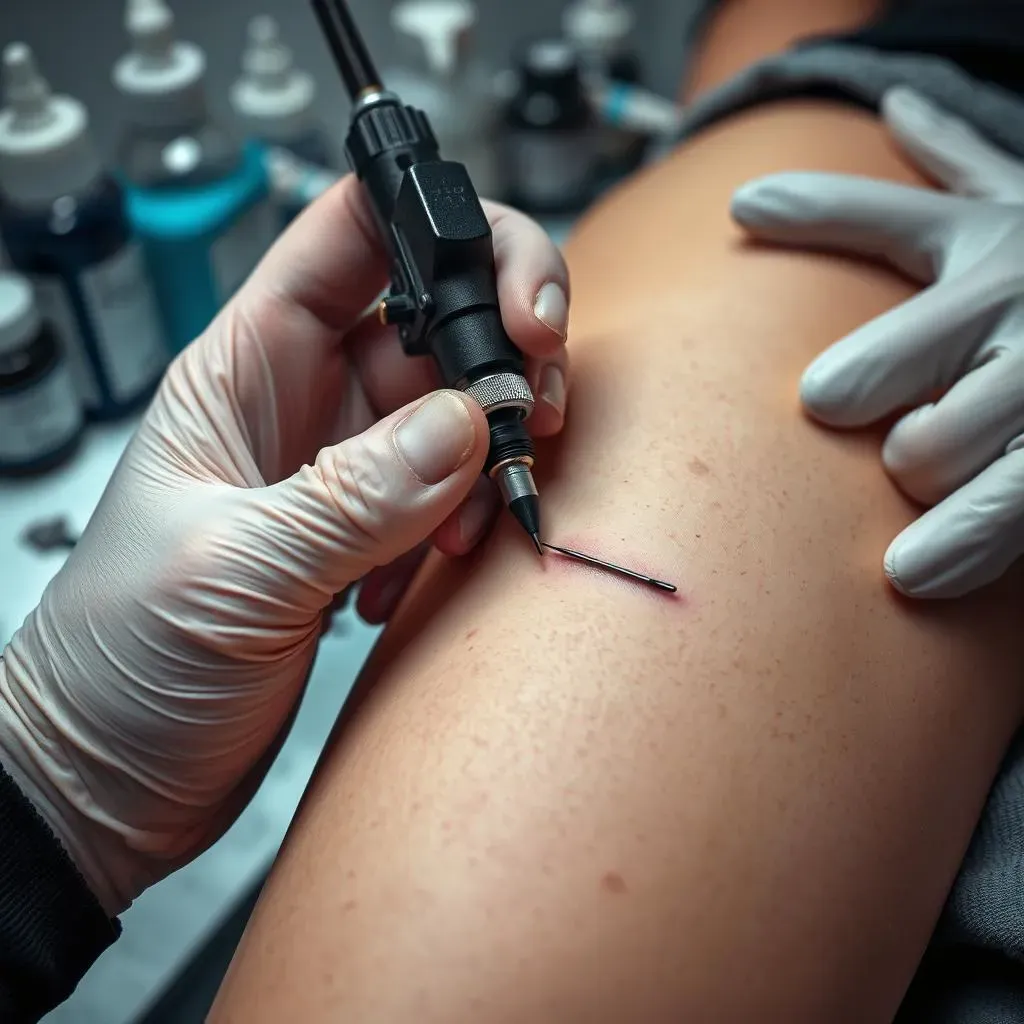
Ready? Get Certified First
you've put in the hours on fake skin, you're comfortable with your machine, and you're itching to tattoo a real person. Hold your horses! Before you even think about touching a needle to someone's skin, you need to get certified in Bloodborne Pathogens. This isn't optional; it's essential for protecting yourself and your clients from potentially life-threatening diseases like HIV and hepatitis. You can find certified courses online or in person, and they'll teach you everything you need to know about sterilization, sanitation, and preventing the spread of infection. Seriously, don't skip this step. It's not just about following the rules; it's about being a responsible and ethical artist.
Once you're certified, it's time to think about your first human canvas. And guess what? That canvas is going to be you! Tattooing yourself is a rite of passage for many artists. It allows you to experience the process from the other side, understanding what it feels like to be tattooed and how different parts of the body react to the needle. Plus, it's a great way to build confidence and refine your technique before you start working on other people.
Tattooing Yourself: A Rite of Passage
So, where should you start? Most artists recommend tattooing your thigh first. It's a relatively flat, fleshy area that's easy to access and doesn't have a lot of nerve endings. Plus, if you mess up, it's easy to cover up later! Start with a simple design, like a small line or a geometric shape. Focus on your linework, your needle depth, and your hand speed. Pay attention to how the skin feels and how the ink is settling. And most importantly, don't be afraid to ask for help! If you know any experienced artists, ask them to watch you tattoo and give you feedback. They can spot potential problems and offer valuable tips.
After you've successfully tattooed yourself (and healed properly, of course!), you can start thinking about tattooing friends and family. But be careful! Don't just start inking anyone who's willing to let you practice on them. Choose people who you trust, who understand that you're still learning, and who are willing to give you honest feedback. And always, always get their informed consent. Explain the risks involved, show them the design beforehand, and make sure they're comfortable with the process. Remember, their skin is precious, and you have a responsibility to treat it with respect.
Friends, Family, and Informed Consent
As you gain experience tattooing friends and family, start building a portfolio of your work. Take clear, well-lit photos of your tattoos, both fresh and healed. This will be essential when you start looking for apprenticeships or jobs in tattoo shops. And don't be afraid to showcase your progress! Share your work on social media, ask for feedback from other artists, and continue to learn and grow. The journey to becoming a skilled tattoo artist is a long one, but it's also incredibly rewarding. With dedication, practice, and a passion for the craft, you can achieve your dreams and create beautiful art that people will cherish for a lifetime.
Step | Action | Importance |
|---|---|---|
1 | Get Bloodborne Pathogens Certification | Essential for safety and legal compliance |
2 | Tattoo Yourself | Gain experience, understand the process |
3 | Tattoo Friends/Family | Build confidence, gather feedback |
4 | Build a Portfolio | Showcase your work, attract clients |
Ready to Ink? Your Tattoo Journey Starts Now
Learning how to practice tattoo designs is a marathon, not a sprint. There will be triumphs, there will be wobbly lines, and there will be moments when you question everything. But with dedication, the right resources, and a whole lot of practice, you'll be well on your way to creating incredible tattoos. So keep sketching, keep practicing, and never stop learning. The world needs your art, so go out there and make your mark!