Table of Contents
Ever wondered how tattoo artists get those intricate designs perfectly onto your skin? The secret lies in the meticulous process of transferring the design. This isn't just about slapping a sticker on; it's a crucial step that determines the final look of your tattoo. The question of how do tattoo artists transfer designs to skin is answered through a blend of technique, technology, and a little bit of artistic magic.
The Importance of Accurate Tattoo Design Transfer to Skin
The Importance of Accurate Tattoo Design Transfer to Skin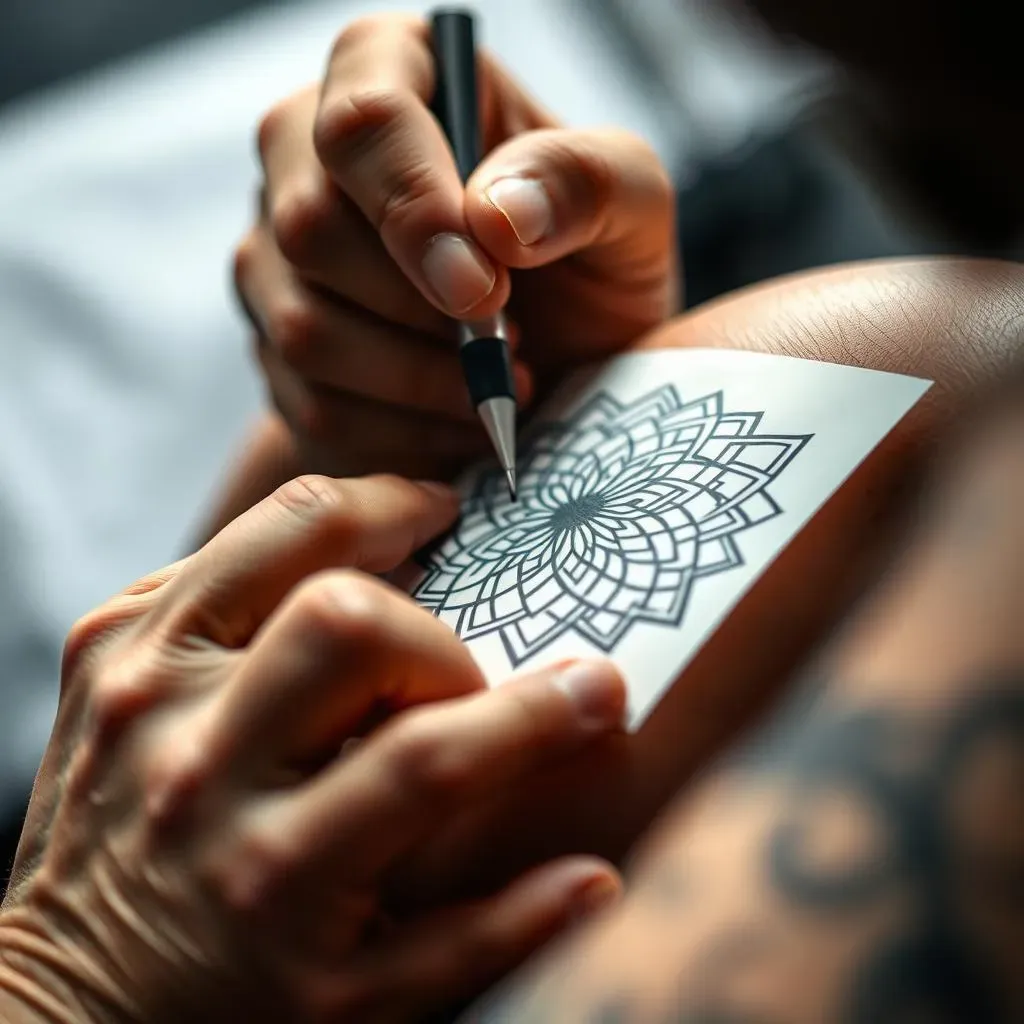
Why Precision Matters
Think of the tattoo transfer as the blueprint for a building. Without accurate measurements and a clear plan, the structure is doomed from the start. The same goes for tattoos. A precise transfer ensures that the design fits the body's contours perfectly, avoiding awkward placements or distorted imagery. Imagine getting a portrait where the eyes are slightly off – it's the kind of mistake that stares back at you every time you look in the mirror.
Beyond aesthetics, accuracy plays a vital role in the tattoo's longevity. A well-placed stencil allows the artist to follow the lines with confidence, creating clean, consistent linework that will stand the test of time. Sloppy transfers, on the other hand, can lead to wobbly lines, uneven shading, and a tattoo that fades or blurs prematurely. So, yeah, getting that transfer right is kind of a big deal.
Avoiding Common Transfer Pitfalls
One of the biggest headaches that tattoo artists face is stencil smudging. Imagine carefully applying a detailed design, only to have it smear and distort as soon as you remove the transfer paper. This can happen due to excessive moisture, improper skin prep, or simply not allowing the stencil to dry completely. The result? A frustrating mess that can ruin the entire tattoo.
Another common issue is incorrect placement. What looks good on paper might not translate well to the body's curves and angles. An experienced artist will take the time to assess the client's anatomy and adjust the stencil accordingly, ensuring that the tattoo flows naturally with their form. This might involve resizing, rotating, or even tweaking the design to achieve the perfect fit. After all, you want a tattoo that enhances your body, not clashes with it.
Pitfall | Consequence | Solution |
|---|---|---|
Smudged Stencil | Distorted lines, unclear design | Proper skin prep, quality transfer gel, allow sufficient drying time |
Incorrect Placement | Awkward fit, unflattering appearance | Careful assessment of anatomy, stencil adjustment, client consultation |
Tools of the Trade: Tattoo Stencil Paper, Transfer Gel, and Thermal Printers
Tools of the Trade: Tattoo Stencil Paper, Transfer Gel, and Thermal Printers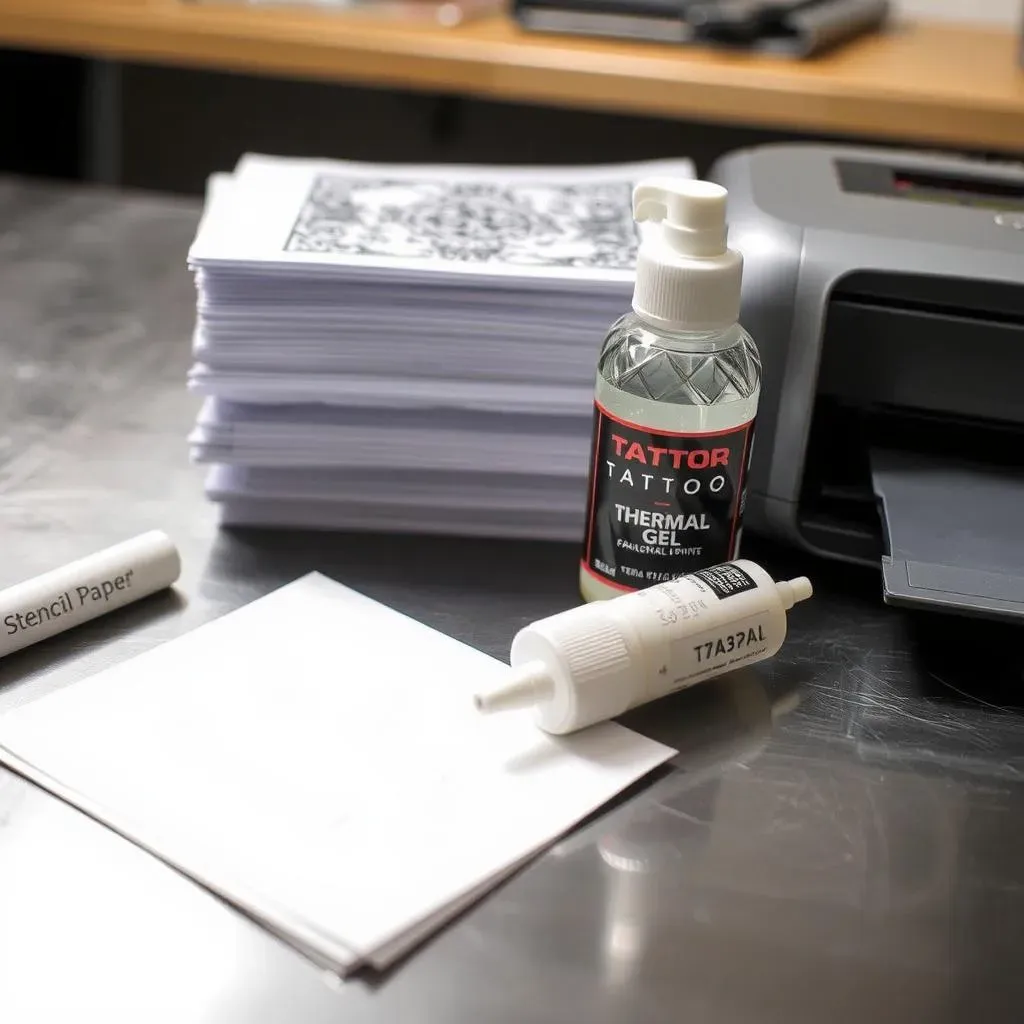
The Magic of Stencil Paper
Let's talk about stencil paper, the unsung hero of tattoo transfers! This isn't your everyday printer paper; it's a multi-layered marvel designed to transfer your design flawlessly. You've got a top sheet for the design, a carbon layer that does the actual transferring, a protective sheet to keep things clean, and a backing sheet to hold it all together.
There are two main types: manual and thermal. Manual transfer paper is old-school – you trace the design by hand, pressing down to transfer the carbon onto the skin. Thermal paper, on the other hand, works with a thermal printer, creating stencils quickly and with incredible precision. Each has its pros and cons, but both are essential for getting that design from paper to skin.
Transfer Gel: The Glue That Binds
Now, what about transfer gel? Think of it as the sticky handshake between the stencil and the skin. This gel preps the skin, allowing the stencil to adhere properly and ensuring a clean, crisp transfer. Not all gels are created equal; some are specifically formulated for sensitive skin, while others boast extra-long staying power.
Applying it is an art in itself. Too little, and the stencil won't stick. Too much, and you'll end up with a smudgy mess. The key is to apply a thin, even layer, just enough to make the skin slightly tacky. Let it sit for a minute, then gently press the stencil onto the skin. Patience is key here – don't rush the process, or you'll regret it later.
Tool | Purpose | Considerations |
|---|---|---|
Stencil Paper (Manual) | Hand-traced design transfer | Requires steady hand, good for simple designs |
Stencil Paper (Thermal) | Printer-generated design transfer | Fast, precise, requires thermal printer |
Transfer Gel | Adheres stencil to skin | Choose based on skin sensitivity, apply evenly |
StepbyStep: How Do Tattoo Artists Transfer Designs to Skin Using Stencils?
StepbyStep: How Do Tattoo Artists Transfer Designs to Skin Using Stencils?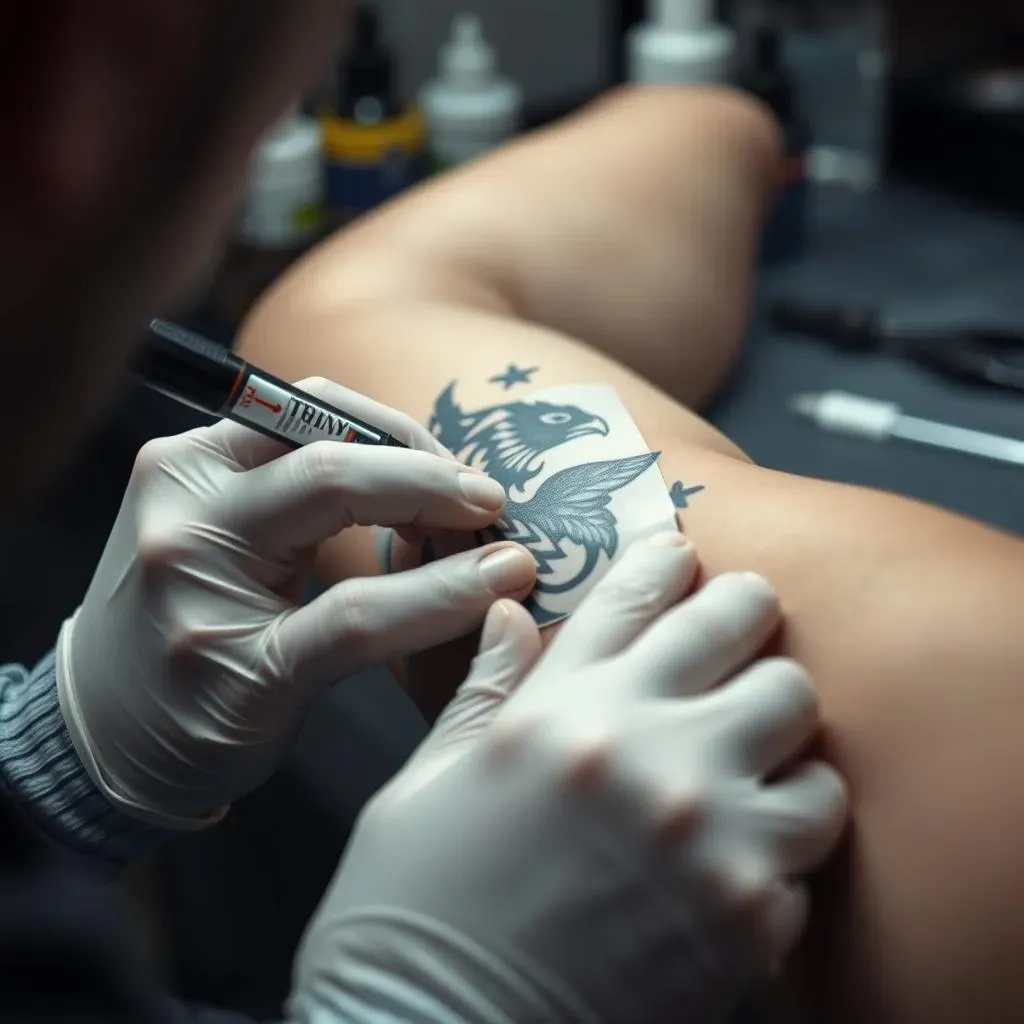
Prepping the Canvas: Skin Preparation
Alright, let's get down to the nitty-gritty. First things first: skin prep. This is where the magic begins. You can't just slap a stencil on any old surface and expect it to stick. The skin needs to be clean, smooth, and free of any oils or lotions. Think of it like prepping a wall for painting – you wouldn't paint over dirt and grime, would you?
Start by shaving the area, even if there's only a little bit of fuzz. Hair can interfere with the stencil transfer and make it difficult to get a clean, crisp outline. Next, clean the area with a good antibacterial soap or skin cleanser. This will remove any surface oils and bacteria, creating a clean canvas for the stencil. Finally, dry the area thoroughly with a clean paper towel.
Applying the Transfer: The Art of the Stick
Now for the fun part: applying the transfer. Grab your transfer gel and apply a thin, even layer to the prepared skin. Remember, less is more. You want the skin to be slightly tacky, not soaking wet. Let the gel sit for a minute or two, allowing it to get nice and sticky.
Take your stencil and carefully position it on the skin. Make sure it's exactly where you want it, because once it's on, it's hard to move without smudging. Gently press the stencil onto the skin, starting from the center and working your way outwards. Use a clean paper towel to apply even pressure, ensuring that all parts of the stencil make contact with the skin. Hold it in place for a few minutes, allowing the transfer to fully adhere.
Setting the Stage: Letting it Dry and Set
Almost there! Once the stencil is applied, the most crucial step is to let it dry completely. This can take anywhere from 10 to 20 minutes, depending on the humidity and the type of transfer gel you're using. Resist the urge to touch or peel at the stencil during this time, as this can cause smudging and distortion.
To speed up the drying process, you can use a fan or a hairdryer on a low, cool setting. Once the stencil is completely dry, gently peel off the transfer paper. You should be left with a clear, crisp outline of your design on the skin. If there are any smudges or imperfections, carefully clean them up with a cotton swab dipped in alcohol. Now you're ready to start tattooing!
Step | Description | Tips |
|---|---|---|
Skin Prep | Shave, clean, and dry the area | Use antibacterial soap, dry thoroughly |
Gel Application | Apply thin, even layer of transfer gel | Less is more, let it sit for a minute |
Stencil Application | Position and press stencil onto skin | Start from center, apply even pressure |
Drying Time | Let stencil dry completely | Use fan or hairdryer to speed up process |
Freehanding It: When and How Artists Transfer Tattoo Designs Directly to Skin
Freehanding It: When and How Artists Transfer Tattoo Designs Directly to Skin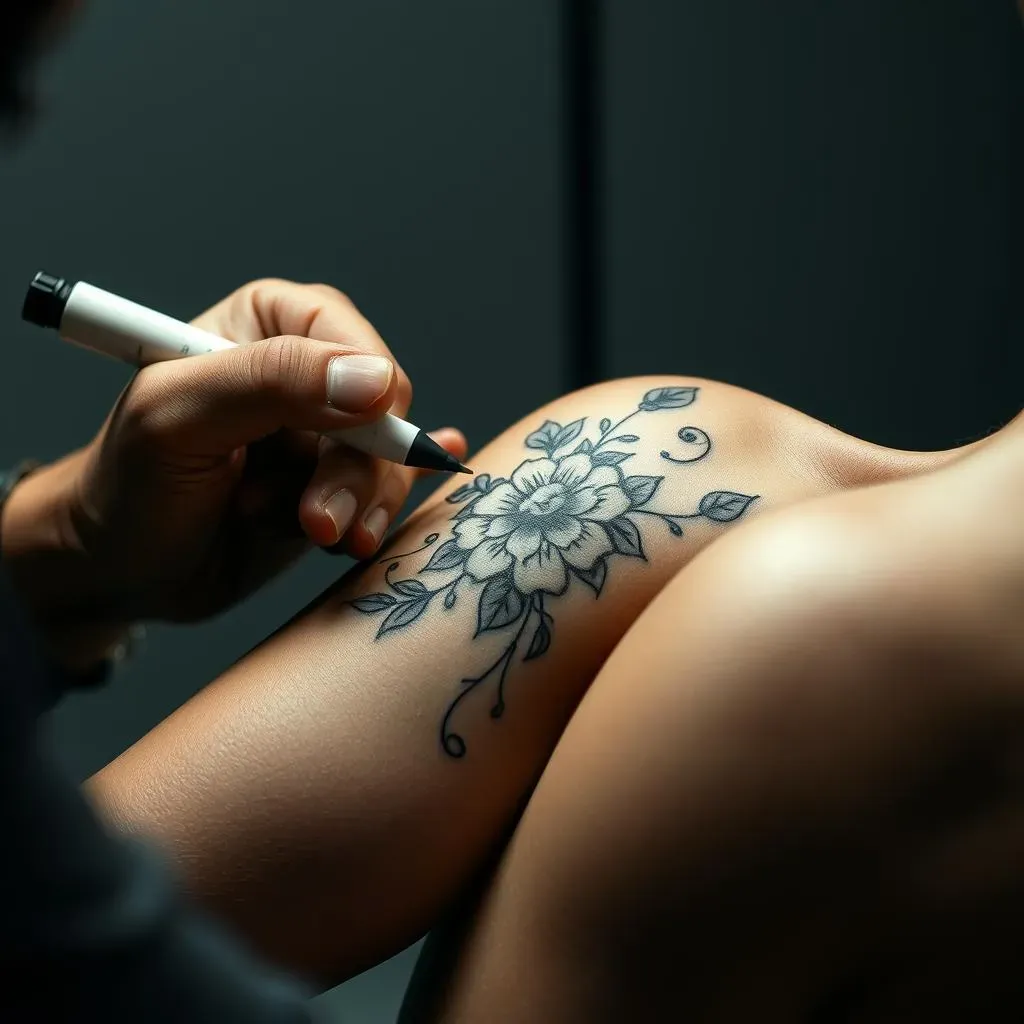
Alright, let's talk about taking the training wheels off: freehand tattooing. This is where the artist ditches the stencil and draws directly onto the skin with a marker. It's like a painter facing a blank canvas, armed with nothing but skill and imagination. It's a bold move, and it's not for the faint of heart.
Freehanding demands a deep understanding of anatomy, design, and the way ink interacts with skin. It allows for a level of customization and fluidity that stencils simply can't match. Think flowing, organic designs that wrap around the body's curves, or spontaneous creations that evolve in real-time. But with great power comes great responsibility.
When to Go Freehand
So, when is it appropriate to ditch the stencil and go freehand? Generally, it's reserved for experienced artists who have a solid grasp of their craft. It's often used for organic designs, cover-ups, or when the client wants a truly unique, one-of-a-kind piece. Also, if the tattoo artist that you are working with is not comfortable with it, then don't force them to do it.
Cover-ups are a prime example. Trying to fit a stencil over an existing tattoo can be tricky, as the old ink can distort the lines and make it difficult to get a clean transfer. Freehanding allows the artist to work with the existing design, incorporating it into the new piece seamlessly. Similarly, organic designs like vines, flowers, or tribal patterns often benefit from the natural flow and spontaneity of freehand drawing.
Scenario | Why Freehand? | Considerations |
|---|---|---|
Organic Designs | Allows for natural flow and customization | Requires strong understanding of anatomy |
Cover-Ups | Adapts to existing ink, seamless integration | Must consider old design's shape and color |
Unique, Custom Pieces | One-of-a-kind creation, client collaboration | Artist's skill and vision are paramount |
The Freehand Process: From Sketch to Skin
The freehand process starts with a consultation. The artist will discuss the client's vision, assess their anatomy, and create a rough sketch of the design. This sketch serves as a guide, but the final design will often evolve as the artist works directly on the skin.
Using a skin-safe marker, the artist will then draw the design directly onto the skin. This is where their skill and experience really shine. They'll consider the body's contours, the flow of muscles, and the overall composition to create a design that looks and feels natural.
Once the client approves the drawing, the tattooing begins. The artist will carefully follow the lines of the drawing, making adjustments as needed to ensure a perfect fit. It's a dynamic process, a collaboration between artist and client, resulting in a tattoo that's truly unique.
- Consultation and Sketch: Discuss vision, assess anatomy
- Drawing on Skin: Use skin-safe marker, consider body contours
- Tattooing: Follow lines, make adjustments as needed
The Risks and Rewards of Freehand Tattooing
Freehand tattooing isn't without its risks. There's no stencil to fall back on, so any mistakes are permanent. It requires a high level of skill, confidence, and attention to detail. That being said, the rewards can be immense. A well-executed freehand tattoo can be a stunning work of art, a testament to the artist's talent and the client's trust.
If you're considering a freehand tattoo, do your research. Find an artist who specializes in this technique, and be sure to check out their portfolio. Look for clean lines, balanced compositions, and a strong understanding of anatomy. And most importantly, trust your gut. Choose an artist who you feel comfortable with, someone who understands your vision and has the skill to bring it to life.
Whether you choose a stencil or a freehand design, remember that a tattoo is a permanent commitment. Take your time, do your research, and choose an artist who you trust. With the right preparation and the right artist, you can end up with a piece of art that you'll treasure for a lifetime. So, go forth and get inked – responsibly!
Conclusion: The Art of the Transfer
Mastering the art of tattoo design transfer is essential for any tattoo artist. Whether using stencils for precision or embracing the freedom of freehand, the goal remains the same: to accurately and effectively translate a design onto the skin. Understanding the tools, techniques, and nuances of this process not only ensures a visually stunning tattoo but also a satisfied client. So, the next time you admire a perfectly executed tattoo, remember the careful transfer process that made it all possible.