Table of Contents
Intrigued by the captivating world of henna tattoo designs? You're not alone! For centuries, henna has been used to adorn skin with beautiful, temporary art, steeped in cultural significance and celebrated for its natural elegance. From delicate floral patterns to bold geometric shapes, henna offers a unique way to express yourself without the commitment of permanent ink. But where do you start? How do you choose the perfect design, ensure a safe application, and make your henna art last?
Understanding Henna Tattoo Designs: History, Application, and Safety
Understanding Henna Tattoo Designs: History, Application, and Safety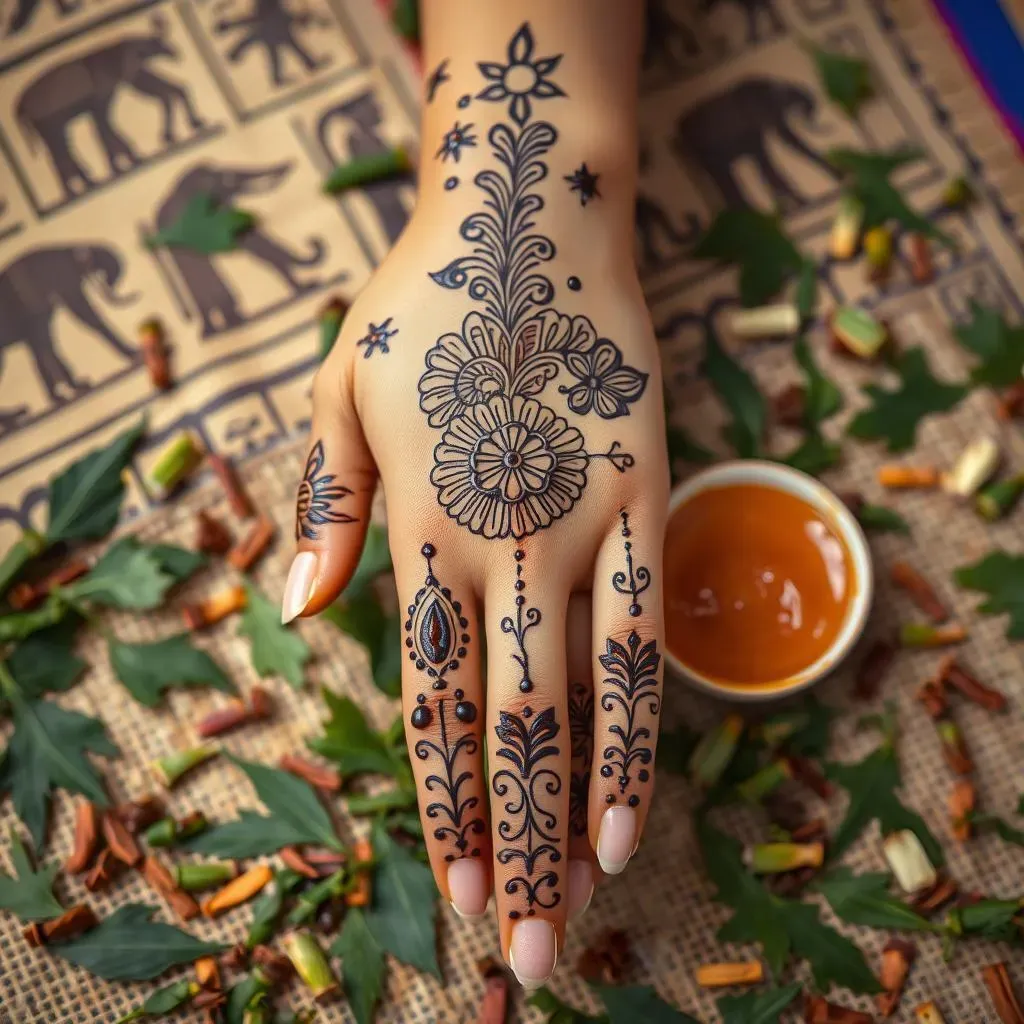
A Journey Through Time: The Rich History of Henna
Henna isn't just a trendy body art form; it's an ancient tradition with roots stretching back thousands of years! Imagine pharaohs in ancient Egypt using henna for cosmetic purposes, or brides in India receiving intricate henna designs as part of their wedding ceremonies. Henna has been used across cultures in North Africa, the Middle East, and South Asia for celebrations, blessings, and simply as a form of beautiful self-expression. It's a practice that connects us to generations past, a vibrant thread in the tapestry of human culture.
The word "henna" itself comes from the Arabic name for the henna plant, Lawsonia inermis. The leaves of this plant contain a dye molecule called lawsone, which binds to the proteins in skin, hair, and nails, creating a temporary stain. The color of the stain can range from a light orange to a deep reddish-brown, depending on the quality of the henna, the preparation method, and the individual's skin chemistry.
The Art and Science of Application: From Paste to Pattern
Creating a henna tattoo involves a bit of artistry and a dash of science. The process starts with preparing the henna paste, traditionally made by grinding dried henna leaves into a fine powder and mixing it with liquids like lemon juice, tea, or essential oils. The specific recipe varies from region to region, and even from artist to artist, each with their own secret blend for achieving the perfect consistency and color.
Once the paste is ready, it's applied to the skin using a cone or applicator bottle. The artist carefully creates the desired design, allowing the paste to dry for several hours. The longer the paste stays in contact with the skin, the darker and longer-lasting the stain will be. After the paste is removed, the initial stain will be a pale orange, gradually darkening over the next 24-48 hours as it oxidizes.
Step | Description |
|---|---|
1. Prepare the Paste | Mix henna powder with liquid (lemon juice, tea, etc.) to create a smooth paste. |
2. Apply the Design | Use a cone or applicator to carefully draw the henna design on the skin. |
3. Let it Dry | Allow the paste to dry completely for several hours (or overnight). |
4. Remove the Paste | Gently scrape off the dried paste, avoiding water contact for the first few hours. |
Exploring Various Henna Tattoo Designs: From Simple to Intricate
Exploring Various Henna Tattoo Designs: From Simple to Intricate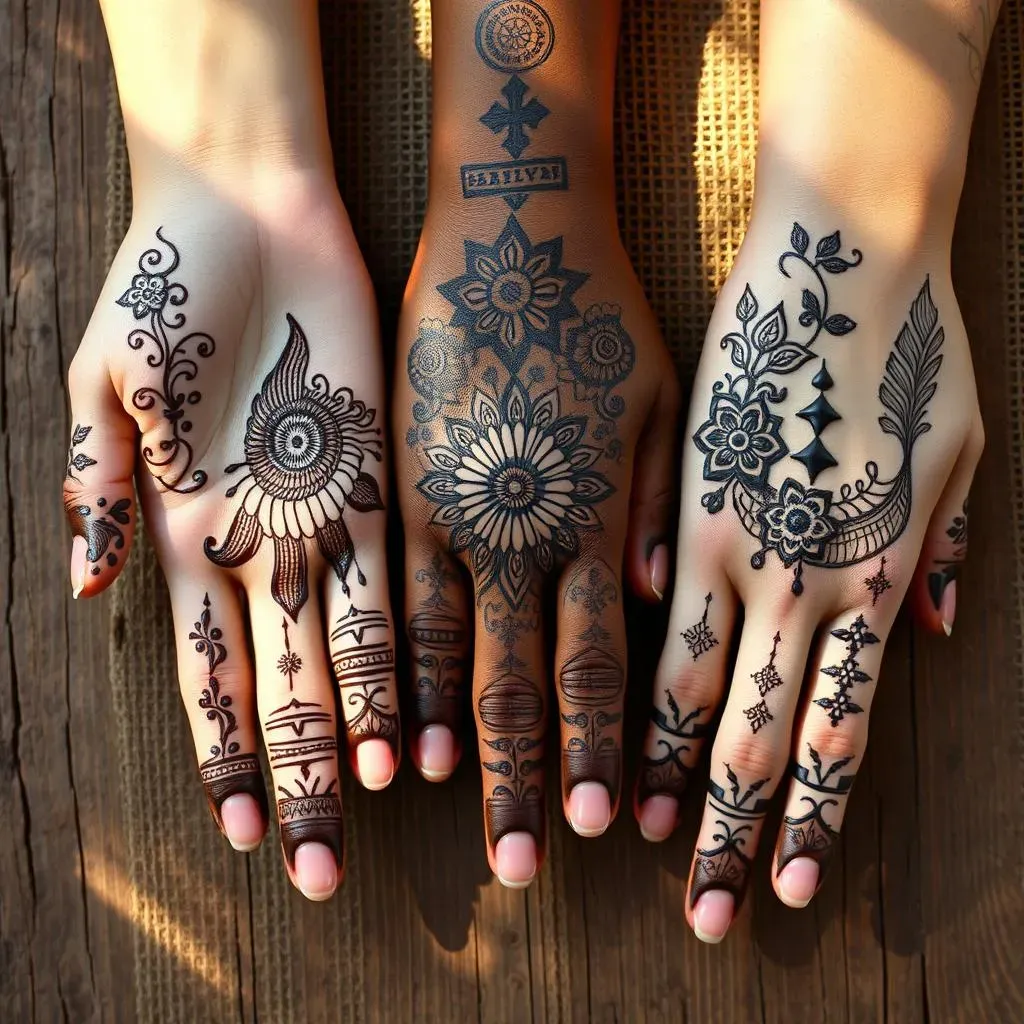
Minimalist Magic: Simple Henna Designs for Beginners
Starting your henna journey? Don't feel pressured to create elaborate masterpieces right away! Simple henna designs can be just as stunning and are a fantastic way to get comfortable with the application process. Think delicate vines tracing your fingers, small floral motifs on your wrist, or geometric patterns adorning your ankle. These designs are quick to apply, easy to maintain, and offer a subtle touch of elegance.
The beauty of minimalist henna lies in its understated charm. It's about enhancing your natural beauty without overwhelming it. Plus, simpler designs are more forgiving if you're a beginner and make mistakes. You can easily correct small imperfections without ruining the entire piece. So, grab your cone, take a deep breath, and embrace the beauty of simplicity!
- Dots and dashes: Create simple borders or patterns.
- Small flowers: Draw individual blossoms or a small cluster.
- Geometric shapes: Experiment with triangles, squares, and circles.
- Simple vines: Trace delicate lines along your fingers or wrist.
Intricate Inspirations: Diving into Detailed Henna Art
Ready to take your henna skills to the next level? Intricate henna designs are where the magic truly happens! These elaborate patterns often feature a combination of floral motifs, paisley patterns, geometric shapes, and delicate line work. Think bridal henna designs that cover the hands and feet, or large-scale pieces that adorn the back or chest. The possibilities are endless!
Creating intricate henna art requires patience, precision, and a steady hand. It's about layering different elements to create a cohesive and visually stunning design. Don't be afraid to experiment with different techniques and styles to find your own unique voice as a henna artist. Remember, practice makes perfect, so keep creating and pushing your boundaries!
Cultural Crossroads: Henna Designs from Around the World
Henna art is a global phenomenon, with each culture bringing its own unique style and symbolism to the practice. Indian henna designs, also known as Mehndi, are characterized by intricate floral and paisley patterns, often covering the hands and feet of brides. Arabic henna designs tend to be bolder and more geometric, with flowing lines and abstract shapes. North African henna designs often incorporate tribal motifs and symbols, reflecting the region's rich cultural heritage.
Exploring these different cultural styles can be a great source of inspiration for your own henna art. You can draw inspiration from traditional motifs and patterns, or mix and match elements from different cultures to create a unique fusion style. Remember to be respectful of the cultural origins of these designs and to avoid appropriating them without understanding their significance.
Culture | Design Characteristics |
|---|---|
Indian (Mehndi) | Intricate floral and paisley patterns, bridal designs. |
Arabic | Bold geometric shapes, flowing lines, abstract designs. |
North African | Tribal motifs, symbolic patterns, geometric elements. |
Henna Tattoo Designs for Different Body Parts: Hands, Feet, and More
Henna Tattoo Designs for Different Body Parts: Hands, Feet, and More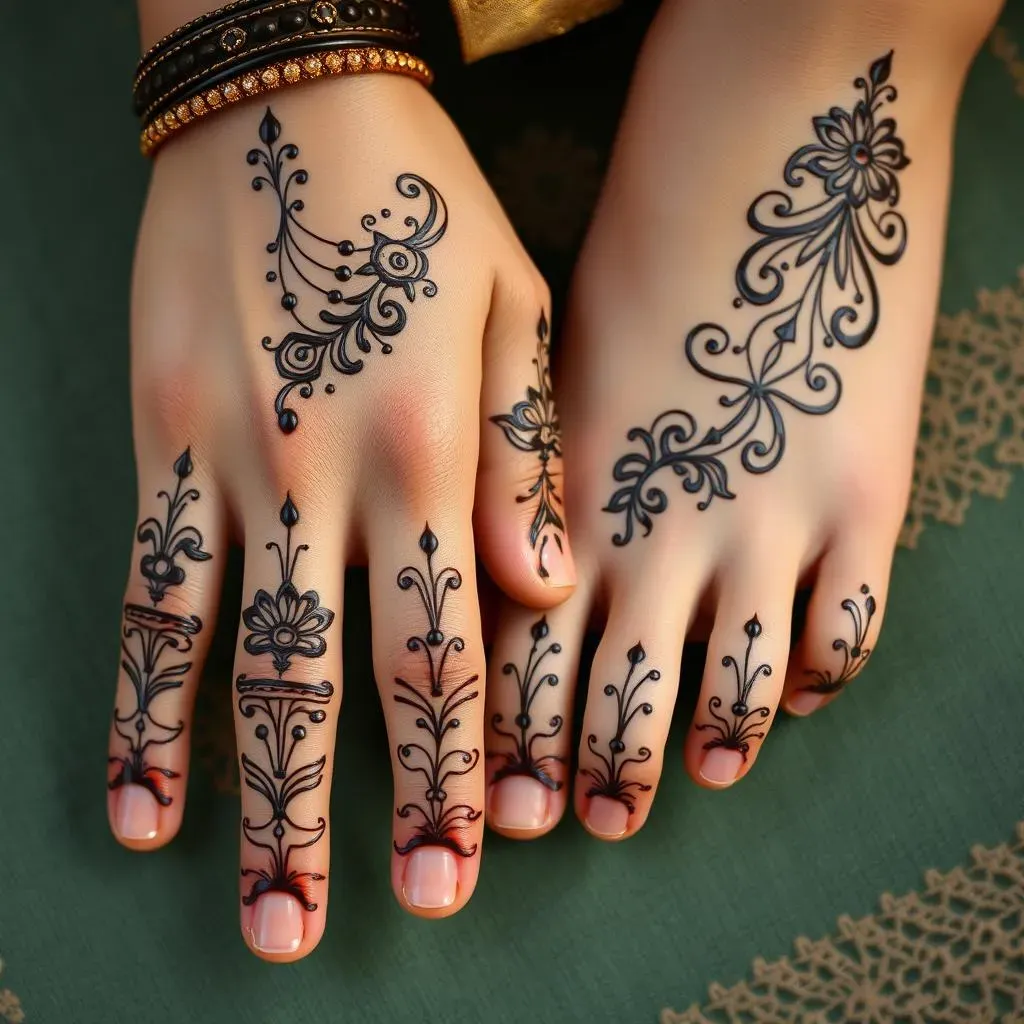
Hands: The Canvas of Choice for Henna Art
When you think of henna, the first image that probably pops into your head is intricate designs adorning hands. And for good reason! The hands are a prime canvas for henna art, offering a versatile space to showcase both simple and elaborate patterns. From delicate finger designs to full hand coverings, the possibilities are endless.
Traditionally, henna on the hands symbolizes blessings, joy, and good fortune, especially for brides. But you don't need to be getting married to rock a stunning hand henna design! Whether you opt for a classic Indian Mehndi style or a modern geometric pattern, henna on your hands is a beautiful way to express your individuality and add a touch of exotic elegance to your look. Plus, it's a great conversation starter!
- Finger Designs: Delicate vines, small flowers, geometric patterns.
- Palm Designs: Mandalas, intricate floral motifs, personalized symbols.
- Back of Hand Designs: Larger, more elaborate patterns, flowing designs.
Feet: Grounded in Tradition, Elevated in Style
While hands often take center stage, henna on the feet is equally captivating and steeped in cultural significance. In many cultures, henna on the feet symbolizes a connection to the earth, fertility, and new beginnings. Bridal henna designs often extend from the hands down to the feet, creating a stunning visual display of artistry and tradition.
But even if you're not walking down the aisle, henna on your feet can be a beautiful and unique way to adorn your body. Anklets, toe rings, and foot tattoos can all be incorporated into your henna design, creating a personalized and stylish statement. Whether you're rocking sandals on the beach or dancing the night away, henna on your feet is sure to turn heads and add a touch of bohemian flair to your look.
Caring for Your Henna Tattoo Designs: Making Them Last Longer
Caring for Your Henna Tattoo Designs: Making Them Last Longer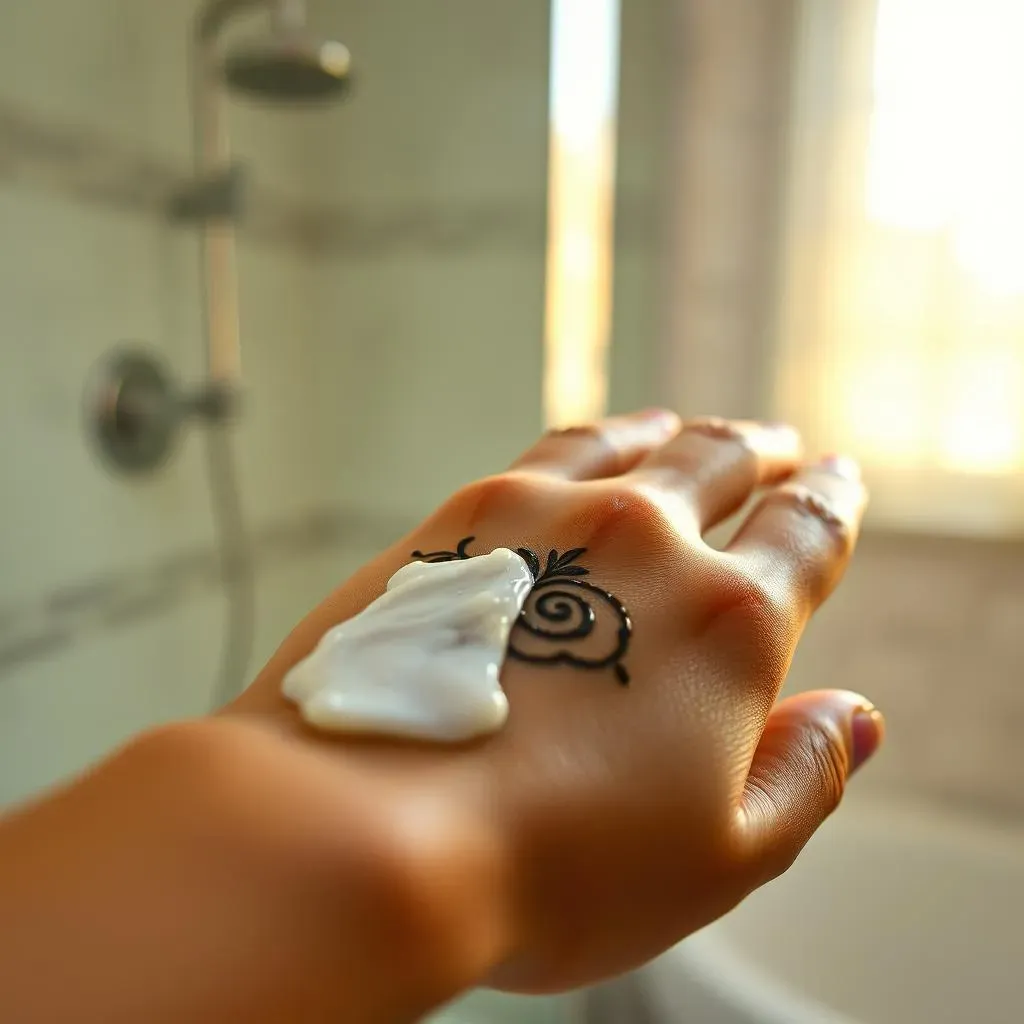
The First 24 Hours: Key to a Long-Lasting Stain
so you've got this amazing henna design, right? You want to make it last as long as humanly possible. The first 24 hours are absolutely crucial. Think of it like setting the foundation for a building. You mess that up, the whole thing crumbles! Avoid water contact like the plague. Seriously, no swimming, no long showers, no doing dishes without gloves. Water is henna's enemy in those initial hours.
Also, ditch the soap on the hennaed area. Soap contains chemicals that can interfere with the oxidation process, which is what makes your henna stain darken and become more vibrant. If you absolutely must clean the area, use a very mild, natural cleanser and pat it dry gently. Remember, patience is key! The longer you can keep the area dry and soap-free, the better your chances of a deep, rich stain that lasts.
- Avoid water contact for at least 6-12 hours.
- Skip the soap on the hennaed area.
- Pat the area dry gently if it gets wet.
Moisturize, Moisturize, Moisturize: Hydration is Your Friend
Once the initial 24 hours have passed, hydration becomes your best friend. Think of your skin as a sponge. When it's dry, it flakes and sheds, taking your precious henna stain with it. But when it's moisturized, it holds onto that stain like a champ! Regularly applying a natural oil, like coconut oil, olive oil, or shea butter, will keep your skin supple and prevent it from drying out.
Apply the oil liberally to the hennaed area several times a day, especially after showering or washing your hands. This not only keeps your skin hydrated but also creates a protective barrier against water and other environmental factors that can fade your henna. Plus, the oil will give your skin a healthy glow, making your henna design look even more vibrant. It's a win-win!
Oil Type | Benefits | Application |
|---|---|---|
Coconut Oil | Deeply moisturizing, antibacterial. | Apply liberally several times a day. |
Olive Oil | Rich in antioxidants, protects skin. | Massage gently into the skin. |
Shea Butter | Intense hydration, soothes skin. | Apply a thin layer after showering. |
Embrace the Art of Henna Tattoo Designs
From understanding its rich history to mastering application and aftercare, you're now equipped to explore the captivating world of henna tattoo designs. Whether you opt for a simple, elegant pattern or an intricate, culturally inspired masterpiece, remember that henna is more than just a temporary tattoo; it's a form of self-expression, a connection to tradition, and a celebration of natural beauty. So, go ahead, experiment with different designs, embrace the artistry, and let your skin tell its own unique story with the enchanting allure of henna.