Table of Contents
Thinking about getting inked, but the idea of a complex, sprawling tattoo feels a bit daunting? You're not alone! Many people are drawn to the idea of body art but hesitate to commit to something elaborate right away. That's where easy tattoo designs come in. They're the perfect entry point into the world of tattoos, offering a way to express yourself without the pain (or the price tag) of a larger piece. This guide is your roadmap to navigating the world of simple tattoos. We'll explore why they're a great choice, showcase some of the most popular and stylish options, discuss ideal placement, and even walk you through the tattooing process and aftercare. Whether you're a first-timer or just looking for a minimalist addition to your collection, get ready to discover the beauty and versatility of easy tattoo designs. By the end, you'll have all the inspiration and information you need to confidently choose your first (or next!) piece of ink.
Why Choose Easy Tattoo Designs?
Why Choose Easy Tattoo Designs?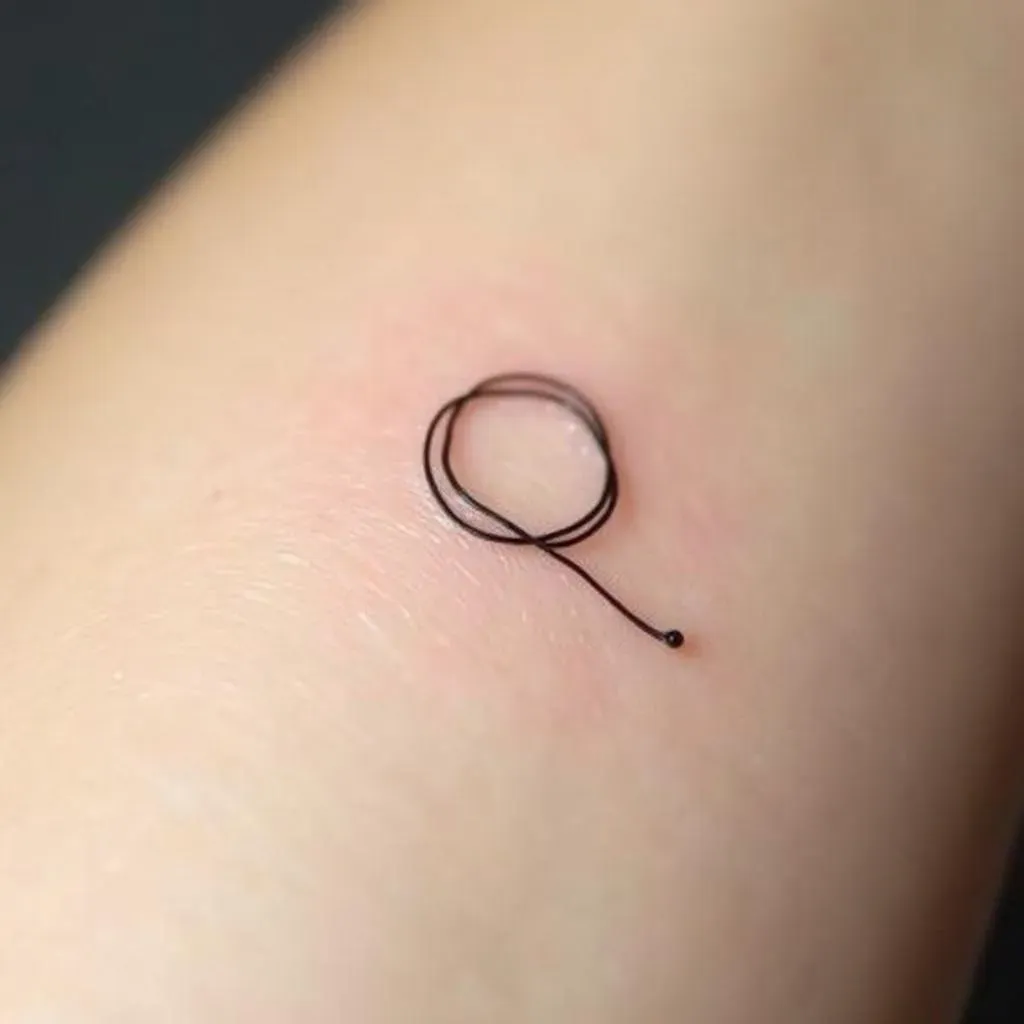
First Tattoo Jitters Be Gone
Let's be real, getting a tattoo can be intimidating, especially your first time. The buzzing needle, the permanence, the potential pain – it's a lot to process! Easy tattoo designs offer a fantastic solution: a gentle introduction to the world of ink. They allow you to experience the process without the commitment of a large, intricate piece. Think of it as a test drive before buying the whole car. You get to feel the vibe of the tattoo shop, connect with an artist, and see how your skin reacts, all with minimal pressure.
Plus, simple designs often mean shorter sessions, which translates to less time under the needle and a smaller dent in your wallet. Who doesn't love that? It’s a win-win: you get to rock some fresh ink and ease any anxieties you might have about getting tattooed.
Express Yourself Without Breaking the Bank
Tattoos are a powerful form of self-expression, but that doesn't mean they need to be extravagant. Easy tattoo designs prove that less can truly be more. A simple line, a tiny symbol, or a minimalist shape can speak volumes about your personality, beliefs, or passions. Think of a small anchor representing stability, a delicate flower symbolizing growth, or a simple geometric shape that reflects your love of design.
And here's the kicker: because they require less time and skill, simple tattoos are generally more affordable. This makes them accessible to a wider range of people, especially those who are budget-conscious or just starting their tattoo journey. You can get meaningful ink without emptying your savings account.
Top 10 Easy Tattoo Designs for Beginners
Top 10 Easy Tattoo Designs for Beginners
Alright, so you're ready to jump into the world of easy tattoo designs? Awesome! Let's dive into some killer ideas that are perfect for beginners. These designs are simple, stylish, and won't leave you regretting your decision (or your bank balance). We're talking about designs that are easy for artists to execute, relatively quick to do, and will look fantastic on your skin. Whether you're into minimalist art, nature-inspired motifs, or just want something small and meaningful, there's a perfect easy tattoo design waiting for you.
Think clean lines, basic shapes, and imagery that packs a punch without being overly complex. Remember, the goal is to get a feel for the tattooing process and walk away with a piece you genuinely love. So, let's get those creative juices flowing and explore the top 10 easy tattoo designs that are taking the tattoo world by storm!
- Simple Lines & Shapes
- Tiny Animals or Insects
- Single Words or Initials
- Stars or Constellations
- Musical Notes
- Feathers
- Hearts
- Arrows
- Geometric Patterns
- Flowers
Placement Ideas for Simple Tattoos
Placement Ideas for Simple Tattoos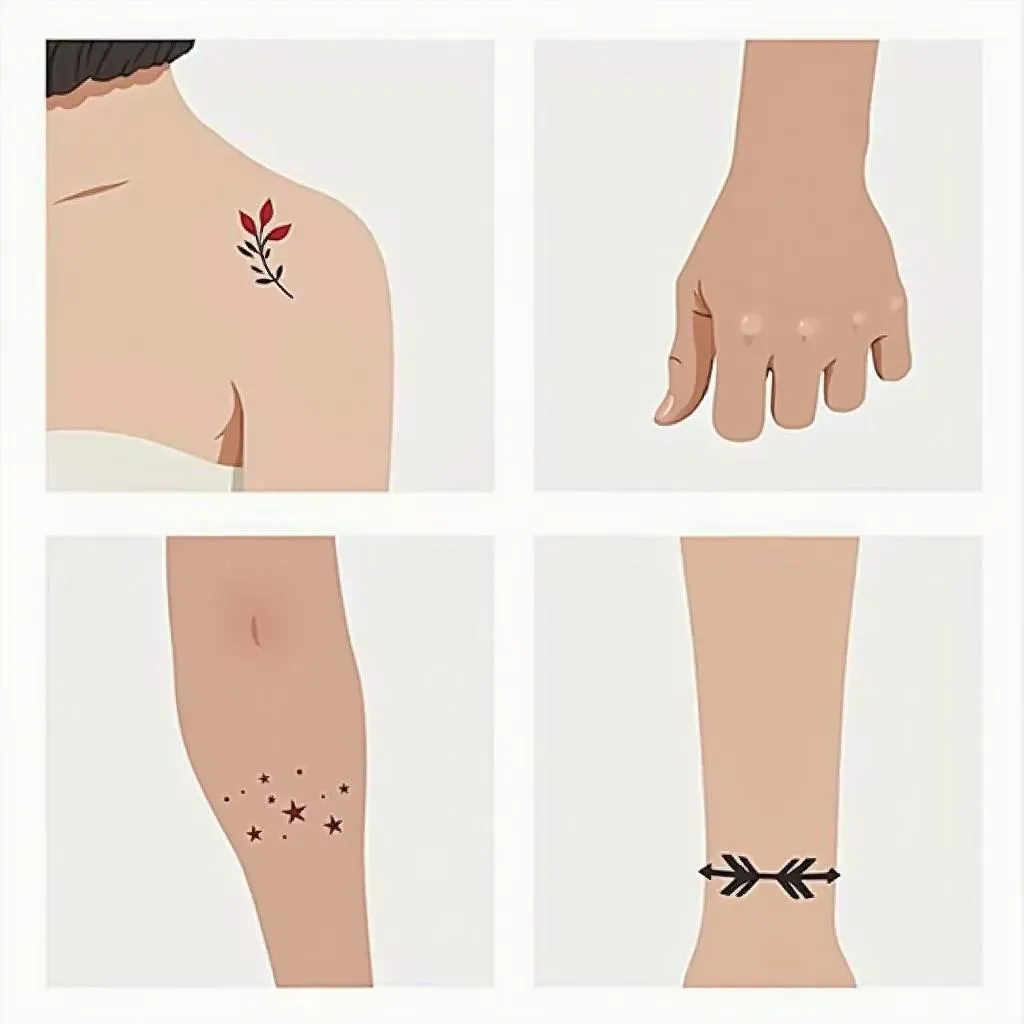
Subtle Statements: Wrists, Ankles, and Behind the Ear
When it comes to placement ideas for simple tattoos, sometimes the most impactful spots are the most discreet. The inner wrist is a classic choice, perfect for a small symbol, a meaningful word, or a delicate line. It's easily visible to you but can be covered with sleeves when needed. Ankles offer a similar vibe, especially cute with tiny floral designs or minimalist geometric shapes. And behind the ear? Super chic and a little bit unexpected – ideal for stars, musical notes, or tiny animals.
These locations are great if you're after something personal and subtle. They're also generally less painful than areas with more bone or nerve endings. Plus, they tend to heal quickly, which is always a bonus!
- Wrists: Inner wrist for personal reminders.
- Ankles: Delicate designs, easily hidden or shown.
- Behind the Ear: Subtle and chic, a bit unexpected.
Show It Off: Forearms, Collarbones, and Fingers
Want your simple tattoo to be a bit more visible? Forearms, collarbones, and fingers are fantastic options. The forearm provides a larger canvas for slightly bigger designs, like arrows, feathers, or geometric patterns. Collarbones are super elegant, accentuating your neckline with delicate florals or minimalist lines. And finger tattoos, while trendy, require careful consideration (they fade faster), but can be incredibly cool with initials, tiny symbols, or simple bands.
Remember that visibility comes with responsibility. Consider your workplace and personal style before choosing a highly visible placement. Also, be prepared for more upkeep with finger tattoos, as they'll likely need touch-ups.
Placement | Design Ideas | Visibility |
|---|---|---|
Forearm | Arrows, feathers, geometric patterns | Medium |
Collarbone | Florals, minimalist lines | Medium |
Fingers | Initials, symbols, bands | High (but fades faster) |
Unexpected Gems: Ribs, Hips, and Back of the Neck
Looking for something a little more unique and personal? Consider ribs, hips, or the back of the neck. Rib tattoos can be surprisingly impactful, especially with minimalist quotes or delicate floral designs. Hip tattoos are sensual and easily concealed, perfect for small symbols or geometric shapes. And the back of the neck? A subtle and stylish choice for stars, constellations, or simple lines.
Keep in mind that rib tattoos can be a bit more painful due to the proximity to the bone. Also, these placements might require more aftercare, as they're often covered by clothing. But if you're after something a little different, these spots are definitely worth considering.
The Process of Getting Easy Tattoo Designs
The Process of Getting Easy Tattoo Designs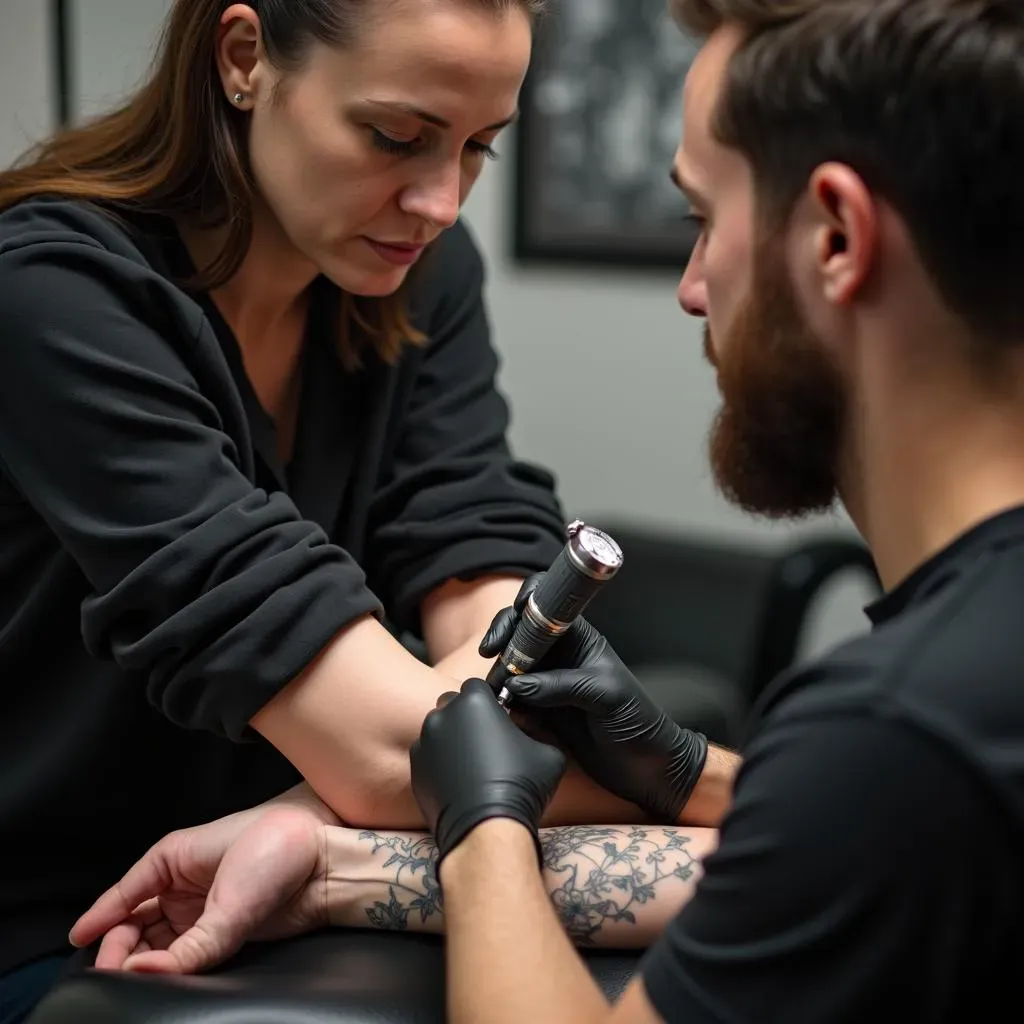
Finding the Right Artist for Your Simple Vision
so you've got your design and placement locked down – awesome! Now comes the crucial step: finding the right artist. Not all tattoo artists are created equal, and while most can handle simple designs, you want someone who "gets" your vision and has a steady hand. Start by browsing online portfolios and social media pages of local tattoo shops. Look for artists whose style resonates with you. Do they specialize in fine lines? Minimalist designs? Check out their healed work too – that's a great indicator of their skill and how well their tattoos hold up over time.
Don't be afraid to reach out to a few different artists and ask for consultations. This is your chance to chat about your design, discuss pricing, and get a feel for their personality. You want someone you feel comfortable with and who is genuinely excited about your tattoo. Trust your gut – if something feels off, move on. Finding the right artist is key to a positive and successful tattoo experience.
The Tattoo Appointment: What to Expect
Alright, you've booked your appointment – congrats! Now, let's talk about what to expect on the big day. First things first, make sure you're well-rested, hydrated, and have eaten a good meal beforehand. This will help you stay comfortable and minimize any potential lightheadedness. When you arrive at the shop, you'll likely need to fill out some paperwork, including a consent form and information about your health history. Your artist will then clean and shave the area to be tattooed and apply a stencil of your design. This is your last chance to make any tweaks or adjustments, so speak up if anything doesn't look quite right.
Once you're both happy with the placement, it's go-time! The artist will start tattooing, following the lines of the stencil. Remember to breathe and try to relax. If you need a break at any point, don't hesitate to ask. Communication is key! Once the tattoo is complete, the artist will clean it, apply an antibacterial ointment, and cover it with a bandage or plastic wrap. They'll also give you detailed aftercare instructions – follow these religiously to ensure proper healing and prevent infection.
- Before the Appointment: Rest, hydrate, eat well.
- During the Appointment: Communicate with your artist, take breaks if needed.
- After the Appointment: Follow aftercare instructions carefully.
Pain Management and Aftercare Prep
Let's be honest, tattoos can sting. But the pain level varies depending on the placement, your pain tolerance, and the size and complexity of the design. Easy tattoo designs, being smaller and simpler, are generally less painful than larger, more intricate pieces. However, if you're concerned about the pain, there are a few things you can do to prepare. Avoid alcohol or caffeine before your appointment, as these can thin your blood and make you more sensitive. You can also consider using a numbing cream, but be sure to discuss this with your artist beforehand, as some creams can affect the ink.
Equally important is preparing for aftercare. Before your appointment, gather all the supplies you'll need: antibacterial soap (fragrance-free is best), unscented lotion, and clean paper towels. Familiarize yourself with the aftercare instructions your artist provides and be prepared to follow them diligently. Proper aftercare is crucial for preventing infection and ensuring your tattoo heals beautifully. Think of it as an investment in your new ink – a little effort goes a long way!
Preparation Step | Description |
|---|---|
Pain Management | Avoid alcohol/caffeine, consider numbing cream (consult artist). |
Aftercare Supplies | Gather antibacterial soap, unscented lotion, paper towels. |
Aftercare Tips for Your New, Easy Tattoo
Aftercare Tips for Your New, Easy Tattoo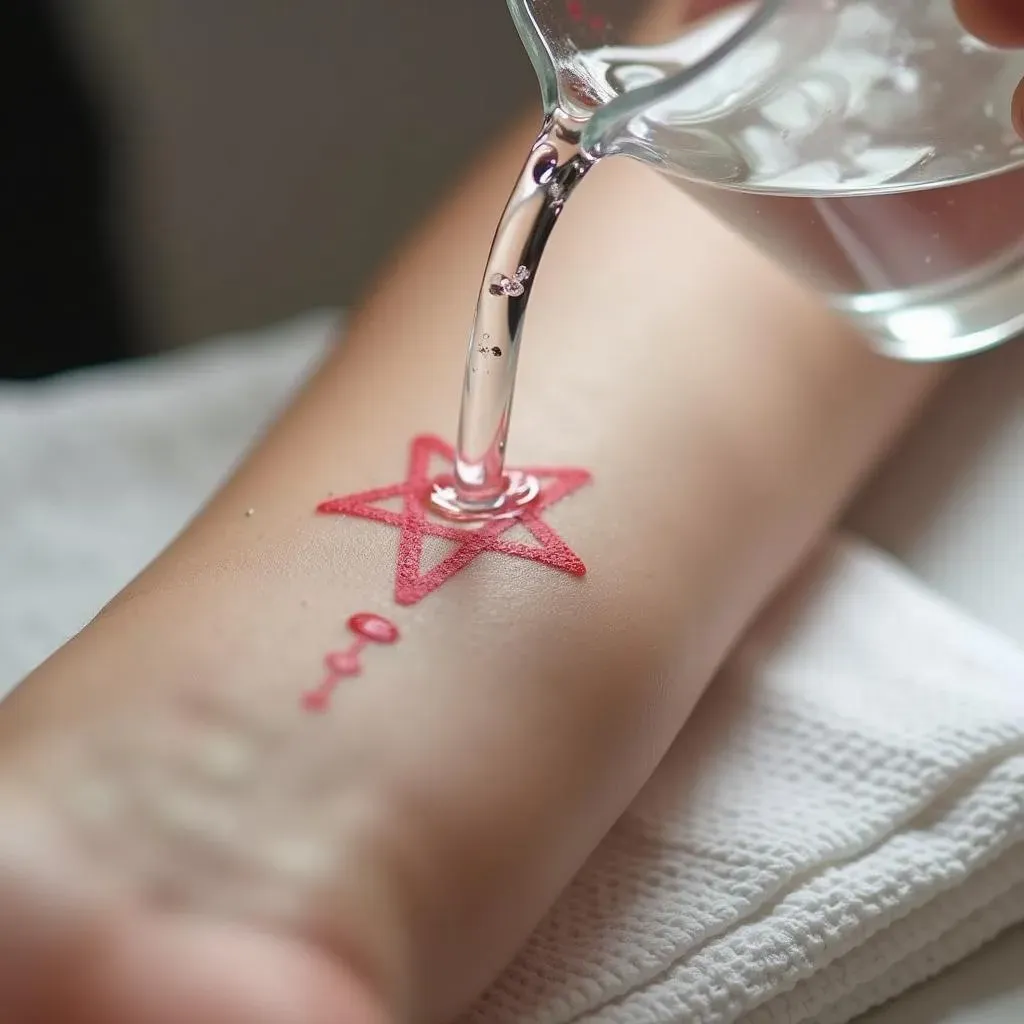
The First Few Days: Gentle Cleansing is Key
Alright, you've got your fresh ink – now comes the crucial part: aftercare! The first few days are super important for preventing infection and ensuring your tattoo heals properly. Think of your new tattoo like an open wound (because, well, it kinda is!). You need to keep it clean and protected. Gently wash the tattooed area two to three times a day with a mild, fragrance-free antibacterial soap. Use lukewarm water and your fingertips to gently cleanse the area, removing any blood, plasma, or excess ink. Avoid using harsh soaps, washcloths, or anything abrasive that could irritate the skin. Pat the area dry with a clean paper towel – don't rub!
After washing, apply a thin layer of unscented, hypoallergenic lotion to keep the skin moisturized. Aquaphor or a similar healing ointment is also a great option. Avoid using petroleum-based products, as they can trap moisture and prevent the skin from breathing. Less is more – you want just enough lotion to keep the skin from drying out, but not so much that it becomes greasy.
The Healing Process: Moisture and Protection
The healing process typically takes about 2-4 weeks, but it can vary depending on your skin type, the size and placement of the tattoo, and how well you follow the aftercare instructions. During this time, it's crucial to keep your tattoo moisturized and protected. Continue washing it gently twice a day and applying a thin layer of lotion. Avoid picking or scratching at any scabs that form – this can lead to infection and scarring. It's also important to protect your tattoo from the sun. UV rays can fade the ink and damage the skin, so wear loose-fitting clothing or apply a broad-spectrum sunscreen with an SPF of 30 or higher. And avoid swimming, soaking in a bathtub, or using a sauna until your tattoo is fully healed.
Listen to your body and trust your instincts. If you notice any signs of infection, such as excessive redness, swelling, pus, or fever, contact your tattoo artist or a medical professional immediately. Early intervention is key to preventing serious complications.
- Wash gently 2-3 times daily with antibacterial soap.
- Apply thin layer of unscented lotion.
- Avoid picking or scratching.
- Protect from sun with clothing or sunscreen.
- Avoid swimming and soaking.
Long-Term Care: Keeping Your Ink Looking Fresh
Once your tattoo is fully healed, it's important to continue taking care of it to keep it looking its best for years to come. Moisturize regularly, especially after showering or swimming. Always protect your tattoo from the sun by wearing sunscreen or clothing. Avoid harsh chemicals or abrasive products that could irritate the skin. And consider getting touch-ups every few years to keep the colors vibrant and the lines crisp. With proper care, your easy tattoo design will continue to be a beautiful and meaningful expression of yourself for a lifetime.
Think of your tattoo as a living piece of art – it requires ongoing care and attention to maintain its beauty and integrity. By following these simple aftercare tips, you can ensure that your ink stays vibrant and your skin stays healthy. So go forth and rock your easy tattoo design with confidence!
Conclusion
Easy tattoo designs offer a fantastic way to dip your toes into the world of body art. They're approachable, versatile, and allow for personal expression without a huge commitment. From simple shapes and delicate lines to meaningful symbols and tiny tributes, the possibilities are endless. Remember to choose a design that resonates with you, find a reputable artist, and follow proper aftercare to ensure your new ink looks its best for years to come. So, go ahead and embrace the beauty of simplicity – your perfect easy tattoo awaits!