Table of Contents
Thinking about getting a tattoo? You might be wondering, "Do tattoo artists design tattoos for you?" The answer is a resounding yes, but it's more of a collaboration than a simple request. Tattoo artists are skilled at transforming your ideas into wearable art, but the best results come when you actively participate in the design process. This article will walk you through everything you need to know about working with a tattoo artist to create a custom design you'll love for years to come. We'll explore how to prepare for your consultation, what to bring to help your artist understand your vision, and the general etiquette to ensure a smooth and satisfying experience. Let's dive in and discover how to make your tattoo dreams a reality by partnering with the right artist and understanding the design journey.
Collaborating with a Tattoo Artist to Design Your Tattoo
Collaborating with a Tattoo Artist to Design Your Tattoo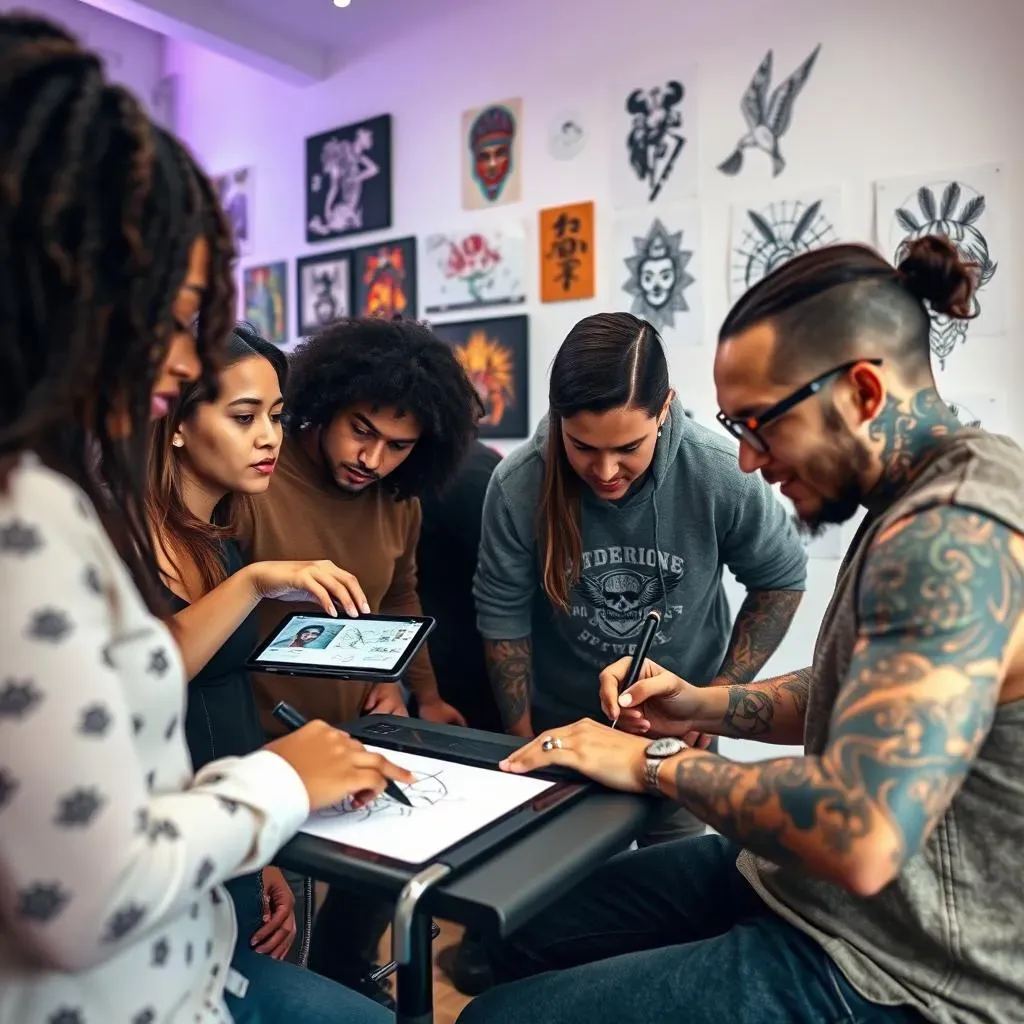
Finding the Right Artist
Finding a tattoo artist is like finding a good hairstylist: it takes research. Don't just walk into the first shop you see. Look at portfolios online, check out their Instagram, and see if their style aligns with your vision. Do they specialize in fine lines, bold colors, or blackwork? Matching your aesthetic preferences to the artist's expertise ensures a killer collaboration from the get-go.
Think about the kind of art you're drawn to. Are you into traditional Americana, intricate Japanese designs, or modern geometric patterns? Once you've identified your style, search for artists who excel in that specific area. Read reviews and testimonials to get a sense of their professionalism and how well they communicate with clients. A good artist will not only have the skills but also the patience and willingness to listen to your ideas and offer constructive feedback.
Style | Description | Artist Skill |
|---|---|---|
Traditional Americana | Bold lines, classic imagery | Linework, shading |
Japanese | Intricate, symbolic designs | Detail, composition |
Geometric | Precise shapes and patterns | Precision, symmetry |
Communicating Your Vision
Once you've found an artist whose work you admire, it's time to schedule a consultation. This is where the magic happens. Be prepared to articulate your ideas clearly and concisely. Bring reference images, sketches, or anything that visually represents what you have in mind. Don't be afraid to be specific, but also be open to the artist's suggestions. Remember, they're the experts, and they can offer valuable insights into what will work best on your skin.
During the consultation, discuss the size, placement, and color scheme of your tattoo. The artist will assess your skin type, consider the contours of your body, and advise on the best approach to achieve your desired outcome. Be honest about your pain tolerance and any concerns you may have. A good artist will address your questions and make you feel comfortable throughout the entire process. Remember, this is a partnership, and clear communication is key to a successful tattoo experience.
The Tattoo Design Process: From Concept to Creation
The Tattoo Design Process: From Concept to Creation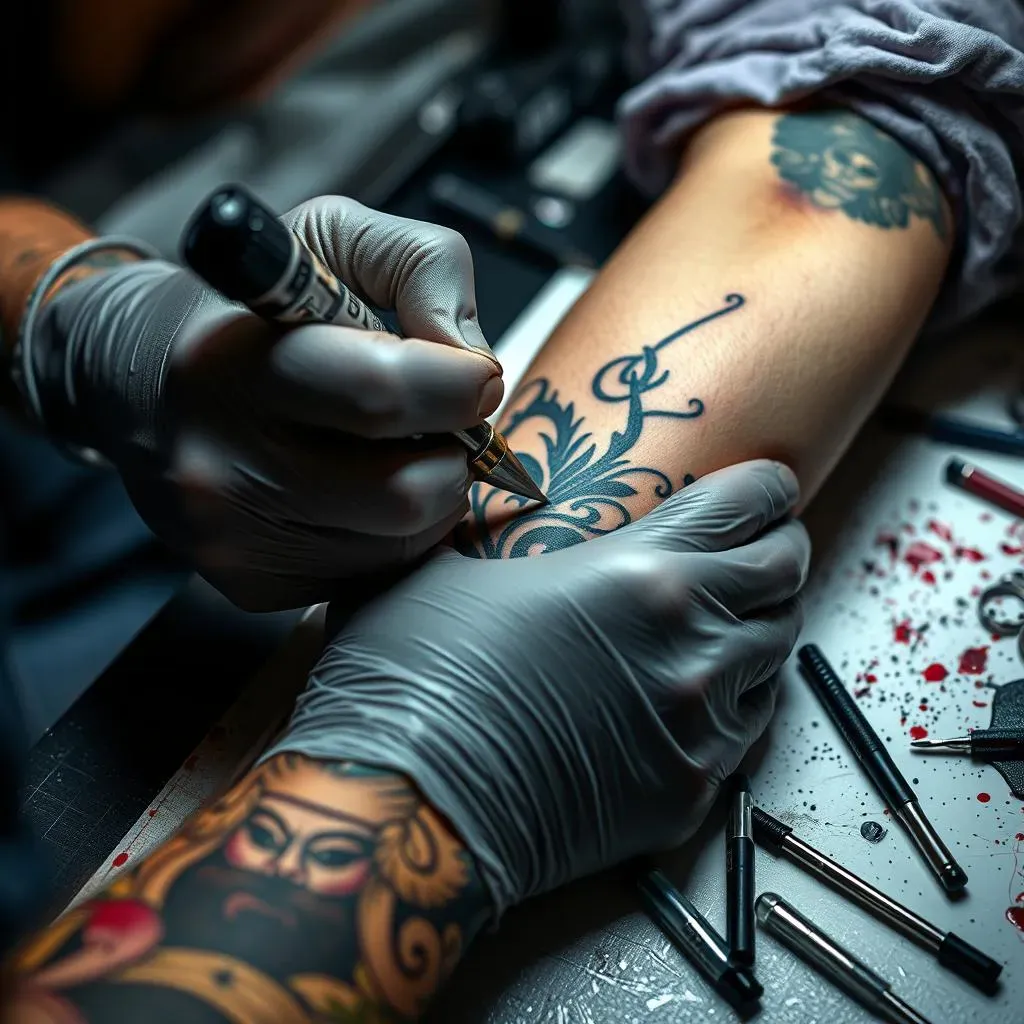
Alright, so you've picked your artist and had that initial chat. What happens next? This is where the real artistry comes in. The tattoo design process varies from artist to artist, but generally, it starts with your reference materials. The artist takes everything you've provided – your images, descriptions, and any other inspiration – and begins to sketch out a preliminary design. Don't expect a perfect replica right away; this is just the foundation. Think of it like a sculptor starting with a block of clay.
From that initial sketch, the artist refines the design, paying close attention to detail and ensuring it translates well onto skin. This often involves multiple revisions, with the artist sending you updated versions for feedback. This back-and-forth is crucial. It's your chance to tweak the design, suggest changes, and ensure it aligns perfectly with your vision. Remember, a good artist wants you to be thrilled with the final result, so don't hesitate to voice your thoughts and concerns. After all, it is going to be on your body permanently.
Once the design is finalized, the artist will create a stencil. This is essentially a temporary transfer of the design onto your skin. The artist cleans the area, applies a transfer solution, and then presses the stencil onto your skin. This gives you a preview of how the tattoo will look in its exact placement. It's another opportunity to make adjustments – maybe you want it slightly higher, lower, or rotated. Once you're happy with the placement, the tattooing begins. The stencil acts as a guide for the artist, ensuring precision and accuracy throughout the process.
The actual tattooing process involves using a tattoo machine to deposit ink into the dermis layer of your skin. The artist follows the lines of the stencil, carefully building up the design. Depending on the size and complexity of the tattoo, this can take anywhere from a few hours to multiple sessions. Throughout the process, the artist will clean the area and apply a soothing ointment to keep your skin hydrated and minimize discomfort. Remember to breathe and try to relax – you're one step closer to having a permanent piece of art!
Step | Description |
|---|---|
Initial Sketch | Artist creates a preliminary design. |
Refinement & Feedback | Design is tweaked based on client input. |
Stencil Creation | Design is transferred to a stencil. |
Stencil Application | Stencil is placed on the skin for preview. |
Tattooing | Artist applies ink using the stencil as a guide. |
What to Bring to Your Tattoo Artist to Help Design Your Tattoo
What to Bring to Your Tattoo Artist to Help Design Your Tattoo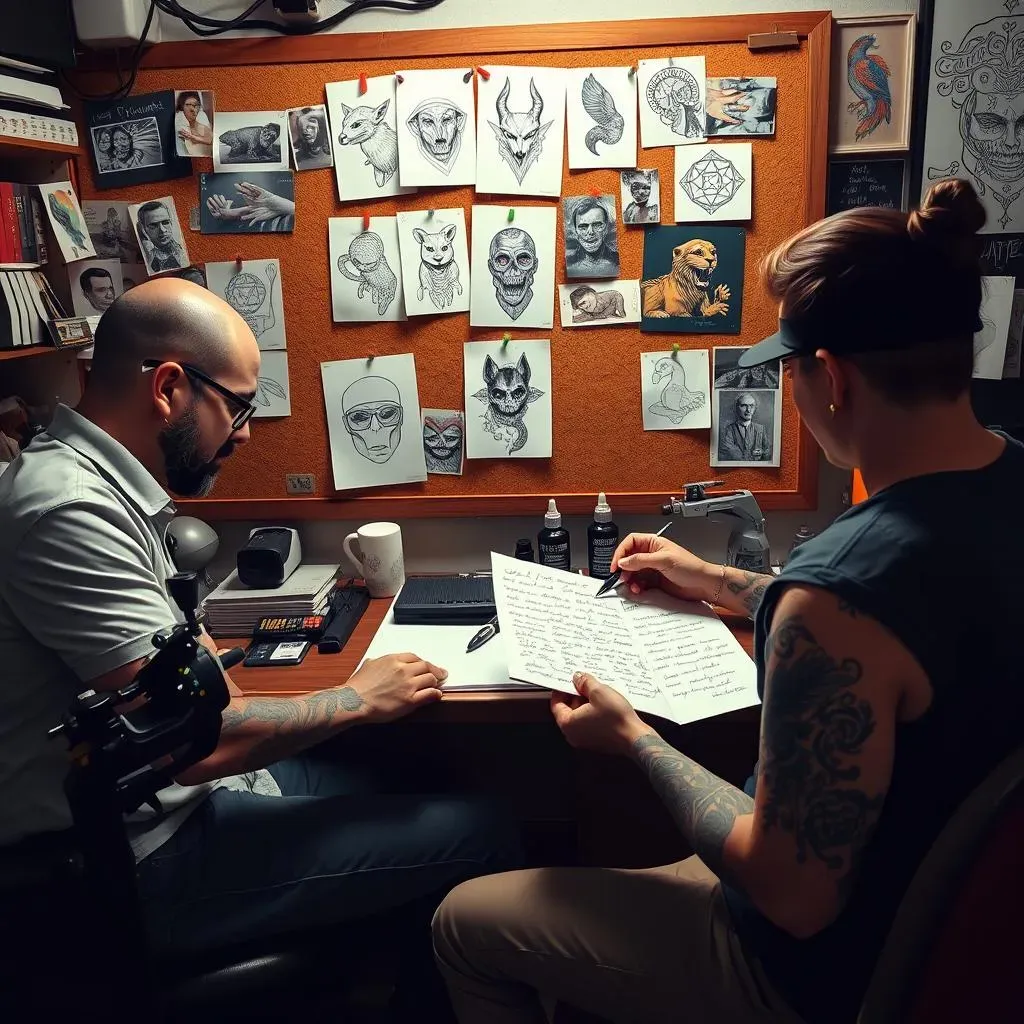
So, you're ready to meet with your tattoo artist and get the design process rolling. Awesome! But what should you actually bring to the appointment? Think of it as gathering evidence to support your vision. The more prepared you are, the better equipped your artist will be to create a tattoo that exceeds your expectations. Don't just show up with a vague idea and expect them to read your mind. Let's break down the essential items to bring to your tattoo consultation.
First and foremost, bring reference images. These can be anything from photos of existing tattoos you admire to pictures of objects, animals, or landscapes that inspire you. The key is to provide visual examples of the style, composition, and overall aesthetic you're going for. Don't limit yourself to just one or two images; the more, the merrier! Even seemingly unrelated images can help your artist understand your preferences. For example, a picture of a vintage car might convey a sense of nostalgia or a love for classic design. The artist can then incorporate those elements into your tattoo.
Item | Description | Why It's Important |
|---|---|---|
Reference Images | Photos, drawings, or any visuals that inspire your design. | Provides concrete examples of your desired style and elements. |
Sketches (if any) | Rough drawings or diagrams of your tattoo idea. | Helps communicate your vision and desired layout. |
Written Descriptions | Detailed explanations of your tattoo concept, symbolism, and meaning. | Clarifies your intentions and ensures the artist understands your vision. |
If you have any sketches or rough drawings of your tattoo idea, bring those along too! Even if you're not an artist yourself, a simple sketch can help communicate the basic layout and composition you have in mind. Don't worry about perfection; the artist can refine your sketch and turn it into a professional design. In addition to visual references, it's also helpful to bring a written description of your tattoo concept. This is your opportunity to explain the symbolism, meaning, and personal significance behind your design. The more information you provide, the better the artist can understand your vision and create a tattoo that truly reflects your personality.
Consider bringing examples of fonts you like if your tattoo includes lettering. Font choice can significantly impact the overall look and feel of your tattoo. Do you prefer a classic serif font, a modern sans-serif font, or a script font with elegant flourishes? Providing examples will help the artist choose a font that complements your design and conveys the right message. Finally, be prepared to discuss your budget and timeline. Tattoo artists typically charge by the hour, so it's important to have a clear understanding of the cost involved. Be realistic about your budget and be upfront with the artist about your expectations. This will help avoid any misunderstandings and ensure a smooth and stress-free experience.
Do Tattoo Artists Design Tattoos for You: Etiquette and Expectations
Do Tattoo Artists Design Tattoos for You: Etiquette and Expectations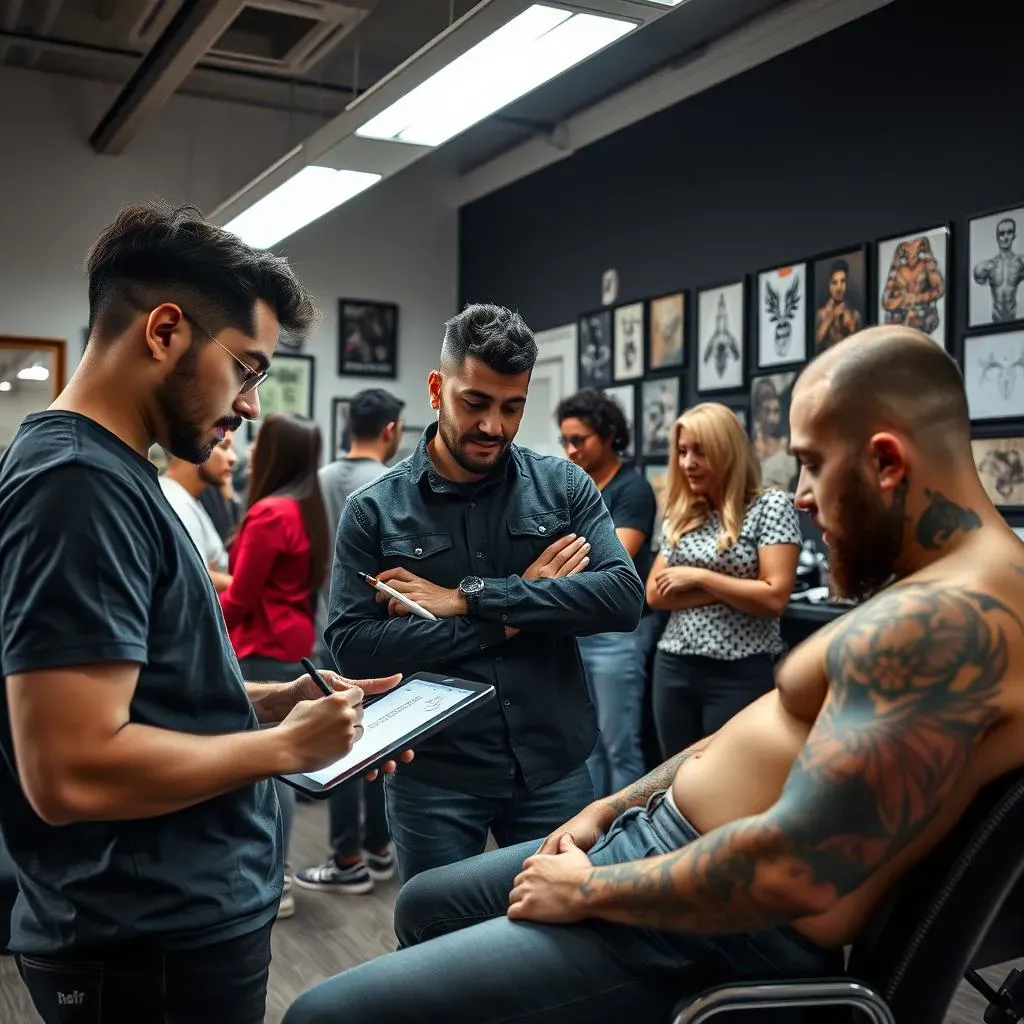
Respecting the Artist's Time and Expertise
so you're collaborating with a tattoo artist on a custom design – that's awesome! But remember, they're not just a tattoo machine; they're artists with valuable time and expertise. One of the most important aspects of tattoo etiquette is respecting their time. Don't bombard them with endless emails or messages outside of scheduled appointments. Trust me, they appreciate it. If you have questions or concerns, compile them into a concise list and bring them up during your consultation or designated check-in times. This shows that you value their time and are organized in your approach.
Also, avoid making drastic changes to your design at the last minute. Significant alterations can throw off the entire process and require the artist to rework their schedule. If you have a change of heart, communicate it as early as possible so they can accommodate your request without disrupting their workflow. Remember, they've likely dedicated hours to crafting your design, so be mindful of the impact your changes may have. It's all about being considerate and understanding that their time is valuable.
Tipping and Payment
Let's talk money. Tipping is customary in the tattoo industry, just like in many other service industries. A general guideline is to tip 15-20% of the total cost of the tattoo, especially if you're happy with the artist's work and the overall experience. Think of it as a way to show your appreciation for their skill, effort, and dedication. If your tattoo required multiple sessions or involved intricate detail, a higher tip is certainly appropriate. Don't skimp on the tip just because you're on a tight budget; factor it into the overall cost of the tattoo beforehand.
Regarding payment, be sure to discuss the artist's preferred method of payment upfront. Some artists accept cash only, while others may take credit cards or electronic payments. It's also a good idea to inquire about their payment schedule. Some artists require a deposit upfront to secure your appointment and cover the cost of materials. Others may allow you to pay in installments, especially for larger or multi-session tattoos. Whatever the arrangement, make sure you understand the terms and conditions before proceeding. Transparency and clear communication are key to avoiding any financial misunderstandings.
Scenario | Recommended Tip |
|---|---|
Standard Tattoo (Good Experience) | 15-20% of the total cost |
Exceptional Tattoo (Great Experience) | 20%+ of the total cost |
Multi-Session Tattoo | Tip each session or a lump sum at the end |
Aftercare and Follow-Up
Your responsibility doesn't end when the tattoo is finished. Proper aftercare is crucial for ensuring your tattoo heals properly and looks its best for years to come. Listen carefully to your artist's aftercare instructions and follow them diligently. This typically involves keeping the tattoo clean and moisturized, avoiding excessive sun exposure, and refraining from picking or scratching the area. If you have any questions or concerns about the healing process, don't hesitate to reach out to your artist. They're the best resource for addressing any issues and ensuring your tattoo heals correctly.
In addition, it's considered good etiquette to follow up with your artist after the tattoo has healed. Send them a picture of the healed tattoo or tag them on social media. This allows them to see the final result of their work and showcase it to potential clients. It's also a great way to show your appreciation and maintain a positive relationship with your artist. Remember, getting a tattoo is a collaborative process, and building a strong rapport with your artist can lead to even more amazing tattoos in the future.
- Clean the tattoo gently with mild soap and water.
- Apply a thin layer of fragrance-free moisturizer.
- Avoid sun exposure and wear loose clothing.
- Don't pick or scratch the tattoo.
Do Tattoo Artists Design Tattoos for You: The Final Word
So, do tattoo artists design tattoos for you? Absolutely! Remember, it's a collaborative process. By understanding the artist's role, preparing your ideas, and communicating effectively, you can ensure your tattoo is a true reflection of your vision. Choose an artist whose style resonates with you, trust their expertise, and enjoy the creative journey. A well-designed tattoo is an investment in yourself, a permanent piece of art that tells your story. Go forth, collaborate, and get inked!