Table of Contents
So, you've taken the plunge and got yourself a stunning new chest tattoo! Congratulations! But the artistry doesn't end with the needle. Now comes the crucial part: proper chest tattoo aftercare. This isn't just about avoiding infection; it's about ensuring your incredible ink heals beautifully, retains its vibrant colors, and remains a source of pride for years to come. This comprehensive guide on chest tattoo aftercare will walk you through every stage of the healing process, from the immediate aftermath to long-term maintenance. We'll cover the essential steps for the first 24 hours, detail the healing process week by week, address common problems and their solutions, and finally, provide tips for keeping your chest tattoo looking its best for years to come. Whether you're a seasoned tattoo enthusiast or a first-timer, understanding the nuances of chest tattoo aftercare is vital. Let's dive in and learn how to safeguard your investment—your breathtaking new body art!
Immediate Aftercare: First 24 Hours
Immediate Aftercare: First 24 Hours
The Initial Bandage: Protection is Key
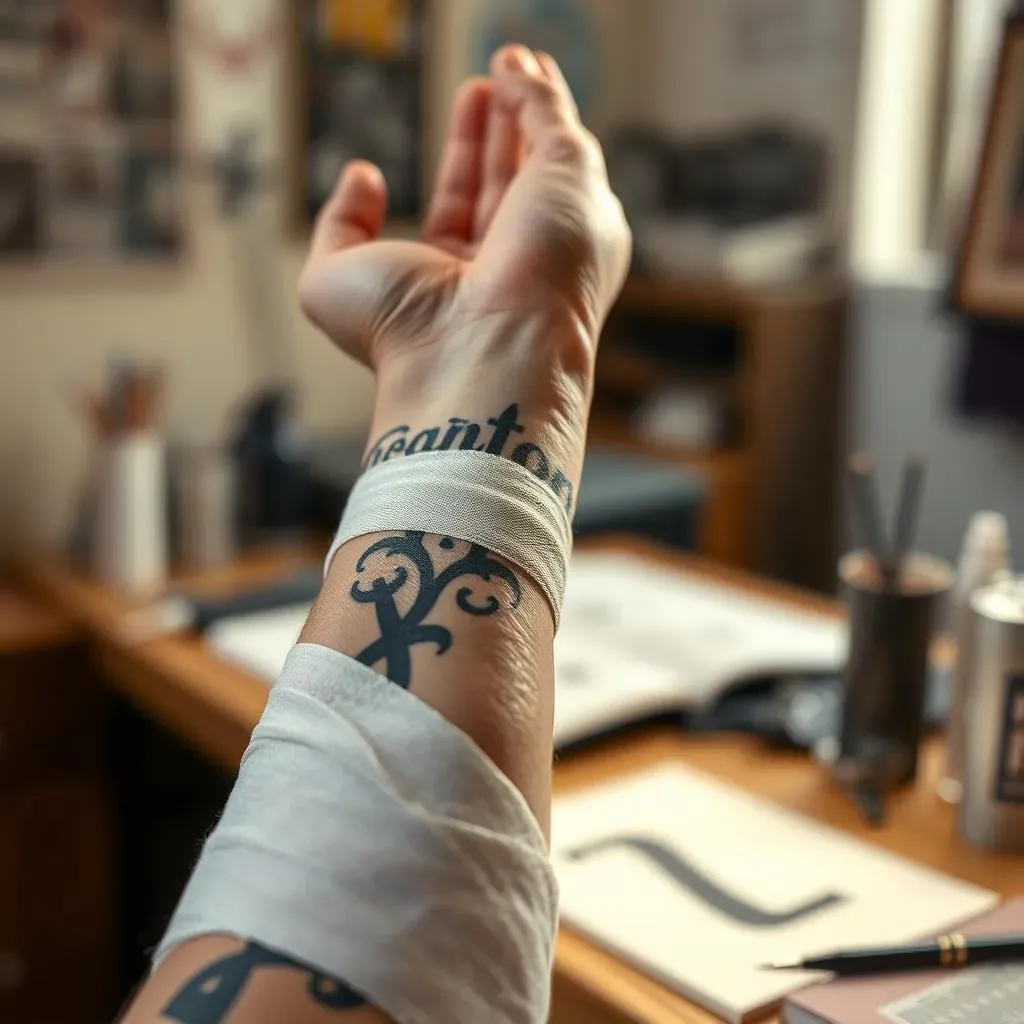
Right after your tattoo is finished, your artist will likely apply a bandage. This isn't just a fancy flourish; it's your tattoo's first line of defense against the outside world. Think of it as a superhero cape for your fresh ink, protecting it from germs and everyday bumps. Leave this bandage on for the recommended time—usually a few hours, but always follow your artist's specific instructions. They know best! Removing it too soon can expose your vulnerable tattoo to infection, and keeping it on too long can trap moisture, hindering healing. It's a delicate balance!
For example, if you've opted for a large chest tattoo, the bandage will need extra attention. The larger the surface area, the more crucial it is to avoid premature removal. Remember, patience is key! Once you remove the bandage, you'll start the next phase of your tattoo's journey.
- Follow your artist's instructions precisely regarding bandage removal time.
- Avoid touching your tattoo unnecessarily.
- Prepare for the next steps: gentle washing and moisturizing.
Gentle Cleansing: Washing Away the Day
Once you remove the bandage, it's time for a gentle cleansing. This isn't about scrubbing like you're tackling a stubborn stain; think more along the lines of a soothing caress. Use lukewarm water and a mild, fragrance-free soap—avoid anything harsh or overly perfumed. Gently pat your tattoo dry with a clean paper towel or soft cloth; avoid rubbing, as this can irritate your skin and potentially damage your new ink. Think of your skin as a delicate flower—you want to nurture it, not rough it up!
After washing, apply a thin layer of the aftercare product recommended by your artist. Many artists suggest fragrance-free antibiotic ointment. This helps to keep the area moist and aids in healing. Remember, it's a thin layer; you're not trying to drown your tattoo in cream! Too much ointment can actually hinder healing. Choosing the right aftercare product is crucial, and if you're unsure, always ask your artist for their recommendation. They've seen it all, after all! A well-chosen healing process is as important as the tattoo itself.
Step | Action | Important Note |
|---|---|---|
1 | Remove bandage (as instructed) | Avoid premature removal |
2 | Wash gently with lukewarm water and mild soap | No scrubbing! |
3 | Pat dry | Do not rub |
4 | Apply a thin layer of ointment | Less is more |
The Healing Stages: Week by Week
The Healing Stages: Week by Week
Week 1: The Initial Healing Phase
The first week is all about letting your tattoo breathe. Keep it clean and moisturized, just like we discussed. You might notice some scabbing or peeling—this is totally normal, and it's tempting to pick at it, but resist! Picking can lead to scarring and infection. Think of it like a delicate puzzle; let the pieces fall into place naturally. You'll see some initial healing, but the real transformation is yet to come. Remember to wear loose clothing to avoid irritation, especially if you have a chest piece tattoo that covers a large area.
During this first week, you might experience some discomfort, like mild itching or soreness. This is normal. Avoid direct sun exposure, and definitely don't soak in a bathtub or hot tub. This is a crucial time to be extra gentle. If you're feeling extra cautious, you might also want to consider a more simple chest tattoo design next time for easier healing.
- Keep the area clean and moisturized.
- Avoid picking or scratching.
- Wear loose-fitting clothing.
- Avoid direct sunlight, hot tubs, and swimming.
Week 2-3: The Transformation
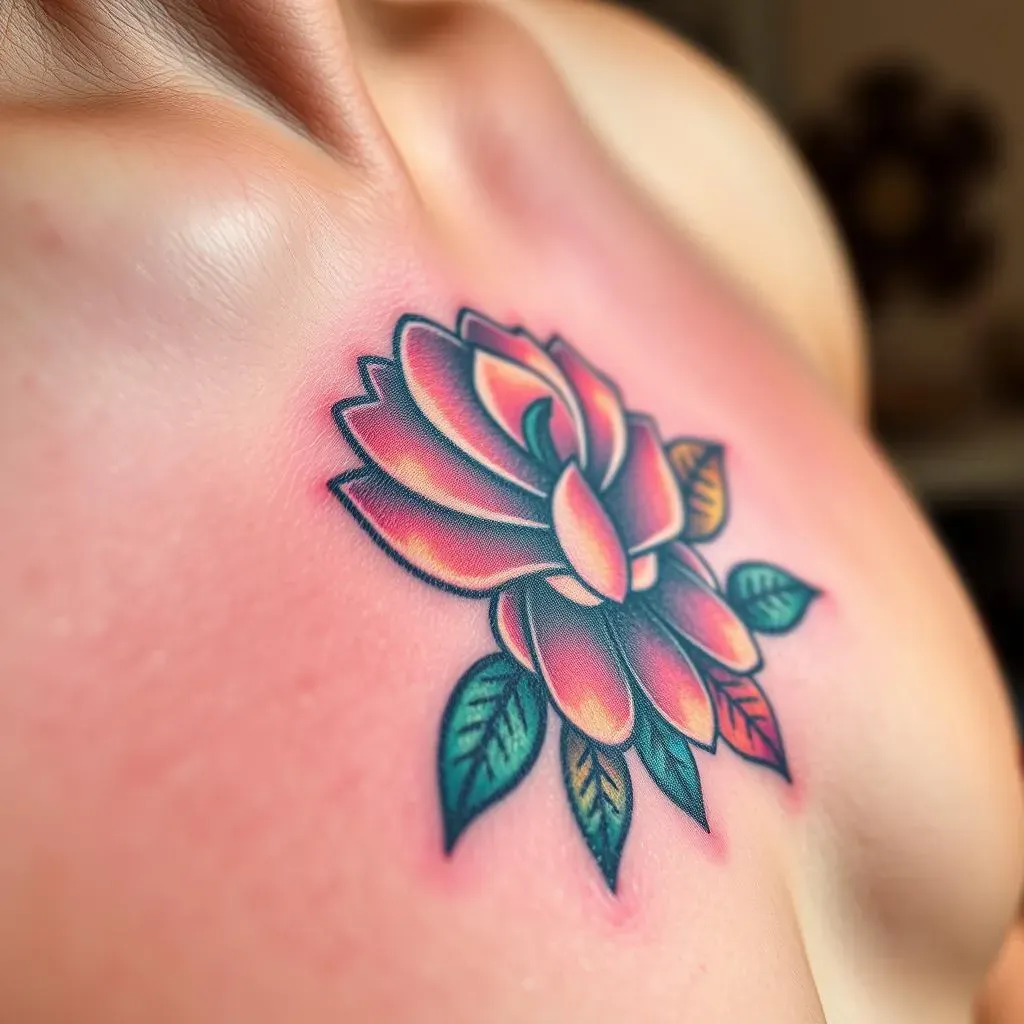
By week two, the scabbing should be significantly reduced, and your tattoo will start to look more like the masterpiece you envisioned. The colors will become more vibrant, and the skin should feel smoother. Continue with gentle cleansing and moisturizing. If you're still feeling any discomfort, consult your artist. Remember, this is a marathon, not a sprint. The healing process can vary depending on the size and complexity of the tattoo. For example, a detailed 3D chest tattoo might take a bit longer to fully heal.
At this point, you can start to gradually introduce your tattoo to the sun, but always use a high SPF sunscreen. Think of sunscreen as your tattoo's bodyguard against the sun's harmful rays. Protecting your tattoo from the sun is essential to prevent color fading and maintain its brilliance. A well-cared-for tattoo will last a lifetime, but sun protection is key to ensuring it looks amazing for years to come. If you're considering a color chest tattoo, sun protection is even more critical.
Week | Expected Changes | Important Actions |
|---|---|---|
2 | Reduced scabbing, smoother skin | Continue gentle cleansing and moisturizing |
3 | Colors becoming more vibrant | Introduce gradual sun exposure with high SPF sunscreen |
Dealing with Complications: Problems and Solutions
Dealing with Complications: Problems and Solutions
Infection: Recognizing the Warning Signs
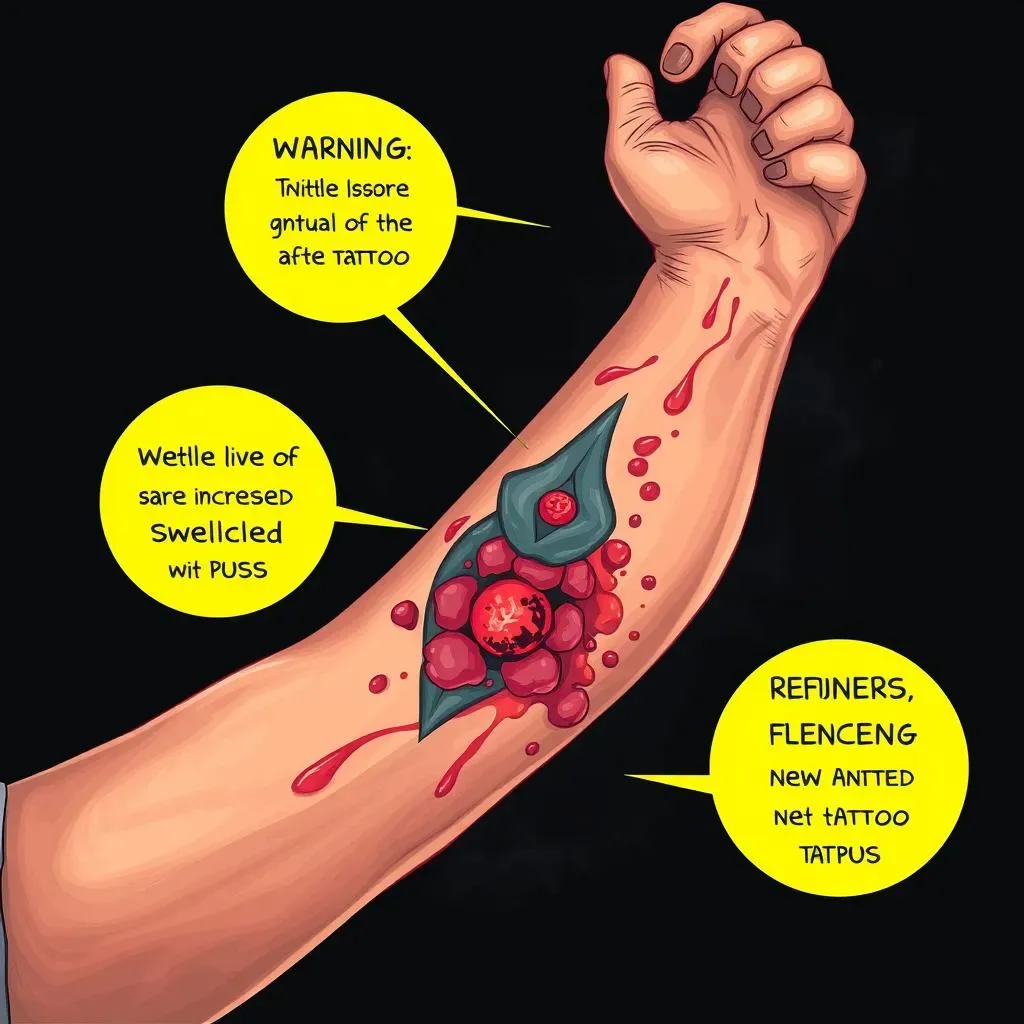
Let's talk about the elephant in the room: infection. While rare with proper aftercare, it's a serious concern. Look out for increased redness extending beyond the tattoo, swelling, pus, or excessive pain. If you notice any of these, don't mess around—see a doctor immediately. An infection can quickly escalate, so prompt treatment is key. Remember, a minor issue ignored can become a major problem, so don't hesitate to seek professional medical advice.
Prevention is always better than cure, so remember to keep your hands clean and avoid touching your tattoo unnecessarily. If you're concerned about the pain levels during the healing process, it might be a good idea to discuss pain management strategies with your tattoo artist. They might have some suggestions to make the process more comfortable.
- Increased redness beyond the tattoo
- Swelling
- Pus
- Excessive pain
Allergic Reactions: A Less Common but Serious Issue
Allergic reactions to tattoo inks are uncommon, but they can happen. Symptoms can include itching, rash, or hives around the tattoo. If you suspect an allergic reaction, contact your doctor or dermatologist immediately. They can assess the situation and recommend appropriate treatment. Remember, an allergic reaction can be serious, so prompt medical attention is crucial. Choosing a reputable tattoo artist who uses high-quality inks significantly reduces this risk. If you're considering a large chest and stomach tattoo, discuss ink choices with your artist to minimize potential risks.
It's also essential to be aware of any potential reactions to the aftercare products you're using. If you notice any unusual skin reactions, discontinue use and consult your artist or a doctor. Remember, your body is unique, and what works for one person may not work for another. Always prioritize your health and well-being.
Symptom | Possible Cause | Action |
|---|---|---|
Itching | Allergic reaction, irritation | Consult a doctor |
Rash | Allergic reaction, infection | Consult a doctor |
Hives | Allergic reaction | Seek immediate medical attention |
LongTerm Care: Keeping Your Tattoo Vibrant
LongTerm Care: Keeping Your Tattoo Vibrant
Sun Protection: Your Tattoo's Best Friend
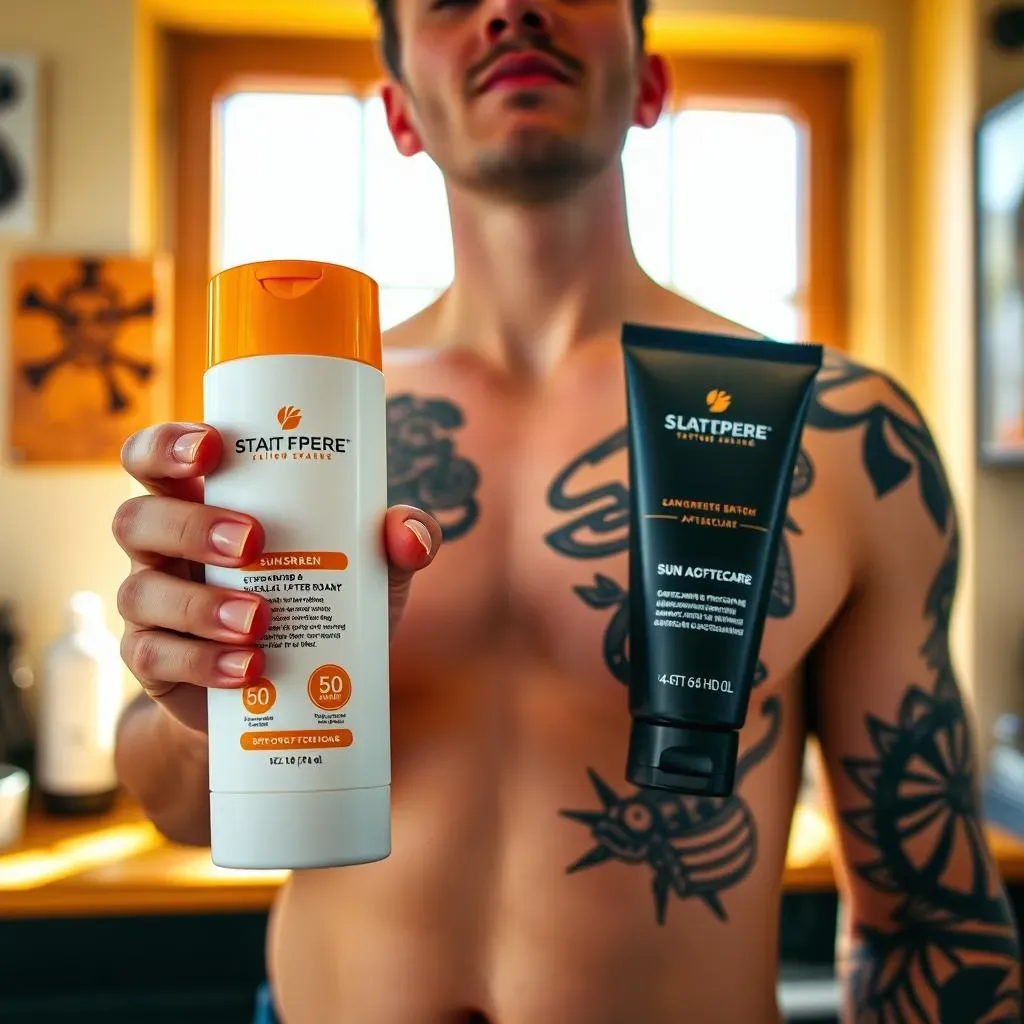
Okay, so your chest tattoo is healed. Doesn't mean you can forget about it! The sun is a tattoo's worst enemy. Think of it as a slow, relentless fade-out villain. To keep those colors popping for years, always use a high-SPF sunscreen, even on cloudy days. Reapply often, especially after swimming or sweating. It's a small price to pay for a vibrant tattoo that will last. We're talking about preserving that awesome artwork, remember? Think of it like this: you wouldn't leave a priceless painting in direct sunlight, would you? Your tattoo deserves the same respect.
Consider the placement of your tattoo when thinking about sun exposure. A under-chest tattoo, for example, might be more shielded from direct sunlight than one on your upper chest. However, it's still best to err on the side of caution and always apply sunscreen generously. Protecting your investment is key, and a little sunscreen goes a long way.
- Use a high-SPF sunscreen daily.
- Reapply frequently, especially after swimming or sweating.
- Consider clothing as extra protection from the sun.
Moisturization: Keeping Your Ink Hydrated
Just like your skin needs hydration, so does your tattoo. Think of your tattoo ink as a beautiful garden; it needs regular watering to thrive. Using a good quality, fragrance-free moisturizer will keep your skin soft and supple, preventing dryness and cracking, which can lead to fading and damage. Apply a thin layer daily, and your tattoo will thank you for it. It's a simple act of self-care that extends the life and beauty of your artwork. It's also important to choose a moisturizer that is specifically formulated for tattoos to avoid any irritation or adverse reactions.
Regular moisturizing is especially important for larger tattoos, such as a chest and shoulder tattoo, as these areas tend to be more exposed to the elements. Remember, a well-hydrated tattoo is a happy tattoo! By following these simple steps, you're investing in the longevity of your artwork and ensuring it remains a cherished part of your story for many years to come.
Product | Benefits | Application |
|---|---|---|
Fragrance-free moisturizer | Keeps skin hydrated, prevents cracking | Apply a thin layer daily |
Tattoo-specific balm | Provides additional protection and hydration | Apply as needed |